


SmartPAC 2 with WPC Integration
1126800
SmartPAC 2 Program Mode
Chapter 5
page 289
If you choose
toggle
, this switches the state of the output relay. In other words, if the state of
the relay is open, it would then be closed, and vice versa. You can use this option to activate
a parts diverter. If you select
pulse
, this actuates the channel for a time you set (in
milliseconds). You can connect this output to any device that needs to be turned on once
every fixed number of strokes (equal to the batch counter).
NOTICE
"Pulse" and "toggle" are only available when the optional ProCamPAC is installed. If you
attempt to use either of these features without programmable cam, SmartPAC 2 will display
a message telling that it is not available.
You can also specify whether the strokes or good parts counter will increment each batch.
Setting Counter Output Mode
1. Press
F1
to select "Counter mode.” To illustrate the various options in counter setup
mode, the previous display shows batch 2 set to "toggle,” and batch 3 to "pulse.” Factory
settings are configured to "top stop" and "stroke.”
2. Using cursor keys, highlight the output mode for "batch 1.”
3. As you press ENTER, notice that the selections change from "top stop,” to "toggle" to
"pulse,” and back again. Make your selection, and then cursor down to "batch 2.”
COUNTER MODE SELECTIONS
ADV. MODES
COUNTER INCREMENT ANGLES
STROKE, GOOD PARTS, BATCH 1
BATCH 2
BATCH 3
270
270
270
OUTPUT
MODE
BATCH 1
BATCH 2
BATCH 3
PULSE
TOP STOP
PULSE
0
0
STROKE
GOOD PARTS
GOOD PARTS
PULSE (MSEC)
TIME
INCREMENT
MODE
USE THE CURSOR KEYS TO CHOOSE THE ITEM
YOU WISH TO CHANGE. PRESS THE ENTER KEY
TO CHANGE. PRESS RESET WHEN DONE.
F1
250
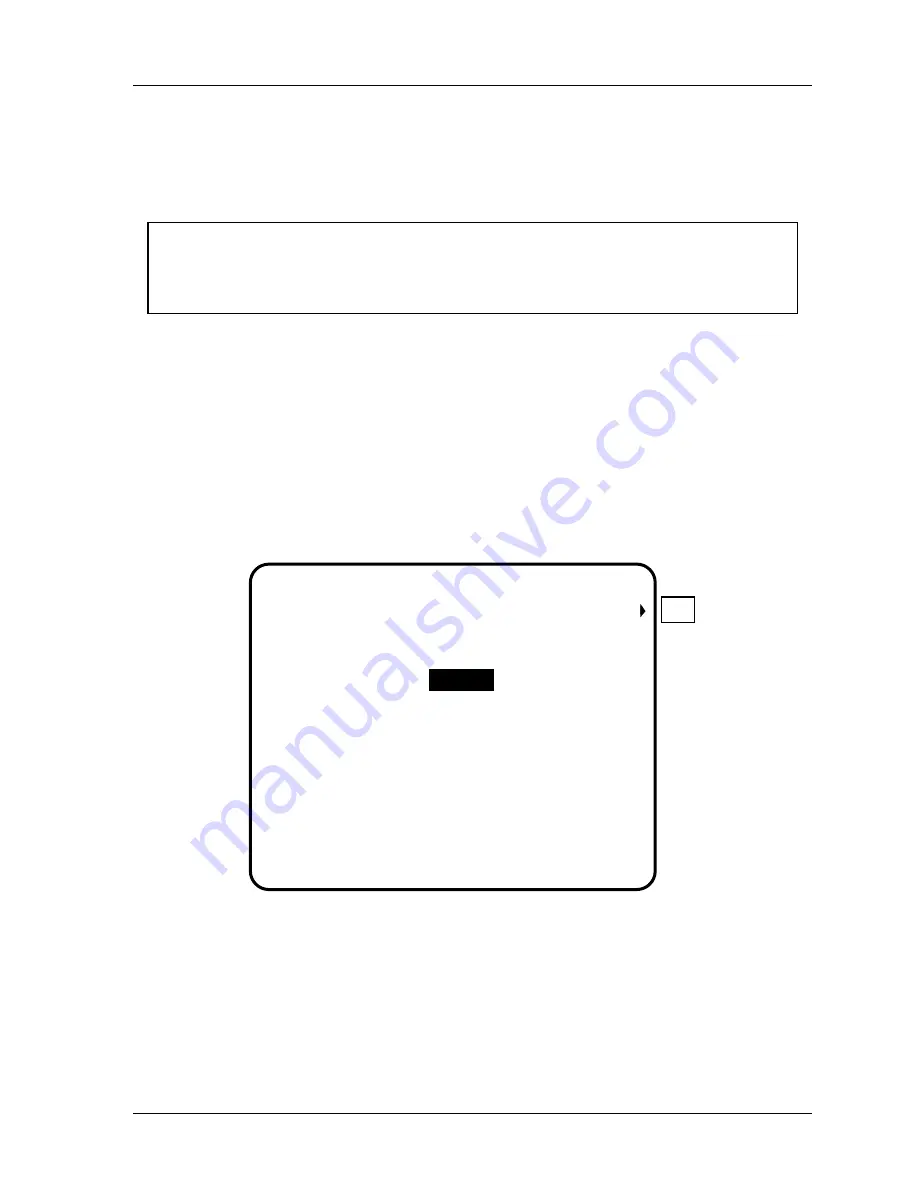
Figure 5 - 14. Counter Setup Mode Menu
4. Repeat step 2 for "batch 2" and "batch 3.”
5. If you selected "pulse" for any of the batch counts, use your "right" cursor key to scroll
to the "pulse (msec) time" column for that counter. Press ENTER.
6. A screen overlay appears enabling you to enter a value for channel on-time. Use the
number keys to set the channel on-time in milliseconds, up to a maximum of 9,999 ms,
Содержание SmartPAC 2
Страница 192: ...1126800 SmartPAC 2 with WPC Integration Page 170 Chapter 2 Installing SmartPAC 2 and WPC ...
Страница 222: ...1126800 SmartPAC 2 with WPC Integration Page 200 Chapter 3 SmartPAC 2 Keyboard Displays and Operating Modes ...
Страница 294: ...1126800 SmartPAC 2 with WPC Integration Page 272 Chapter 4 SmartPAC 2 Initialization Mode ...
Страница 342: ...1126800 SmartPAC 2 with WPC Integration page 320 Chapter 5 SmartPAC 2 Program Mode ...
Страница 404: ...1126800 SmartPAC 2 with WPC Integration Page 382 Chapter 6 SmartPAC 2 Run Mode ...
Страница 448: ...1126800 SmartPAC 2 with WPC Integration Page 426 Chapter 7 SmartPAC 2 Fault Messages ...
Страница 476: ...1126800 SmartPAC 2 with WPC Integration page 454 Appendix C Updating SmartPAC 2 Firmware ...
Страница 478: ...1126800 SmartPAC 2 with WPC Integration page 456 Appendix D SmartView Remote Viewing and E mail Setup ...
Страница 480: ...1126800 SmartPAC 2 with WPC Integration page 458 Appendix E Upgrade from Original SmartPAC to SmartPAC 2 ...
Страница 482: ...1126800 SmartPAC 2 with WPC Integration page 460 Appendix F Replacing SmartPAC 2 PC Board ...
Страница 492: ...1126800 SmartPAC 2 with WPC Integration page 470 Glossary ...