Configuration
34
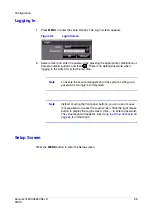
Turning on the Power
Connecting the power cord to the DVR turns on the unit. The unit takes approximately
60 seconds to initialize.
Initial Unit Setup
Before using your DVR for the first time, you will want to establish the initial settings. This
includes items such as time and date, display language, camera, audio, remote control,
record mode, network, and password. Your DVR can be set up using various screens
and dialog boxes.
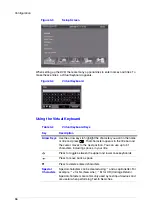
Throughout the screens you will see
. Highlight
and press
(Play/Pause) to
reset that screen to its default settings.
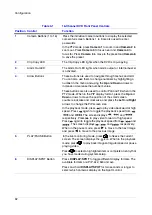
13
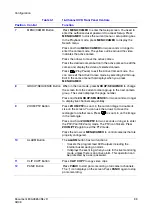
PLAYBACK Button
Press PLAYBACK to enter the playback mode. Press
PLAYBACK again to exit the playback mode. When entering
the playback mode, video is paused.
Press
to play back video at regular speed. The screen
displays
when the DVR is in the Pause mode and the screen
displays when the DVR is playing back video.
14
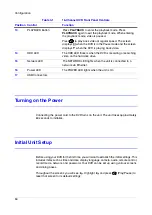
HDD LED
The HDD LED flickers when the DVR is recording or searching
video on the hard disk drive.
15
Network LED
The NETWORK LED lights when the unit is connected to a
network via Ethernet.
16
Power LED
The POWER LED lights when the unit is On
17
USB Connectors
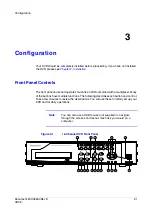
Table 3-1
16-Channel DVR Front Panel Controls
Position Control
Function
Содержание HRSD16
Страница 12: ...Tables 12 ...
Страница 18: ...18 ...
Страница 22: ...Introduction 22 ...
Страница 138: ...Operation 138 ...
Страница 140: ...USB Hard Disk Drive Preparation 140 ...
Страница 158: ...Time Overlap 158 ...
Страница 160: ...Troubleshooting 160 ...
Страница 162: ...Connector Pinouts 162 ...
Страница 163: ...Map of Screens Document 800 03650 Rev D 163 02 09 H Map of Screens ...
Страница 164: ...Map of Screens 164 ...
Страница 166: ...System Log Notices 166 ...
Страница 175: ......

