Configuration
102
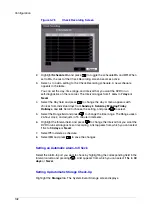
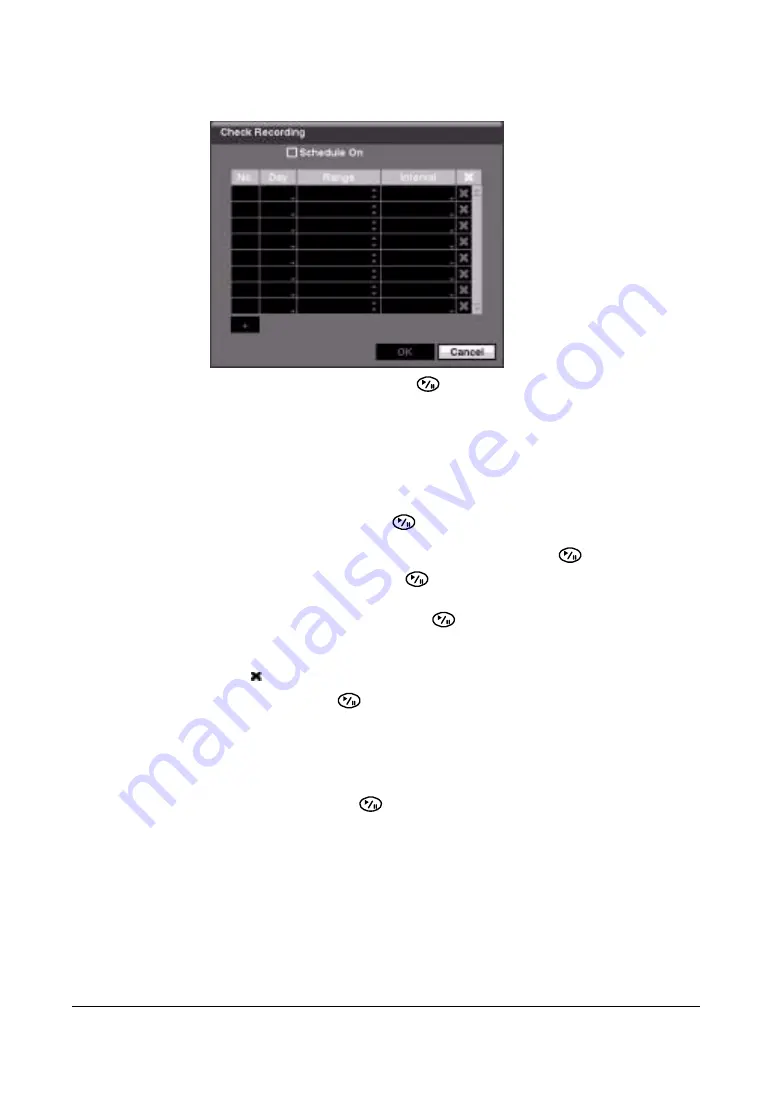
Figure 3-75
Check Recording Screen
2.
Highlight Schedule On and press
to toggle the schedule On and Off. When
set to On, the rest of the Check Recording screen becomes active.
3.
Select + to add a setting to the Check Recording schedule. A new schedule
appears in the table.
You can set the day, time range, and interval that you want the DVR to run
self-diagnostics on the recorder. The Interval ranges from 1 min. to 7 days or
Never.
4.
Select the Day field and press
to change the day. A menu appears with
choices from individual days from Sunday to Saturday, Monday-Friday,
Holidays, and All. Scroll to choose the setting, and press
to select.
5.
Select the Range field and press
to change the time range. The Range uses a
24-hour clock, and adjusts in 15 minute increments.
6.
Highlight the Interval field, and press
to change the interval that you want the
DVR to run self-diagnostics on recording. A list appears from which you can select
1 hr. to 30 days or Never.
7.
Select to delete a schedule.
8.
Select OK and press
to save the changes.
Setting an Automatic Alarm-In Check
Select the Alarm-In port you want to check by highlighting the corresponding field in the
Interval column and pressing
. A list appears from which you can select 1 hr. to 30
days or Never.
Setting Up Automatic Storage Check-Up
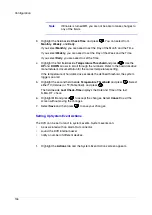
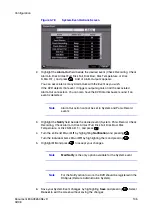
Highlight the Storage tab. The System Event Storage screen displays.
Содержание HRSD16
Страница 12: ...Tables 12 ...
Страница 18: ...18 ...
Страница 22: ...Introduction 22 ...
Страница 138: ...Operation 138 ...
Страница 140: ...USB Hard Disk Drive Preparation 140 ...
Страница 158: ...Time Overlap 158 ...
Страница 160: ...Troubleshooting 160 ...
Страница 162: ...Connector Pinouts 162 ...
Страница 163: ...Map of Screens Document 800 03650 Rev D 163 02 09 H Map of Screens ...
Страница 164: ...Map of Screens 164 ...
Страница 166: ...System Log Notices 166 ...
Страница 175: ......

