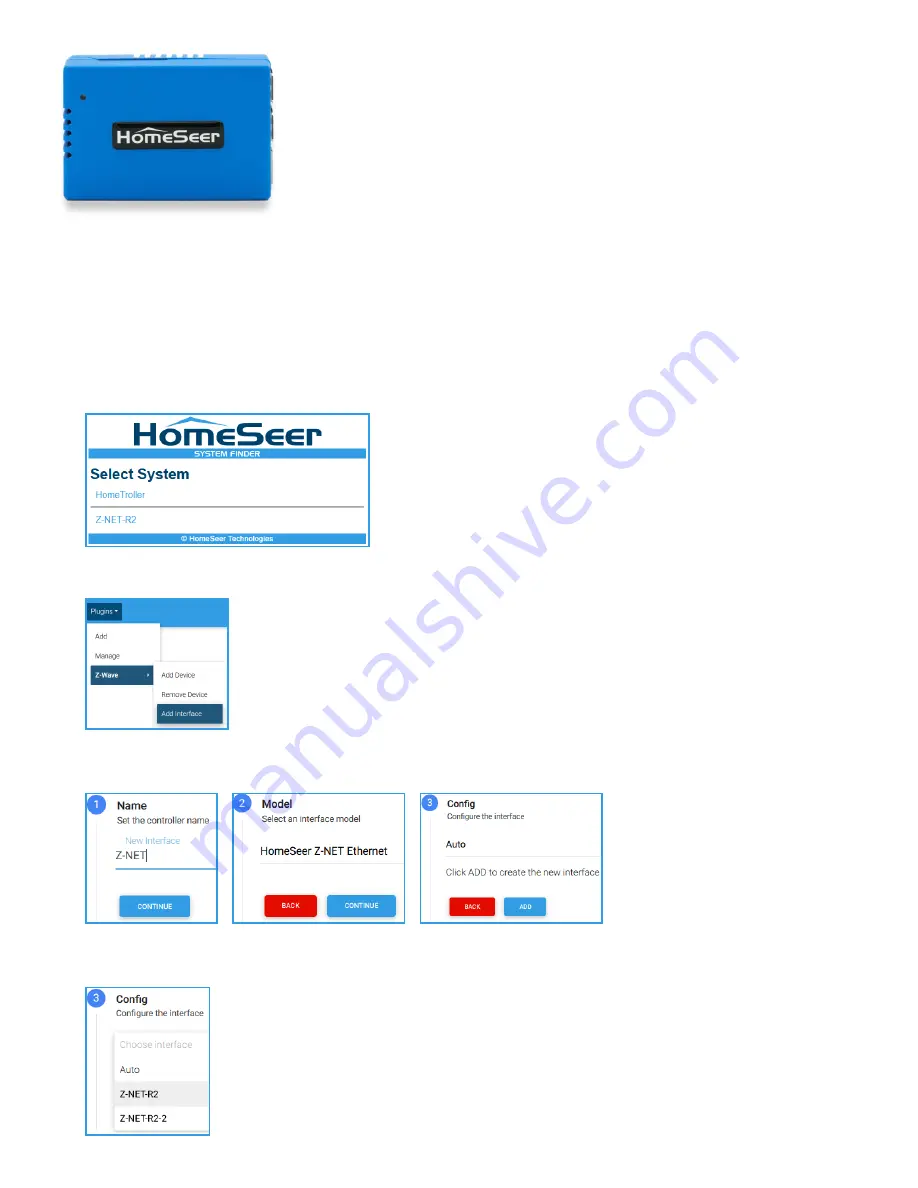
Z
-
NET
-
R2 Quick Start Guide V1.0 | Page 1
Z
-
NET Quick Start Guide
Installation and Setup
1.
Unpack the Z
-
NET, AC power supply and Ethernet cable. Connect the cable to the unit and attach the other end to
your router or network switch.
2.
Connect the AC power supply to the unit and plug it in. The unit will power on by itself and the LED on the top of the
unit will blink red for approximately 20 seconds and then glow red once the unit has finished booting.
3.
Navigate to
find.homeseer.com
to access the system finder. You should see two links displayed, one for your
HomeTroller hub (or HS4 system) and one for your Z
-
NET. If you don
’
t see the Z
-
NET link, wait for a few minutes and
refresh your browser.
4.
Click the HomeTroller (or HS4) link to access the web interface of your HomeSeer system. Then navigate to
Plugins > Z
-
Wave > Add Interface
to access the stepper for adding the Z
-
Net to your system.
5.
Create a
Name
for your Z
-
NET, Select
HomeSeer Z
-
NET Ethernet
as the
Model
, and configure the interface by
selecting
Auto*
, then
Add
. The Z
-
NET will then be added to your system.
*Note: If multiple Z
-
NETs are to be installed, do not select Auto. Instead, choose the specific Z
-
NET from the drop
-
down list. The example below includes 2 units named
Z
-
NET
-
R2
and
Z
-
NET
-
R2
-
2
.
Overview
Z
-
NET is a network
-
connected Z
-
Wave interface that
’
s designed to work with
HomeSeer smart home hubs and software systems. This guide will briefly cover
essentials on getting your Z
-
NET up and running.


