PO#:
Page 1
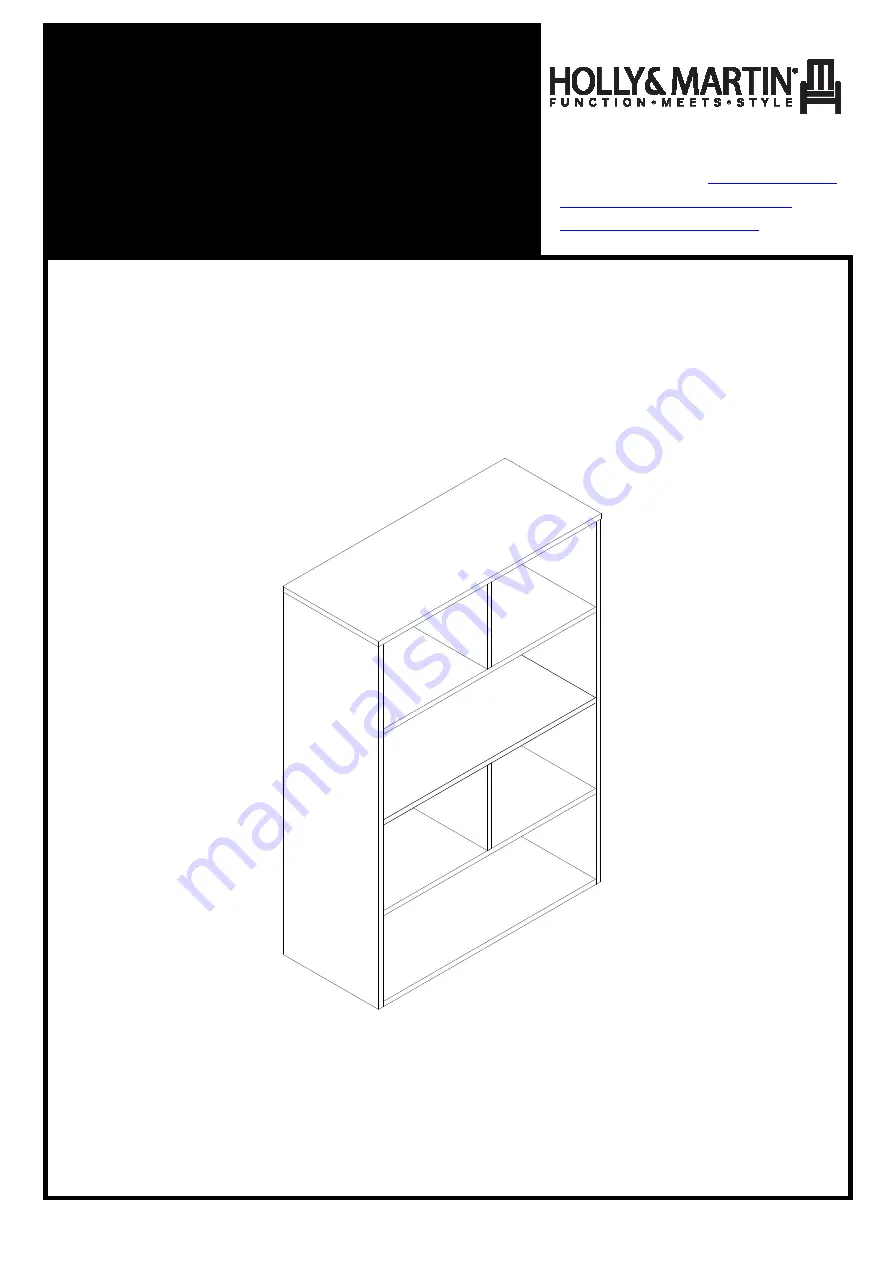
HZ640400TX
Haza Shelf
Assembly Instructions
Holly & Martin® a valued brand of SEI Customer Service
1-800-633-5096
[email protected]
www.hollyandmartin.com
Страница 1: ...PO Page 1 HZ640400TX Haza Shelf Assembly Instructions Holly Martin a valued brand of SEI Customer Service 1 800 633 5096 service hollyandmartin com www hollyandmartin com ...
Страница 2: ...antity of 28 Screw Dia 1 8 x 1 2 L E Quantity of 2 Plastic Strap F Quantity of 4 Bracket G Quantity of 2 Screws Dia 1 8 x1 1 2 L Haza Shelf Parts List Please check packaging for all parts and hardware before discarding Unpack and lay parts on clean padded surface like carpet or a blanket Check that you have all parts indicated Call customer service if any hardware is missing Before beginning assem...
Страница 3: ...ing Instructions Before using wipe with a clean dry cloth Avoid rubbing or scratching the surface with rough or abrasive objects For replacement parts or questions please call SEI Customer Service at 1 800 633 5096 Assembly Tools Required No 2 Phillips Screwdriver Hammer Electric Drill Not Included Page 3 ...
Страница 4: ...Cam Locks B clockwise using Phillips screwdriver not included Cover Cam Locks B with Adhesive Pads J Figure 2 Align Cam Bolts A by hand Insert Cam Locks B into corresponding holes on Middle Panel 6 Screw Cam Bolts A into threaded holes on Shelf Panels 4 5 Attach Shelf Panels 4 5 to Middle Panel 6 by inserting Cam Bolts A and Wood Dowels C into corresponding holes until all panels meet Tighten Cam ...
Страница 5: ...olts A by rotating Cam Locks B clockwise using Phillips screwdriver not included Figure 4 Align Cam Bolts A by hand Insert Cam Locks B into corresponding holes on Side Panels 2 3 Middle Panel 6 Screw Cam Bolts A into threaded holes on Top Panel 1 Attach Top Panel 1 to Side Panels 2 3 Middle Panel 6 by inserting Cam Bolts A and Wood Dowels C into corresponding holes until all panels meet Tighten Ca...
Страница 6: ...o assembled unit using Short Screws I Tighten Screws I using a Philips screwdriver not included Mark two desired locations on wall Drill two 3 16 holes Insert plastic anchors H into the 2 holes tap lightly with a hammer no included as needed Attach the Brackets F to wall using Long Screws G Tighten Screws G using a Philips Screwdriver not included 8 8 D D ...
Страница 7: ...Page 7 Figure 6 Tie brackets F together with plastic straps E Warning Anti tip hardware must be used for this product to avoid tipping and injury Figure 7 Now your Haza Shelf is ready to use ...
Страница 8: ...onsible for any damages due to product modification s If damages or missing parts are not reported within 90 days of your receipt we are under no obligation to provide parts or replacement merchandise For product issues please contact Southern Enterprises at 800 633 5096 toll free 972 869 0111 Dallas Mon Fri 9am 4pm CST or email us at service seidal com Please ask for customer service representati...