background image

For Your Safety 

- 1 - 

Instruction Manual 


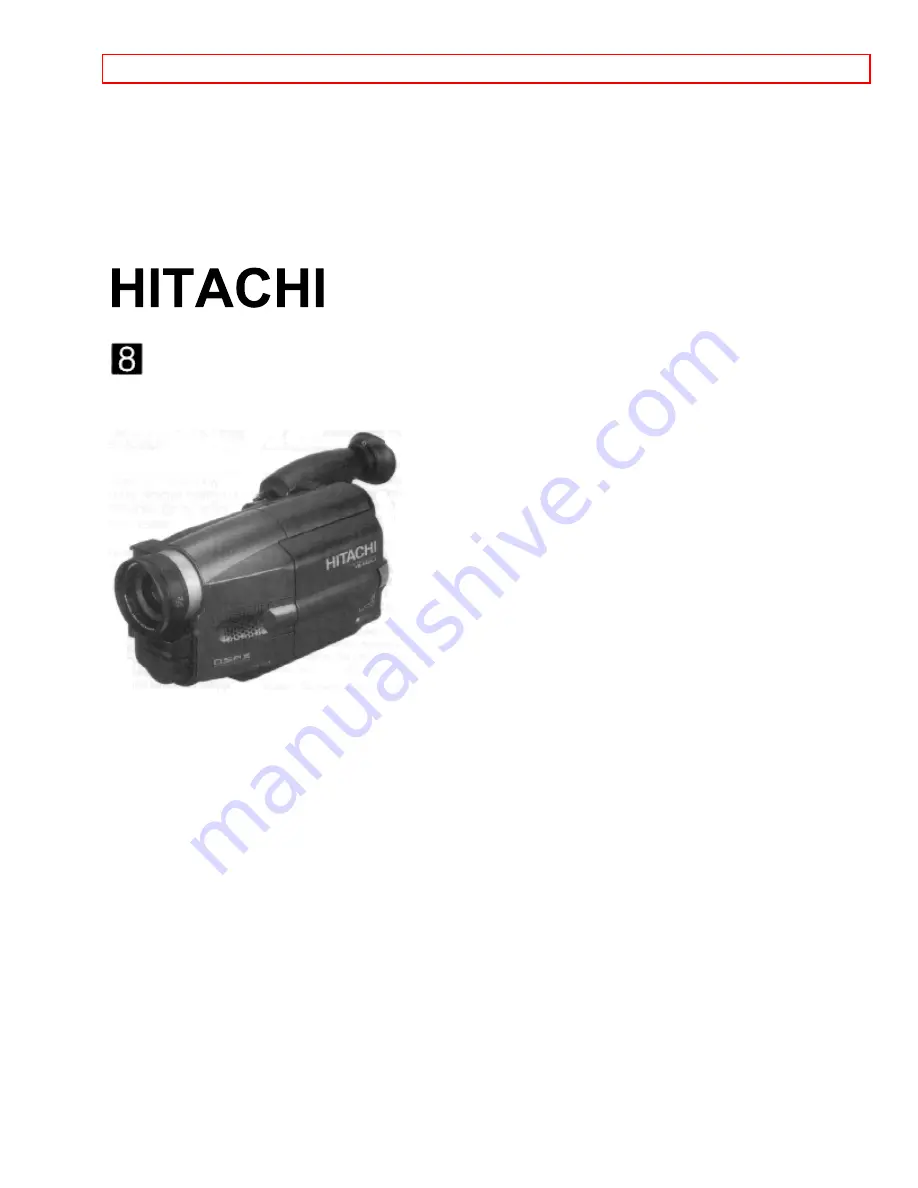
8mm Video Camcorder 

VM-E625LA 


Hitachi Home Electronics (America), Inc. 

HITACHI (HSC) CANADA INC 

3890 Steve Reynolds Blvd., Norcross, GA 30093


3300 Trans Canada Highway, Pointe Claire,


Tel. 770-279-5600


Quebec, H9R 1B1, CANADA


Tel. 514-697-9150


HITACHI SALES CORPORATION OF HAWAII, INC 


3219 Koapaka Street, Honolulu, Hawaii 96819


Tel. 808-836-3621


Thank you for buying a Hitachi product. Please take time to become familiar with the manual and how it is set up. 
Keep it handy for feature reference. 

QR15092 © Hitachi, Ltd. 1996   


Printed in Japan KR-R(N) 

Содержание VME-625LA - Camcorder

Страница 1: ... Canada Highway Pointe Claire Tel 770 279 5600 Quebec H9R 1B1 CANADA Tel 514 697 9150 HITACHI SALES CORPORATION OF HAWAII INC 3219 Koapaka Street Honolulu Hawaii 96819 Tel 808 836 3621 Thank you for buying a Hitachi product Please take time to become familiar with the manual and how it is set up Keep it handy for feature reference QR15092 Hitachi Ltd 1996 Printed in Japan KR R N ...

Страница 2: ...aining Tape 19 Setting the Date and Time 20 Getting Started Identifying Controls 21 Basic Techniques 25 Making a Basic Recording 25 Playback 25 Playing Back Your Recording on Your TV 27 Advanced Techniques 28 Changing the Angle of the LCD Monitor when Recording 28 Date Recording 29 Using the Power Zoom 30 Using the Digital Zoom 31 Using the INST ZOOM Instant Zoom Button 31 Using Auto Focus 32 Usin...

Страница 3: ... have the following caution marks Identifications of caution marks This symbol warms the user that uninsulated voltage within the unit may have sufficient magnitude to cause electrical shock Therefore it is dangerous to make any kind of contact with any inside part of this unit This symbol alerts the user that important literature concerning the operation and maintenance of this unit has been incl...

Страница 4: ...to Article 820 40 of the NEC that provides guidelines for proper grounding and in particular specifies that the cable ground shall be connected to the grounding system of the building as close to the point of cable entry as practical Notes This unit uses 8mm video format cassettes It records and plays back in the SP mode 14 3 mm sec It cannot record and play back in the LP mode 7 2 mm sec This cam...

Страница 5: ...r deteriorated insulation 7 Power Cord Protection Power supply cords should be routed so that they are not likely to be walked on or pinched by items placed upon or against them paying particular attention to cords at plugs convenience receptacles and the point where they exit from the appliance 8 Ventilation Slots and openings in the cabinet are provided for ventilation to ensure reliable operati...

Страница 6: ... be hazardous and should be left to a professional antenna installer USE 14 Cleaning Unplug this video product from the wall outlet before cleaning Do not use liquid cleaners or aerosol cleaners Use a damp cloth for cleaning 15 Object and Liquid Entry Never push objects of any kind into this video product through openings as they may touch dangerous voltage points or short out parts that could res...

Страница 7: ...or otherwise subjected to damage or stress 9 Do not operate charger with damaged cord or plug replace them immediately 10 An extension cord should not be used unless absolutely necessary Use of improper extension cord could result in a risk of fire and electric shock If extension cord must be used make sure A The pins on plug of extension cord are the same number size and shape as those of plug on...

Страница 8: ...ectly Be sure not to leave the camcorder in a place where the temperature exceeds 140 F 60 C or the pickup device may be damaged Dangerous includes Inside a car with the windows closed and in direct sunshine Near heating appliances Do not leave the viewfinder lens facing sunlight for a prolonged period or the phosphorescent surface of the cathode ray tube or the liquid crystal display LCD panel ma...

Страница 9: ...F adapter can also be purchased by mail by sending either money order or your credit card information to the following address HiTRON Inc 675 Old Peachtree RD Suwanee GA 30174 Tel 1 800 995 4500 For more information concerning the purchase of camcorder accessories please see the optional accessory listing on page 65 Attaching the Shoulder Strap Thread the ends of the provided shoulder strap throug...

Страница 10: ...atures of the camcorder Once fully charged the battery will give an operating time of approximately 40 minutes but this is reduced to a half to one third depending on how often you use zoom and start stop functions Charge the battery at a temperature range of 50 F 10 C 86 F 30 C to prevent damage to the battery 1 Plug the AC adapter charger power cord into an AC outlet Make sure that the wide blad...

Страница 11: ...and use the battery will gradually lose operating time When operation time becomes too short to be useful replace the battery If the POWER light begins to flash during charging remove the battery and then reattach it to the AC charger adapter If the POWER light continues to flash after several attempts to attach it the battery is unable to take a charge and must be replaced Do not attach a hot bat...

Страница 12: ...finder back in its original position before storing the camcorder in its case or carrying the camera recorder around to avoid damaging the viewfinder or camcorder Eyepiece Adjustment To use the electronic viewfinder turn this control for your optimum focus adjustment Adjustment the Hand Strap Adjust the hand strap to best fit your hand After adjustment hook the hand strap s pad securely ...

Страница 13: ...with the terminal facing up as shown in the figure 4 Replace the battery holder with battery in the remote control making sure that it is fully inserted WARNING KEEP THE BATTERIES AWAY FROM CHILDREN AND PETS IF SWALLOWED CONSULT A PHYSICIAN IMMEDIATELY FOR EMERGENCY TREATMENT Note Replace the batteries with 3V micro lithium cells such as Maxell CR2025 or its equivalent Note Dispose of battery safe...

Страница 14: ...ever and pull it up The power supply attachment cover will open 2 With the battery compartment facing you align arrow on the battery with the arrow on the camcorder 3 Once the arrows are aligned push down on the battery 4 While pushing down the battery slide it to the right until it clicks into place 5 After installing the battery close the cover Hold the OPEN lever and align the tabs on both side...

Страница 15: ...y charge indicator is located on the upper right corner of the viewfinder One of three symbols displays when the battery is used This symbol indicates a fully charged battery This symbol indicates a partially charged battery This flashing symbol indicates a battery nearly out of power Use an alternate power source or charge the battery before continuing to use the camcorder Using Alkaline Dry Cell...

Страница 16: ...with the end of the attachment section Note Use only AA alkaline batteries marked LR6 Manganese batteries cannot be used to power the camcorder Note It is recommended that you use alkaline batteries within the recommended period of use or within two years of the date of manufacture Note Be careful of the following to prevent the leakage of liquid or an explosion Check that the orientation polarity...

Страница 17: ...off soon These phenomena occur because the capacity of batteries becomes low So turn the power switch off and replace the batteries If the power switch is left turned on in this state the power may turn on temporarily and turn off again repeatedly Note Be sure not to short disassemble heat or throw batteries into fire This is very dangerous Using Alternative Power Sources Using the AC Adapter Char...

Страница 18: ...e 1 Press the PUSH OPEN button to open the LCD monitor Opening the LCD Monitor p25 2 Press the EJECT button The cassette door opens automatically Caution Be careful not to catch your fingers between the cassette door and the camcorder as it could cut you 3 Place the cassette in the cassette holder so that the transparent window faces away from the body of the camcorder and the sprockets toward the...

Страница 19: ...gain Using the Linear Time Counter The linear time counter displays the tape run in hours minutes and seconds helping you to keep track of how long you ve been filming or time you have left to film before running out of tape Turn the camcorder on to display the linear time counter The linear time counter keeps track from when you load a cassette into the camcorder and clears to 0 00 00 when the ca...

Страница 20: ...viding power to the camcorder is removed Make sure that the current time is displayed correctly before you start filming 1 Load the battery Loading the Batteries Camcorder batteries p15 Press the red button on the CAM OFF VIDEO switch as you slide it to CAM 2 Press the DATE TITLE button and look into the viewfinder The date and time should appear in the lower right with the 1 flashing 3 Pressing t...

Страница 21: ... be inserted or removed 10 EJECT Switch A power source must be connected before cassettes can be inserted or removed though the CAM OFF VIDEO switch may be set to OFF Inserting and Removing Cassettes p18 iii11 LCD Monitor You can view the pictures as they are being recorded and play them back immediately after recording on the 3 inch LCD screen 12 BRIGHT Control Use this to adjust the brightness o...

Страница 22: ...ht here 24 OPEN Lever Use this to open or close the cover of the power supply attachment holder Camcorder Batteries p15 25 Power Supply Attachment Section Behind the cover Attach a battery or alkaline batteries here Camcorder Batteries p15 16 26 Hand Strap Refer to page 13 27 DC IN Jack Behind the jack cover When using the AC adapter charger connect one end of the DC cord provided to this jack and...

Страница 23: ...unter to 0 00 00 39 TITLE ON OFF Button only on the remote control Use this button to create and record titles for your tapes Creating and Recording a Title p 43 40 DISPLAY Button Use this button to select the viewfinder and TV display Using the Display Button p41 This button can be used instead of the DATE TITLE button on the camcorder in the VIDEO mode 41 A V DUB Button only on the remote contro...

Страница 24: ... the power is turned on When the temperature inside the camcorder rises the brightness of the picture will become normal Do not hold by the LCD monitor as this could cause a malfunction Open the LCD monitor by 90 before changing its direction If you were to attempt to invert its direction before opening it completely it could cause a malfunction Close the LCD monitor after making sure it its paral...

Страница 25: ...ss the Start Stop button REC appears in the viewfinder or LCD monitor and the camcorder records the picture you see in the viewfinder or LCD monitor 5 To stop recording press the Start Stop button and REC disappears from the viewfinder or LCD monitor replaced by This places the camcorder in standby Note If the LCD monitor is opened or closed the monitor picture is switched between the viewfinder a...

Страница 26: ...e It is recommended that you close the LCD monitor to save the battery power when playing back a picture on a TV or recording or TV program without viewing it Note Only the playback sound is heard The sound being recorded is not heard Simple Playback Using the Electronic Viewfinder or LCD monitor 1 Insert the cassette Inserting and Removing Cassettes p18 2 Hold down the red button on the CAM OFF V...

Страница 27: ...s is normal during search mode Playing Back Your Recording on Your TV Depending on the setup of your video equipment you connect the camcorder in one of the 3 methods explained below Connecting to a Television with a VCR Attached 1 Connect the provided AV stereo output cable to the AUDIO IN and VIDEO IN jacks of your VCR Connect either the right or left audio plug into your VCR if it has only one ...

Страница 28: ...na adapter to the VHF antenna lead and slide the adapter on to the ANT IN terminal 3 Connect the 75 ohm coaxial cable of the RF output adapter to the VHF antenna terminals on the back of the television If the television is set up to connect to a flat antenna lead you need to purchase antenna adapter 75 ohm to 300 ohm transformer Connect the adapter to the 75 ohm coaxial cable of the RF output adap...

Страница 29: ...l begin recording Note Tilt the LCD monitor in the direction of the camera lens so that it faces up slightly and the screen may be viewed easily Date Recording When the date has been set the camcorder will enter the automatic date recording mode automatically 1 Press the red button on the CAM OFF VIDEO switch as you slide it to CAM 2 Press the DATE TITLE button to specify the date display you want...

Страница 30: ...e remote control Date Date Recording The camcorder records the date with the picture all the time No Display No Date Recording The camcorder does not record the date Date and Time Date and Time Recording The camcorder records the date and time with the picture all the time 3 Press the start stop button Recording will start Note When AUTO and date display is selected the date disappears about 10 se...

Страница 31: ...trol until you find the picture you want You control the zoom with the power zoom T and W controls When ZOOM is not displayed in the viewfinder or LCD monitor normal zoom functions resume Using the INST ZOOM Instant Zoom Button The instant zoom feature activates the digital zoom to magnify the subject 1 5 times regardless of zooming engaged by the power zoom T and W controls Press the INST ZOOM bu...

Страница 32: ... control buttons simultaneously to return to auto focus The auto focus will not work under the following conditions and you must focus manually Objects outside the center of the viewfinder Objects at different distances in the center of the viewfinder Brightly lit objects such as a neon light objects lit by spotlight etc Objects behind water dappled or dusty glass Objects with little difference in...

Страница 33: ...f focus when actual recording starts 3 Press the Focus control F far or N near button until the subject is in focus 4 Use the power zoom W control to zoom back to the picture you desire Note To return to auto focus press the FOCUS control buttons and the FOCUS disappears from the viewfinder Using the Electronic Image Stabilizer The electronic image stabilizer EIS corrects slight shaking of the ima...

Страница 34: ...from a white screen or fades out to a white screen appears in the upper left corner of the viewfinder or LCD monitor Wipe fade The picture opens gradually from the center of a black screen or closes into the center to a black screen appears in the upper left corner of the viewfinder or LCD monitor Zoom fade Fades in while zooming from a white screen or fades out while zooming to a white screen app...

Страница 35: ...er to record pause mode and tap the REW button The last few seconds of tape play back in reverse and then in normal playback mode 2 The camera plays back to the spot where you paused and returns to record pause mode standby Press the Start Stop button to resume recording Using Quick Edit Use quick edit to search for the end of previously recorded material find a particular spot on your tape begin ...

Страница 36: ...earch for the start position from which you last made a recording or the F F button the F FWD button on the remote control to recording end position 4 When the required position is located the camcorder enters the stop mode and SEARCH disappears from the viewfinder or LCD monitor Note If you have ejected the cassette this function will not operate with that cassette When a cassette is inserted and...

Страница 37: ...o return The linear time counter clears to 0 00 00M 2 Press the STOP button to stop playback or press the start stop recording and set the CAM OFF VIDEO switch to VIDEO 3 Press the DISPLAY button on the remote control so the linear time counter with memory is displayed as shown in the figure 4 Press the REW button and the tape stops at approximately where you reset the linear time counter This fea...

Страница 38: ...own above Note The wireless remote control may not function in strong light such as direct sunlight or very bright artificial lighting Note Clear a direct path from the wireless remote control to the infrared receiver The wireless remote control won t work if an obstacle blocks the infrared rays Note The remote control code of this camcorder is Hitachi code VCR2 If you have a VCR with the same cod...

Страница 39: ...cter press the STOP button to set it 7 Complete the title by repeating steps 5 and 6 8 When you complete your title press the TITLE ON OFF button on the remote control to store the title in memory and remove the title graphics from the viewfinder or LCD monitor Note As long as the correct current time can be displayed the title is held in memory Correcting Errors 1 Press the TITLE ON OFF button on...

Страница 40: ...on as you normally do to see the signal coming from the VCR 3 Hold down the red button of the CAM OFF VIDEO switch while you slide the switch to VIDEO 4 Insert the recorded tape in the camcorder and a blank tape into the VCR Set the VCR to record 5 Play the tape from the camcorder while recording on the VCR Note If the VCR is connected to a television and the VCR TV selector is set to VCR you can ...

Страница 41: ...mple Programmable Edit Edit remote control is optional accessory Simple programmable edit allows you to program your camcorder to select the scenes you want to copy from a pre recorded tape Use the edit remote control optional to easily copy scenes from a recorded tape in the camcorder playback machine onto a blank tape in a table top VCR which handles infrared signals recording machine Note Only ...

Страница 42: ... control may not operate correctly Note The remote control cannot be operated if there is an obstacle between the remote control and infrared receiver Especially be careful of this during dubbing Note When the edit remote control is connected to the camcorder the buttons marked in the figure above perform the same operations as those of the other remote control provided Operation You can select up...

Страница 43: ...rammable edit The camcorder automatically searches for the beginning of the first segment and starts playback The recording VCR automatically starts recording After recording the first segment the camcorder automatically searches for the beginning of the next segment and resumes playback The recording VCR is automatically released from the record pause mode and resumes recording It continues recor...

Страница 44: ...eed to program the camcorder remote control to send signals that your TV will recognize and respond to Here s what to do Programming the Remote Control Turn the television on any channel is okay Aim the camcorder s remote control at your TV set Hold down the CH button while you press the button corresponding to your brand of television as shown in the chart page 52 For example if you have an RCA t...

Страница 45: ... camcorder 5 Use the wireless remote control and press the PLAY button Use the PLAY F FWD and REW buttons to find the place where you want to stop dubbing Press the PAUSE START STOP button 6 Display the linear timer counter with memory Using Memory p 41 Press the COUNTER RESET button to set the linear time counter to 0 00 00M 7 Use the REW and PLAY buttons to find where you wish to start dubbing P...

Страница 46: ... may appear in the picture In this event press the STOP button to stop the camcorder unplug the AV input cable and play back the tape again Note To monitor the picture being recorded connect the AV Stereo Output Cable provided to the VIDEO IN jack of the television as shown above Attaching the Optional Wide or Tele Converter Lens 1 To remove the lens hood turn it counterclockwise 2 Remove both cap...

Страница 47: ...ive or highly flammable materials Always allow the DC camera light to cool fully before storing The DC camera light becomes very hot during use of the camera light or immediately after use Be careful that your hand or hair does not touch them When the DC camera light is on avoid subjecting the camera light to impacts or sharp vibrations If the DC camera light is turned on and off during recording ...

Страница 48: ...camera light bulb with VM CP4L optional to reduce the risk of fire General Maintenance Cleaning the camcorder Heads Dirt can accumulate on the video heads on the camera causing the playback picture to become blurred or appear as if video information is lost This often means that the video heads are dirty Use a video head cleaner such as a dry type head cleaning tape to clean the heads If after cle...

Страница 49: ...d inspection systems If problems develop please check the following possible solutions before inquiring about professional service INSERTING OR REMOVING THE CASSETTE Symptom Check Point Correction Cassette holder cannot be opened when you slide EJECT switch Connect the power source Cassette cannot be inserted into cassette compartment Load cassette in direction indicated by arrow on cassette Casse...

Страница 50: ...light cannot be used RECORDING TV PROGRAMS OFF THE AIR Symptom Check Point Correction The camcorder cannot be set to the recording mode even when the Start Stop button on the camcorder is pressed Check the record protect tab on the cassette See page 19 for details Set the CAM OFF VIDEO switch to CAM Connect the camcorder and TV or VCR PLAYBACK OF PRE RECORDED CASSETTE Symptom Check Point Correctio...

Страница 51: ...ON Symptom Check Point Correction The indication in the electronic viewfinder flashes to indicate battery is discharged Try another battery or charge the battery The battery level indicator appears differently on the LCD monitor and in the viewfinder This does not indicate a fault it is because the power consumed by the LCD monitor and viewfinder is different NO OPERATION IS ACCEPTED Symptom Check...

Страница 52: ...D monitor OFF 7 3W when recording LCD monitor ON Dimensions 4 5 8 W x 4 3 4 H x 8 5 16 D 118mm x 120mm x 211mm Weight 2 31 lbs approx 1050g without battery pack lens lens cap or cassette Operating temperature 32 F 104 F 0 C 40 C Storage temperature 4 F 140 F 20 C 60 C Video Recorder Specifications Format 8mm Record playback Two video record playback heads Video signal EIA standard NTSC color Tape ...

Страница 53: ... 30093 Tel 404 279 5600 Hitachi Sales Corporation of Hawaii 3219 Koapaka St Honolulu HI 96819 Tel 808 836 3621 Accessories Add Excitement We know that once you discover how much your Hitachi VM E625LA can add to your life you will want to use these accessories for even more excitement Converter lenses adapters for synchro editing and car cords are just a few of the exciting accessories available t...

Страница 54: ...Windex on the cloth and then clean the LCD According to Hitachi these LCDs can be easily damaged so this must be done with the utmost care 10 30 96 iiiCleaning Camcorder LCD viewfinder Do not use cotton swabs they will damage LCD First use a dry lens cloth If dry lens cloth does not do the job spray a little Windex on the cloth and then clean the LCD According to Hitachi these LCDs can be easily d...

Отзывы: