


4.5 Setting the Input Conditions
86
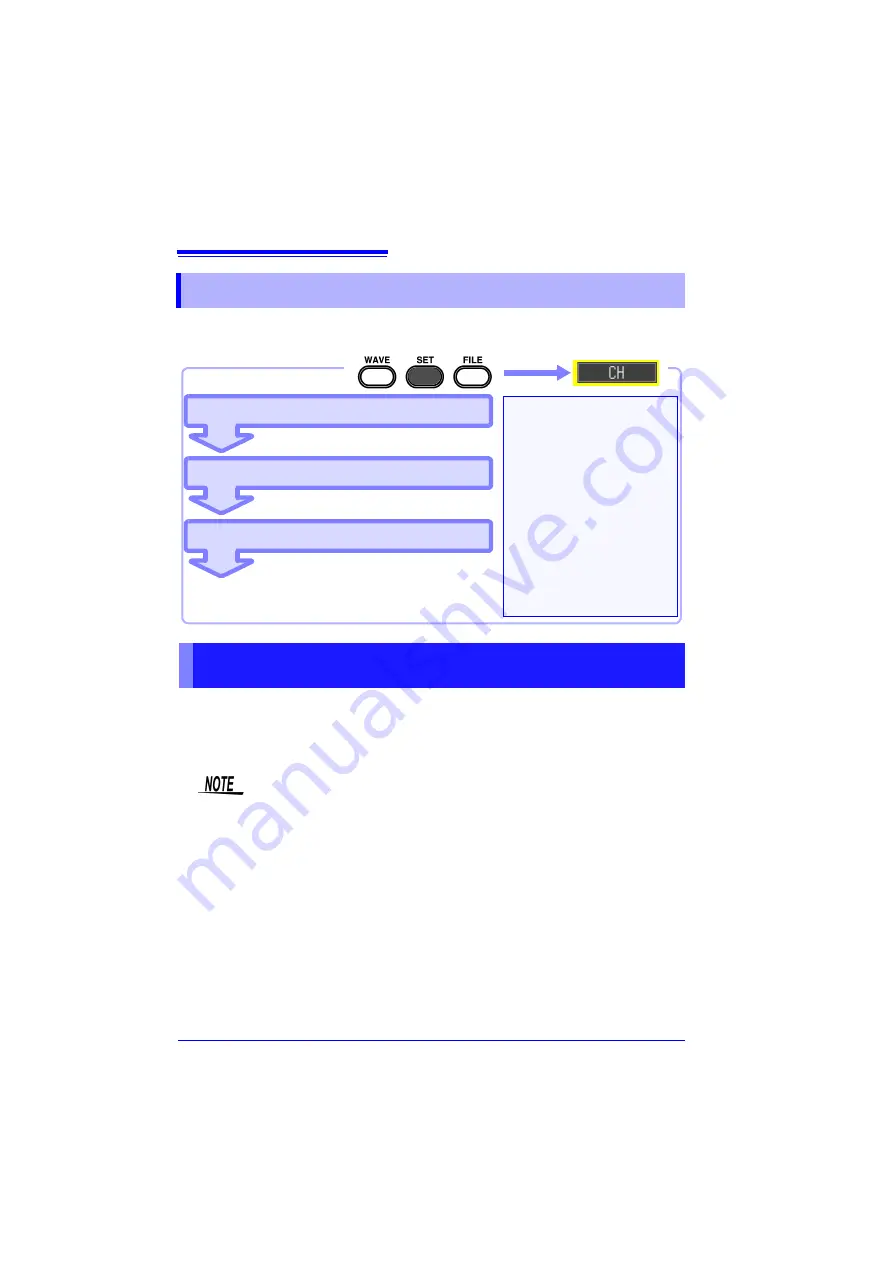
Configure the input channel settings on the [
CH
] screen. You can configure various
settings while viewing the monitor display on the Setting screen.
This section describes the minimum required settings for measurement.
The input channel mode (instantaneous value/effective value recording) and mea-
surement range need to be set before measurement. Change the settings of other
setting items as necessary.
4.5 Setting the Input Conditions
Set the input channel
Set the input mode
Configure the other settings as necessary.
Configure the settings as
necessary
Set the low-pass filter (p. 88)
Set the input coupling meth-
od (p. 88)
Set the display range (p. 91)
Set the display graph (p. 94)
Perform scaling (p. 97)
Use the trigger function
Perform numerical calcula-
tion (p. 177)
Set the measurement range
Setting the Input Channel (Instantaneous Value/Effective Value &
Measurement Range)
• The frequency range for effective values that can be measured with
the instrument is 30 Hz to 10 kHz. An effective value of a frequency
that is out of this range cannot be measured correctly.
• When effective value measurement is performed, the response time
becomes long if the input voltage is 10% f.s. or less. We recommend
configuring the setting so that the input voltage becomes 10% f.s. or
more.
• The input signal is displayed as follows when it exceeds the possible
measurement range of the set measurement range.
Measurement waveform: The data that exceeds the possible mea-
surement range is displayed in white when the screen background is
black, and in black when the screen background is white.
Measurement values: The data that exceeds the possible measure-
ment range is indicated as "OVER."
Содержание MR8880-20
Страница 2: ......
Страница 12: ...Procedure 2 ...
Страница 40: ...1 3 Screen Configuration and Display 30 ...
Страница 76: ...3 4 Measurement Using Setting Wizard PRESETS key 66 ...
Страница 174: ...6 4 Data Management 164 ...
Страница 186: ...7 7 Performing a Printer Check 176 ...
Страница 196: ...8 4 Numerical Value Calculation Expressions 186 ...
Страница 216: ...10 4 Making System Settings 206 ...
Страница 222: ...11 3 Communication Using Commands 212 4Click Next to start install ing Installing Click ...
Страница 226: ...11 3 Communication Using Commands 216 ...
Страница 254: ...13 6 Setting Wizard Function PRESETS 244 ...
Страница 292: ...Appendix 10 Installing Waveform Viewer A30 ...
Страница 297: ......
Страница 298: ......
Страница 299: ......
Страница 300: ......


