


21
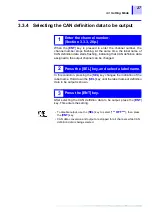
2.4 Power On/Off
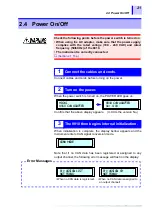
Connect cables and cords before turning on the power.
When the power switch is turned on, the POWER LED goes on.
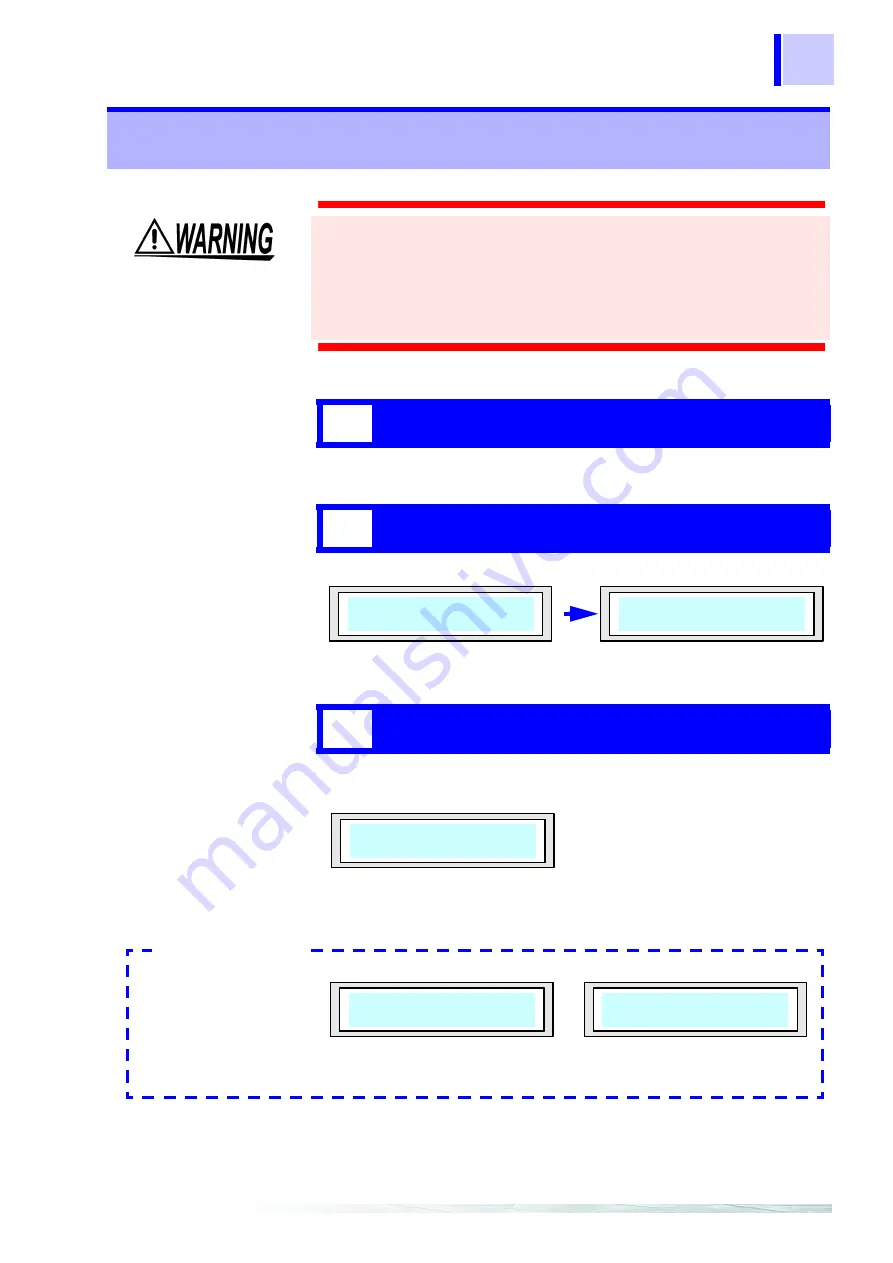
Confirm that the above display appears. (X.XX is the version No.)
When initialization is complete, the display bellow appears and the
instrument enters CAN signal conversion mode.
Note that if no CAN data has been registered or assigned to any
output channel, the following error message will flash on the display:
2.4 Power On/Off
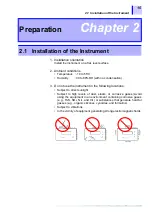
Check the following points before the power switch is turned on.
• When using the AC adapter, make sure that the power supply
complies with the rated voltage (100 - 240 VAC) and rated
frequency (50/60 Hz) of the 8910.
• The instrument is correctly connected.
❖
1
Connect the cables and cords.
2
Turn on the power.
3
The 8910 then begins internal initialization.
HIOKI
8910 CAN ADAPTER
8910 CAN ADAPTER
Ver X.XX
CONV MODE
Error Massages
Err:ASSIGN CH
NOT FOUND
Err:ASSIGN LIST
NOT FOUND
<When no CAN data is registered>
<When no CAN data is assigned to
an output channel>
Содержание 8910
Страница 1: ...8910 Instruction Manual CAN ADAPTER EN Aug 2018 Revised edition 7 8910A981 07 18 08H ...
Страница 2: ......
Страница 8: ...Contents vi ...
Страница 18: ...Notes on Use 10 ...
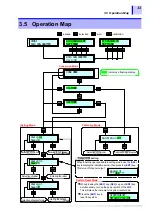
Страница 44: ...3 5 Operation Map 36 ...
Страница 48: ...4 2 Program Setup 40 ...
Страница 56: ...5 4 Operation Flowchart 48 ...
Страница 78: ...6 6 Editing in Another Window 70 ...
Страница 90: ...7 4 Setting the ID Filter 82 ...
Страница 99: ...91 9 2 Setting Data Printout ...
Страница 130: ...10 2 Using the 8910 with the 8841 8842 MEMORY HiCORDER 122 ...
Страница 147: ......
Страница 148: ......
Страница 149: ......
Страница 150: ......