13
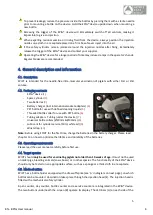
In option (1), an injection cycle is released once the trigger on the
handle is
pressed and held
while counter-pressure is generated on
the safety sleeve around the injection head (the two-way security
mechanism) by applying and pressing the injection head onto the skin
of a piglet.
1.
Press and hold trigger on the handle of the device.
2.
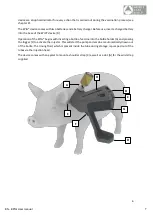
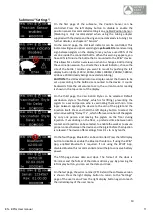
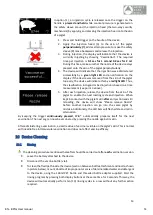
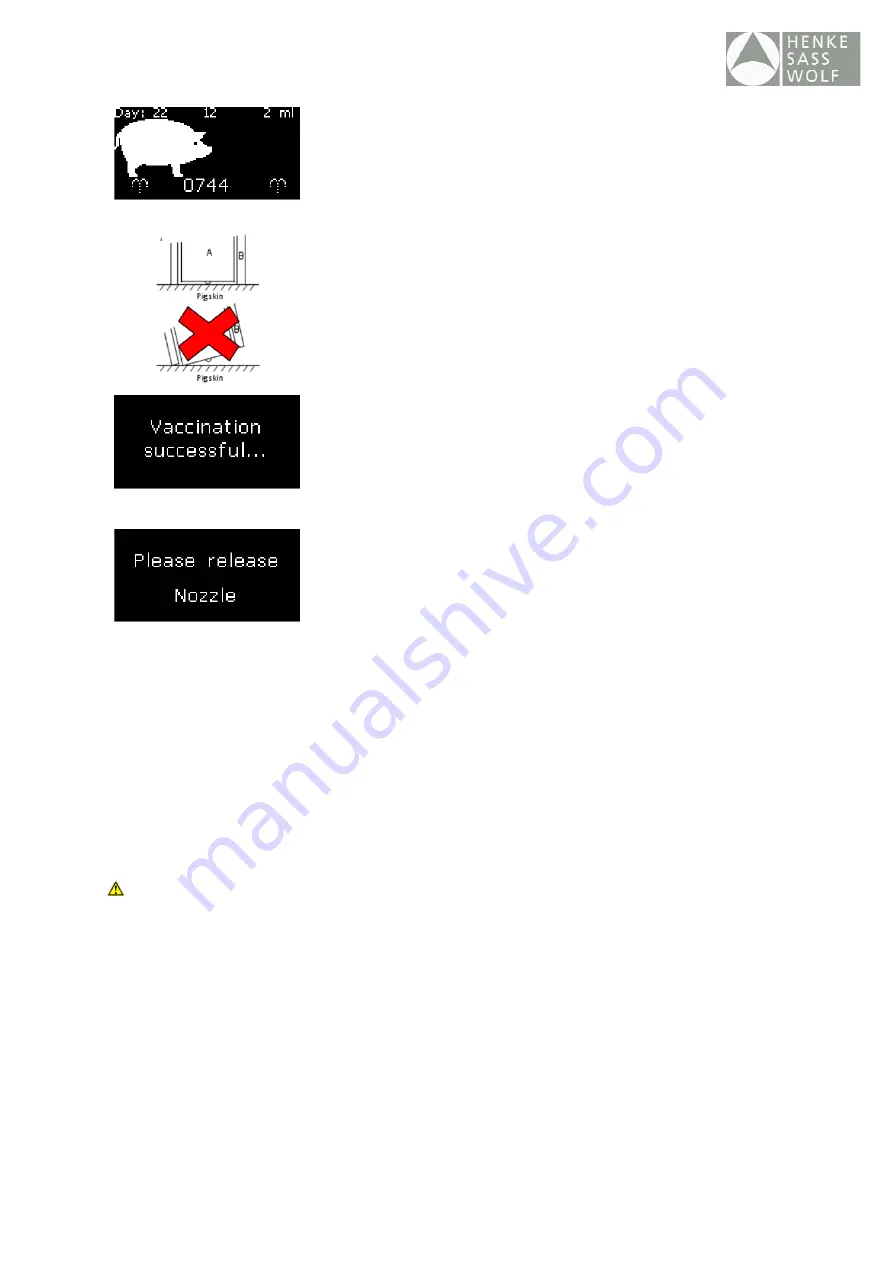
Apply the injection head (A) to the skin of the piglet
perpendicularly
(!)
, add a certain pressure to make the safety
sleeve (B) move backwards and release the injection.
3.
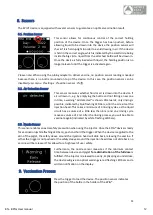
During injection, the display will indicate that the device is
currently injecting by showing “Vaccination”. The required
time per injection is
0.1 sec for 1 ml and 0.2 sec for 2 ml
.
During this time, make sure that the nozzle of the device stays
pressed onto the skin of the piglet perpendicularly.
4.
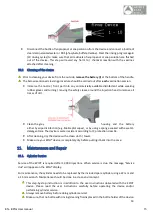
The device will indicate that the injection was administered
successfully by a
green light LED
and a notification on the
display. If the device was removed from the skin of the piglet
too early, the device will indicate this by a
red light LED
. Thus,
the classification into good or bad injection is based on a time
measurement (see point 3 above).
5.
After each injection, release the device from the skin of the
piglet to enable the next loading cycle and injection. When
kept in contact with the piglet’s skin
after
an injection and still
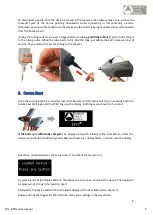
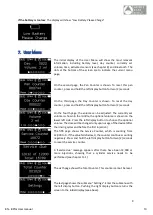
reloading, the device will show “Please release Nozzle”
before another injection can go into the same piglet by
mistake. Additionally, the LED bars will flash white and red in
alternation.
By keeping the trigger
continuously pressed
, EPIG® automatically prepares itself for the next
vaccination. The next pig can now be vaccinated by pressing the nozzle against its skin.
After administering a vaccination, a small residue of vaccine is visible on the piglet's skin. This is normal
with needle-free intramuscular vaccination and does not affect vaccine efficacy.
10
Device Cleaning
10.1
Rinsing
The cleaning procedure mentioned hereafter should be carried out after
each
vaccination session.
•
Leave the battery attached to the device.
•
Disconnect the vaccine bottle (vial).
•
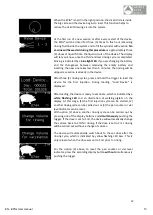
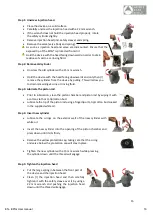
To clean the fluid path inside the device (section between bottle attachment and nozzle, shown
in picture below), mount a bottle of Isopropanol or a mix of demineralized water and detergent
to the device, using the 100ml PET bottle and threaded bottle adapter supplied. Start the
rinsing program by pressing both display buttons at the same time for 2 seconds. This way, the
device will automatically perform ten (10) rinsing cycles in a row without any further action
required.
EN - EPIG User manual
14
Содержание EPIG
Страница 24: ...23 17 EC declaration EN EPIG User manual 24 ...
Страница 48: ...24 17 EC verklaring NL EPIG Handleiding 48 ...
Страница 72: ...24 17 EC Erklärung DE EPIG Bedienungsanleitung 72 ...
Страница 95: ...23 17 Déclaration CE FR EPIG Manuel d utilisation 95 ...
Страница 119: ...24 17 Declaración CE ES EPIG Manual de usuario 119 ...
Страница 142: ...23 17 Dichiarazione CE Materiale riservato al Medico Veterinario IT EPIG Manuale d istruzioni 142 ...


