background image

The thread cabinet is 

packaged in two separate 

cartons. Depending on 

how the cabinet is 

delivered, both cartons 

may not necessarily 

arrive together.

Top

Panel (T)

Hemingworth Thread Cabinet

Assembly Instructions

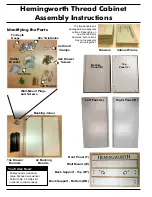
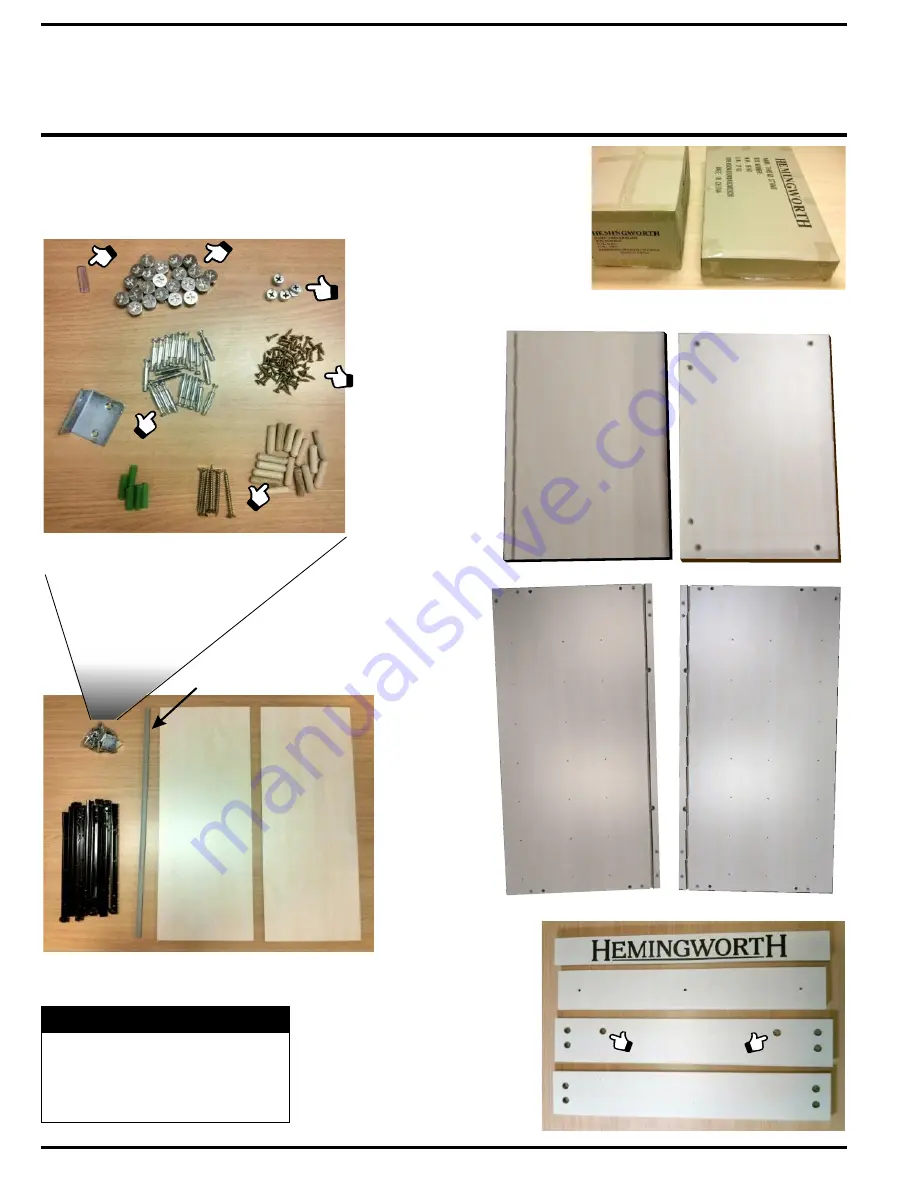
Identifying the Parts

Cabinet Frame

Drawers

2x Backing

Boards

Backing Joiner

Wall-Mount Plugs
and Screws

14x Drawer

Runners

12x Dowels

22x Pins

Safety

Bracket

4x Small

Clamps

42x Drawer

Screws

22x Twistlocks

Right Panel (R)

Bottom
Panel (B)
 

Left Panel (L)

Back Support - Top (BT)

Back Support - Bottom (BB)

Wall Mount (W)

Front Panel (F)

You’ll Also Need:

- Phillips head screwdriver
- Large flat-head screwdriver
- Drill with No. 2 Phillips bit 
  (optional, recommended)

Pin Depth
Guage

Содержание Thread Cabinet

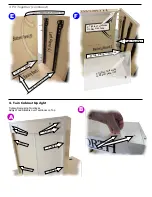
Страница 1: ...abinet Frame Drawers 2x Backing Boards Backing Joiner Wall Mount Plugs and Screws 14x Drawer Runners 12x Dowels 22x Pins Safety Bracket 4x Small Clamps 42x Drawer Screws 22x Twistlocks Right Panel R Bottom Panel B Left Panel L Back Support Top BT Back Support Bottom BB Wall Mount W Front Panel F You ll Also Need Phillips head screwdriver Large flat head screwdriver Drill with No 2 Phillips bit opti...

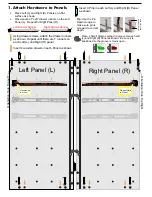
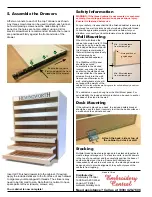
Страница 2: ...ners on the Left Panel L Repeat for Right Panel R Left Drawer Runner Right Drawer Runner Using drawer screws attach the drawer runners as shown Repeat until there are 7 runners on each Left L and Right R panel Insert 4 wooden dowels in each Panel as shown Insert 9 Pins in each Left L and Right R Panel as shown Place 2 Small Clamps along the groove for each Left L and Right R Panel as shown Be sure...

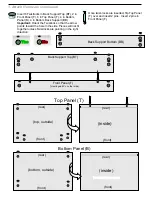
Страница 3: ... inside Insert 6 Twistlocks in Back Support Top BT 2 in Front Panel F 6 in Top Panel T 4 in Bottom Panel B 4 in Bottom Back Support BB Important Orient the Twistlock so that the arrow points toward the hole in the side Pieces will not fit together unless Twistlocks are pointing in the right direction Yes No Back Support Bottom BB front rear front rear rear front rear front 1 Attach Hardware contin...

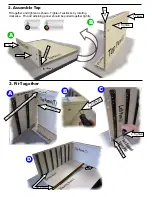
Страница 4: ...ning panel should be pulled together tightly Groove Open Tightened 1 Fit 2 Tighten 2 Tighten 3 Fit Together 1 Fit Together 2 Tighten 2 Tighten Twistlockon Reverse of Front Panel Front Panel 2 Tighten 2 Tighten 1 F i t T o g e t h e r 1 F i t T o g e t h e r 2 Tighten 1 Slide into Grooves Fit A B A B C D ...

Страница 5: ...ing in Groove 2 Tighten Twistlocks On Reverse Side 3 Tighten Twistlocks on Bottom Panel B 4 Turn Cabinet Upright Tighten Tighten Tighten Tighten Tighten Tighten Tighten Remaining Twistlocks Apply Wood Stickers over Twistlocks on Top Place E F A B 3 Fit Together continued ...

Страница 6: ...e weight of the cabinet Note the supplied wall plugs are for solid walls only and must not be used on plasterboard The cabinet can now be hung from the Wall Mount panel For extra stability the included safety bracket can be used to anchor the base of the stand to the wall Multiple thread cabinets are designed to be stacked together to create a larger storage unit To stack two units insert 4x dowel...

Отзывы: