


3.3
Setting the slave
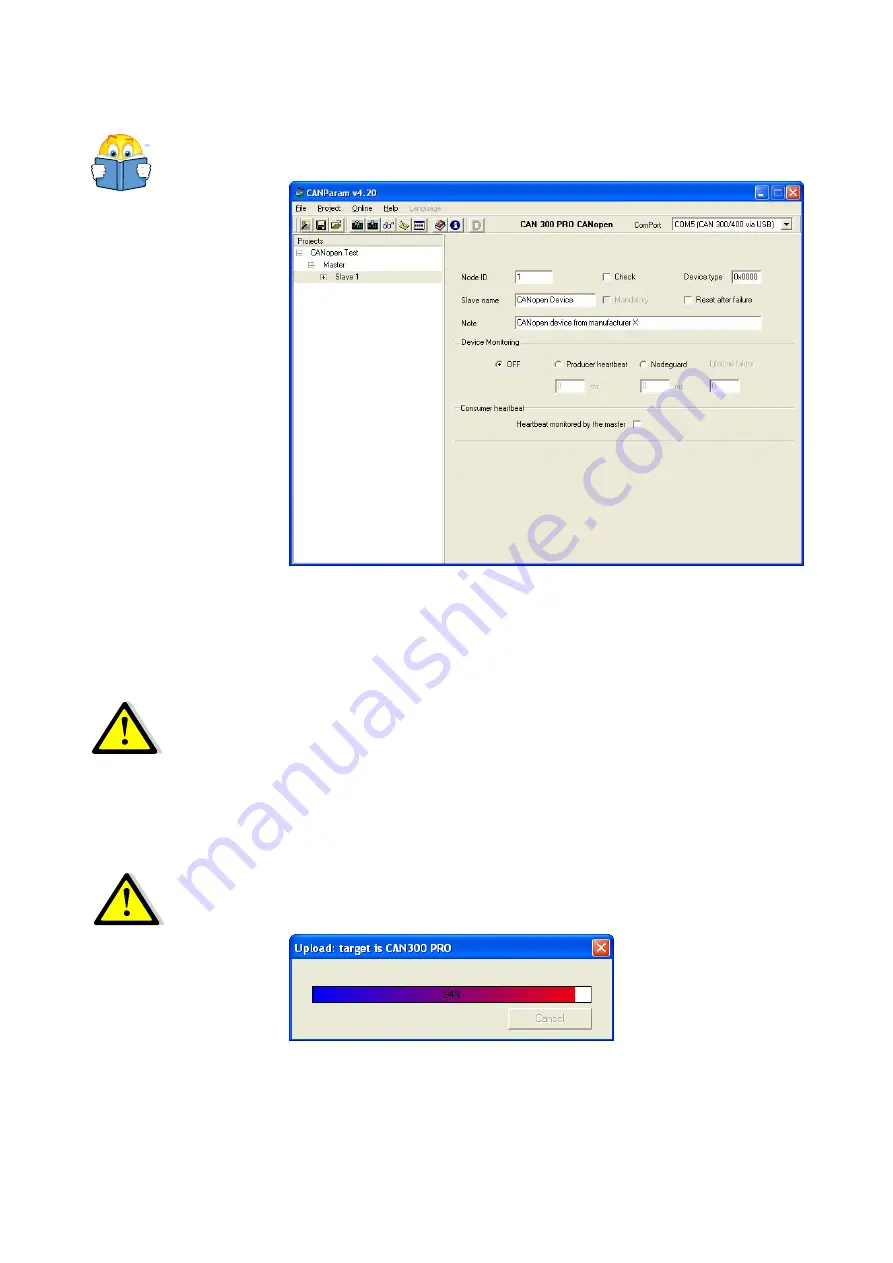
Open the entries below the master in the left-hand field and
select “Slave 1.”
Manual: Section 6.4.2
In this dialog box, your connected CANopen
®
device is made
known to the master.
You must set the node ID of the CANopen
®
device here and
should assign a name to the device.
It should be possible to set node ID (device address, device ID) on
your device either by DIP switch or rotary switch, or you can at
least find out standard setting from the manual for your device.
If the node ID of the
device is not known, the
“Scan to slaves”
function will help!
If you do not know the node ID of your device, you can use the
“Scan for slaves” function after importing the project created so
far into the CAN 300 PRO (see below) in the “Online / CANopen
®
Tools” menu.
3.4
Importing a project into the CAN 300 PRO
Activate the “Upload” function in the “online” menu, to import
the project into the CAN 300 PRO. The PLC should be in the
STOP state.
If no connection can be
established with the
CAN 300 PRO, check
the USB connection and
installation of the driver.
Importing the project automatically sets the CAN 300 PRO to the
set baud rate and the following diagnostic functions can now be
used.
14
Start-up Guide CAN 300 PRO
Содержание CAN 300 PRO
Страница 2: ......
Страница 33: ...Start up Guide CAN 300 PRO 33 Notes...


