360142-D/D
17
i.Series® Models
Install shelf brackets
1
Insert front brackets into standard at appropriate height.
2
Tap front brackets downward to engage standards.
3
Using a screwdriver, install front bracket retainers.
6.6
Level the Freezer
NOTE
►
Leveling feet are optional.
►
Helmer recommends the use of leveling feet
(unless casters are installed) and wall
and floor brackets (PN 400472-2) for stabilization. Contact Helmer Technical Service
for parts and instruction.
►
A bubble level may be used to ensure the freezer is level.
Leveling feet must be adjusted to provide unit cooler drainage.
Front-to-back
1
Using a wrench, raise or lower leveling feet.
2
When freezer is properly leveled, bottom of the unit cooler will slope downward from front to back
(toward the condensate drain line).
Side-to-side
1
Using a wrench, raise or lower leveling feet.
2
When freezer is properly leveled, bottom of the unit cooler will be horizontal (parallel to the floor).
6.7
Optional Adapter Kits for Medication Dispensing Locks
Contact Helmer Technical Service or your distributor for service documentation pertaining to medication
dispensing locks.
6.8
Reverse Door Hinge and Handle
NOTE
►
Before reversing door hinge and handle, protect stored items in freezer from
extended exposure to adverse temperature.
►
Freezer must be on the floor or on an elevated work surface with enough space in
front of the freezer to lay the door face-down for disassembly.
►
The door hinge and handle cannot be reversed on freezers equipped with Access
Control.
6.8.1
Remove the Door and Hinges
1
Open the lower front control panel. Switch AC ON/OFF switch OFF. Switch battery switch OFF.
2
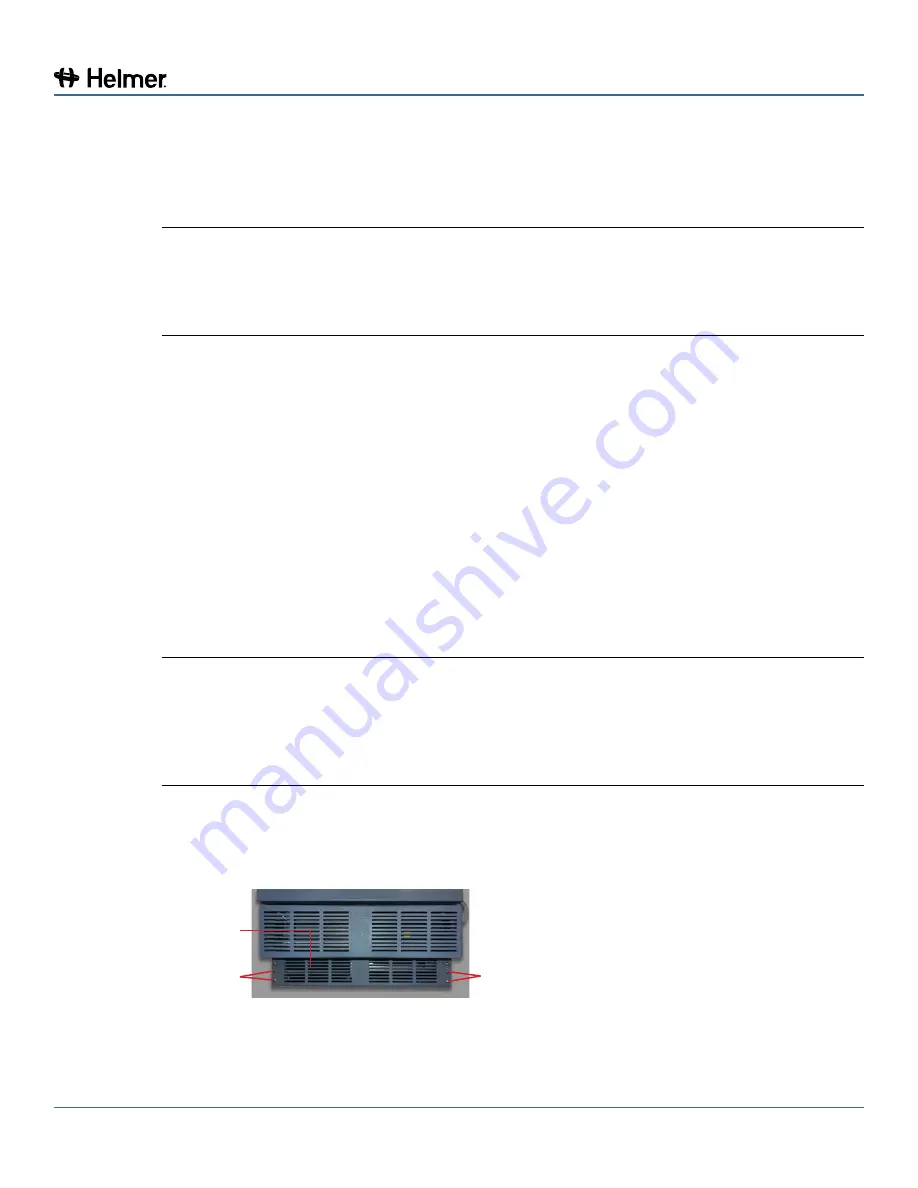
Remove four screws holding the kick panel on the cabinet. Set the kick panel aside.
Remove
Kick panel
Remove
Содержание Horizon HLF105
Страница 56: ...360142 D D 55 i Series Models 11 Schematics 11 1 iPF and iLF Models 105 Configuration ...
Страница 57: ...360142 D D 56 i Series Models Monitor Control Control ...
Страница 98: ......


