Installation and Servicing
High Effi ciency Condensing Combination Boilers
www.heatline.co.uk
Models
24
G.C. No. 47-157-21
28
G.C. No. 47-157-22
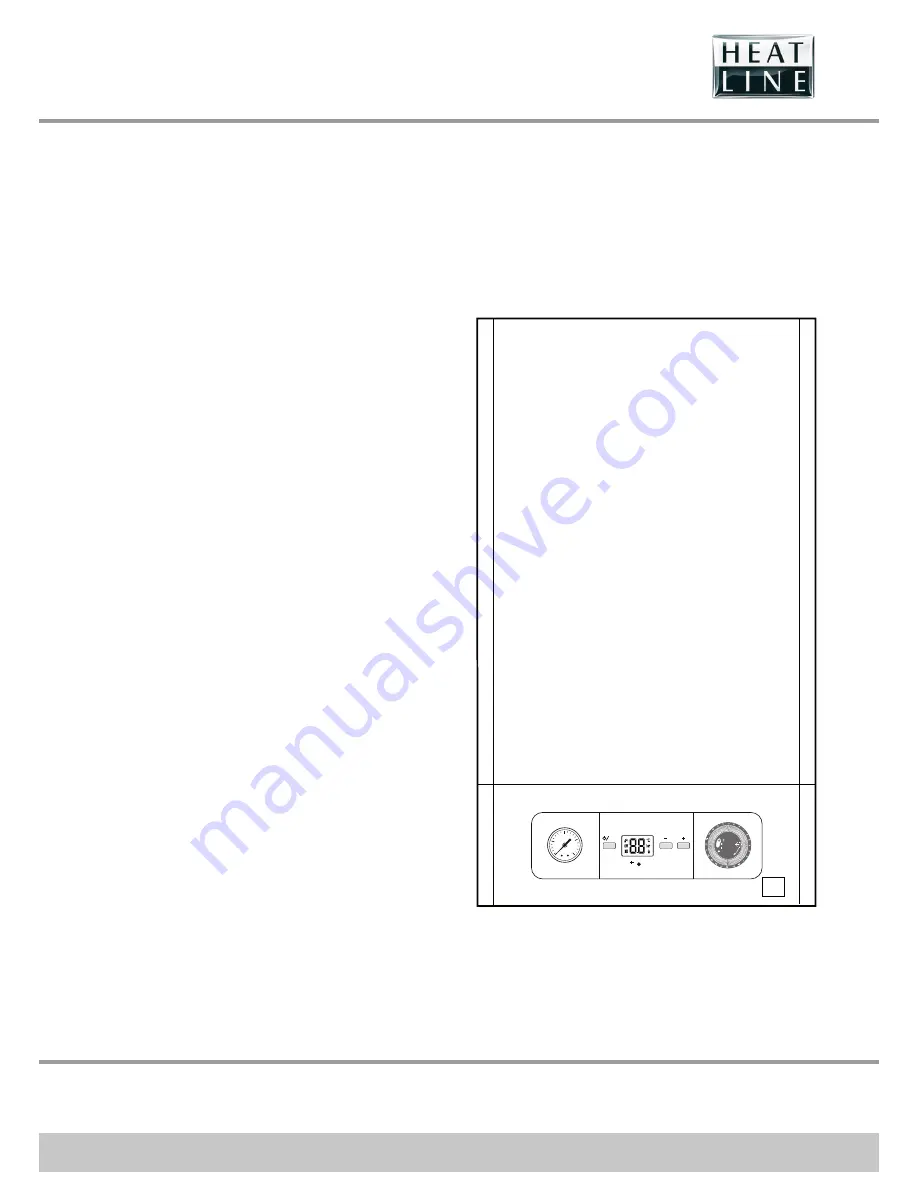
Monza
Service Call 0844 736 9042, Technical Help (Chargeable) Call 0906 802 0253
bar
1
2
3
4
0
mode
reset
Страница 1: ...icing High Efficiency Condensing Combination Boilers www heatline co uk Models 24 G C No 47 157 21 28 G C No 47 157 22 Monza Service Call 0844 736 9042 Technical Help Chargeable Call 0906 802 0253 bar...
Страница 2: ...heme Visit www central heating co uk for more information Thank you for installing a new Heatline appliance in your home Heatline appliances are manufactured to the very highest standard so we are ple...
Страница 3: ...on 2 1 Safety devices Overheating Safety Device The appliance is designed to recognise the potential of an overheat situation and will shutdown before a potentially dangerous situation occurs Safety d...
Страница 4: ...of Statutory Instrument No 3083 The Boiler Efficiency Regulations and therefore is deemed to meet the requirements of Directive 92 42 EEC on the efficiency requirements for new hot water boilers fire...
Страница 5: ...andling and cleaning with particular regard to edges The basic safety instructions must be followed before attempting to maintain or replace spare parts Electrically isolate the appliance from the pow...
Страница 6: ...type and all wiring to current I E E wiring regulations External wiring must be correctly earthed polarised and in accordance with the relevant standards In GB this is BS 7671 In IE this is the curre...
Страница 7: ...03 l min 9 4 11 4 Minimum inlet water pressure bar 0 8 0 8 psi 11 6 11 6 Maximum inlet water pressure bar 10 0 10 0 psi 145 145 Combustion Appliance NOX Class 5 5 Description Unit 24 28 Electrical Ele...
Страница 8: ...hould be made to the current edition of I S 813 Domestic Gas Installations and the current ETCI rules Timber Frame Buildings If the boiler is to be installed in a timber frame building it should be fi...
Страница 9: ...ed in the supply to the boiler Hard water areas The temperatures within the heat exchanger are limited by the boiler control system to minimise scale formation within the hot water pipework However in...
Страница 10: ...rammatically see diagram Heating circuit design The system should be pressurised to 1 0bar indicated on the digital display with no heating demand Drain points Drain taps must be provided at all low p...
Страница 11: ...0 100 flue If ue extension pipes are to be used then a core drill size of 125mm is required This will allow the extension pieces to slope at 44mm metre 2 5o towards the boiler If fitting a side flue e...
Страница 12: ...iance and interrupt its operation Ensure that the appliance is disconnected before cleansing the system Do not use any solvent products due to the risk of damaging the circuit a Do not perform any hot...
Страница 13: ...13 Service Call 0844 736 9042 Technical Help Chargeable Call 0906 802 0253...
Страница 14: ...trongly advised that condensate is discharged into the household internal drainage system Note some installations may require the use of a condensate pump in order to achieve internal discharge If int...
Страница 15: ...icated in the chart below to position the flue terminals To install the flue refer to the flue instructions Explain these requirements to the user of the appliance a If necessary you must install a ue...
Страница 16: ...longside the terminal 300 I above adjacent ground or balcony level 300 Position Position of the flue terminal mm J 2 from surface or a boundary facing the terminal 600 L from opening door window in ca...
Страница 17: ...nel and controls fascia 2 1 Key 1 Controls fascia 2 Controls fascia retaining screw Release the controls fascia 1 by loosening the securing screws 2 NOTE Do not remove the screws as they are held in p...
Страница 18: ...a connector on the electronic board Keep a distance of a maximum of 30 mm between connector 1 and the start of the insulation 3 If using single core wires are used 2 ensure that the are wrapped toget...
Страница 19: ...operate without a link or system controls tted The frost thermostat will only operate the boiler when in Winter mode DHW CH If 230V thermostats are connected into RT then they must all be fed from the...
Страница 20: ...vice Call 0844 736 9042 Technical Help Chargeable Call 0906 802 0253 10 7 Wiring diagram DESCRIPTION B BLACK BR BROWN R RED Y G YELLOW GREEN BL BLUE G GREEN GY GREY W WHITE P PINK O ORANGE PP PURPLE Y...
Страница 21: ...ed b Vent all air from the system repeat as necessary until the system is full and all the air has beren removed c To comply with the water regulations the filling loop connection must be removed 1 3...
Страница 22: ...ON OFF and Mode selection button 3 Display 4 Temperature adjustment 5 Anologue clock 6 Reset button Display Light the appliance by following the procedure below Select the Heating domestic hot water f...
Страница 23: ...the external controls and programmer are calling for heat Fully open all radiator valves see chapter Appliance installation Recommendations before installing Heating circuit design Activate the C H f...
Страница 24: ...ypass middle position HEATING 35W V2 bypass opened HEATING 35W V1 bypass closed HEATING 35W V2 bypass closed HEATING 35W V2 bypass middle position HEATING 35W V2 bypass opened KEY KEY Monza 24 25kW 0...
Страница 25: ...f fan rpm 100 Domestic Hot Water 0 Central Heating no d 35 3 way valve position step Fan speed is displayed between 0 and 99 Multiply the display value by 100 d 36 Domestic hot water flow l min Displa...
Страница 26: ...f the appliance Press button for 7 seconds to learn the current state of functioning of the appliance The screen displays S and the state of the appliance To exit to display menu press the button for...
Страница 27: ...s appliance has been pre set at the factory for operation on Natural Gas G20 as defined on the appliance data label No adjustment of the combustion is necessary If you wish to check the combustion the...
Страница 28: ...st located in the back pages of this document 15 Trouble shooting 15 1 Fault diagnosis The following checks should be performed before proceeding onto specific diagnostics Make sure that the electrici...
Страница 29: ...isplay the other faults registered by the appliance press the button or Press button for more than 3 seconds to exit this menu Record Fault code Description 1 XX Consult the Fault codes chapter 2 XX C...
Страница 30: ...Defective igniter unit Check the return gas circuit gas valve open Check the observe the flame picture and check the CO2 setting Check the igniter unit connections Check the state of the electrode cor...
Страница 31: ...disconnected Leak in the installation Fill the installation Purge the installation Check the pump connections Check the flow and return heating sensor connections Check that there are no leaks F84 Pe...
Страница 32: ...un on LPG requires a conversion kit The kit and the conversion operation must be done by the Heatline Service Team please ring 0844 736 9042 Please note that if the appliance requires conversion the i...
Страница 33: ...circuit and the relevant seals The operational working gas inlet pressure at maximum rate The gas rate The combustion performance See the Safety instructions chapter for a list of operations to be pe...
Страница 34: ...eci cation for installation and maintenance of gas red boilers of rated input not exceeding 70kW net advises that The person carrying out a combustion measurement must be assessed as competent in the...
Страница 35: ...test modes Remove the analyser probe and replace the cap on the sampling point replace the controls fascia and the front casing panel Remember to replace the sample point cap on completion of the tes...
Страница 36: ...from blockage After draining the boiler as previously described push and turn the filter cap in an anti clockwise direction to release it from its housing Pull the cap out with the filter attached Cle...
Страница 37: ...ner under the condensate trap 5 Disconnect the condensate pipe from the reservoir 1 Disconnect the condensate reservoir 2 Disconnect the condensate drain 3 and the rain water collector 4 from the heat...
Страница 38: ...7 8 9 Legend 1 Gas valve connection 2 Grounding cable 3 Spark electrode inlet 4 Spark electrode retaining screw 5 Spark electrode gasket 6 Spark electrode 7 Burner retaining nut 8 Burner retaining scr...
Страница 39: ...heat exchanger 11 with water 18 9 4 Burner control The burner 13 does not require maintenance and should not be cleaned Check that its surface is not damage Replace the burner if necessary Following t...
Страница 40: ...test of the controls 19 2 Boiler Access For replacement of parts the front casing panel of the boiler will need to be removed To remove undo the two screws on the underside of the front casing and ope...
Страница 41: ...lter assembly 10 Heating flow pipe retaining clip 11 Gas pipe 12 Flow sensor electrical plug 13 Flow sensor 14 Heating return pipe 15 Expansion vessel pipe 16 Plate to plate heat exchanger 17 Automati...
Страница 42: ...remove the pipe Disconnect the Central Heating isolation valve Remove the securing clips and withdraw the safety discharge valve plastic housing 29 Remove the safety discharge valve Fit new O ring Re...
Страница 43: ...on burner door assembly nut 13 Combustion burner door assembly gasket 14 Burner gasket 15 Burner 16 Burner retaining screw 17 Heat exchanger retaining screw 18 Heat exchanger retaining bracket 19 Burn...
Страница 44: ...Heat exchanger There will be water in the heat exchanger Carefully ease heat exchanger out Drain the boiler heating and hot water circuits as described in the appropriate chapter Draining Remove the...
Страница 45: ...s valve 31 see previous paragraph Loosen the 3 screws 38 located on the burner door 11 Remove the fan 33 and the gasket 35 Fit the new gasket 35 Screw the new fan to the burner door 11 After assembly...
Страница 46: ...9 7 2 2A Fuse Rating For access refer to chapter Main PCB The fuse is located at top right hand side of the PCB see chapter Electrical connection Wiring diagram 19 7 3 User interface PCB 3 1 2 Key 1 R...
Страница 47: ...ering spare parts contact Heatline s own service organisation Please quote the name of the appliance and serial number to be found on the data label Key No Part No Description GC Part No 1 0020117666...
Страница 48: ...polystyrene end packs Remove top polystyrene pack with fittings Positioning of Appliance for Final Installation no obstructions Recommend 2 persons lift appliance to position into place Fit bracket se...
Страница 49: ......
Страница 50: ...ffect the customer s statutory rights If yes and if required by the manufacturer has a water scale reducer been tted CONDENSING BOILERS ONLY The condensate drain has been installed in accordance with...
Страница 51: ...er Name Company Name Telephone No Gas Safe Register No Comments Signature Date Engineer Name Company Name Telephone No Gas Safe Register No Comments Signature Date Engineer Name Company Name Telephone...
Страница 52: ...www heatline co uk Service Call 0844 736 9042 Technical Help Chargeable Call 0906 802 0253 Heatline Nottingham Road Belper DE56 1JT 0020112884 03 06 11...