HAWORTH ASIA PACIFIC PRODUCT INSTALLATION GUIDE
ECO No:UN1-013 J
Page: 1 OF 22
Rev: A
Part number: Parkbench
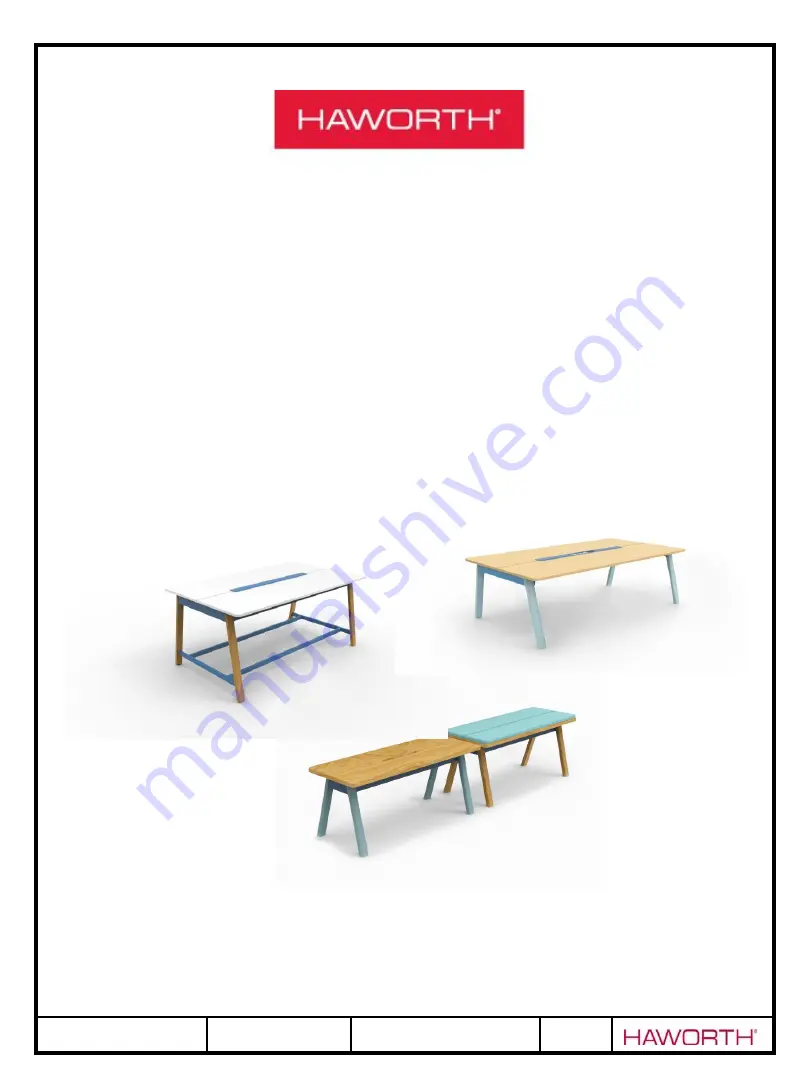
Intuity ParkbenchInstallation guide
Страница 1: ...HAWORTH ASIA PACIFIC PRODUCT INSTALLATION GUIDE ECO No UN1 013 J Page 1 OF 22 Rev A Part number Parkbench Intuity Parkbench Installation guide...
Страница 2: ...HAWORTH ASIA PACIFIC PRODUCT INSTALLATION GUIDE ECO No UN1 013 J Page 2 OF 22 Rev A Part number Parkbench Contents Page 1 Introduction 3 2 High table 4 3 Seating table 17 4 Sitbench 20...
Страница 3: ...ALLATION GUIDE ECO No UN1 013 J Page 3 OF 22 Rev A Part number Parkbench 1 Introduction The following installation guide assumes some knowledge of the installation of Parkbench this guide will be upda...
Страница 4: ...h Table High Table is composed of LH RH leg corner bracket side frame and end frame High Table installation instruction is as following 2 1 Install the corner bracket connector of cross brace and glid...
Страница 5: ...NSTALLATION GUIDE ECO No UN1 013 J Page 5 OF 22 Rev A Part number Parkbench Connector of cross brace Screw Spec M6x20 Screw QTY 2 pc 2 2 install the end frame leg and cross brace together Pre put thes...
Страница 6: ...DE ECO No UN1 013 J Page 6 OF 22 Rev A Part number Parkbench Install leg with end frame Screw Spec M6x25 Screw QTY 4pcs corner bracket 2pcs on one side and 2pcs on the other side Install leg with cros...
Страница 7: ...ION GUIDE ECO No UN1 013 J Page 7 OF 22 Rev A Part number Parkbench 2 3 install leg with side frame Put the legs and side frames as below shows The bottom of leg towards up Install side frame Screw Sp...
Страница 8: ...umber Parkbench 2 4 Install foot rest If client hasn t ordered please ignore this step There are two options for positions of foot rail Option 1 is outer side and the other installation position Optio...
Страница 9: ...GUIDE ECO No UN1 013 J Page 9 OF 22 Rev A Part number Parkbench 2 5 Install foot rest cover If client hasn t ordered please ignore this step The position is decided by foot rest Install foot rest cov...
Страница 10: ...J Page 10 OF 22 Rev A Part number Parkbench 2 6 Turn over whole product to below pic shows And fix the screws and install the timber hook Fix the side frame Screw Spec M6x25 Screw QTY 2pcs corner brac...
Страница 11: ...ASIA PACIFIC PRODUCT INSTALLATION GUIDE ECO No UN1 013 J Page 11 OF 22 Rev A Part number Parkbench 2 7 Install the end cap with central tray together Install the end cap Screw Spec M4x10 Screw QTY 3p...
Страница 12: ...ON GUIDE ECO No UN1 013 J Page 12 OF 22 Rev A Part number Parkbench 2 8 Put worktop and central tray on the structure Fix the worktop and central tray The gap between two worktops is 5mm Install workt...
Страница 13: ...T INSTALLATION GUIDE ECO No UN1 013 J Page 13 OF 22 Rev A Part number Parkbench Install central tray Screw Spec ST4 2X19 Screw QTY 2pcs brk the distance between the brackets should be about 500mm Late...
Страница 14: ...4 OF 22 Rev A Part number Parkbench 2 9 Install the socket section a Install the socket the socket should be purchased separately b Install the end cap of section Screw Spec M4x10 Screw QTY 4pcs side...
Страница 15: ...PRODUCT INSTALLATION GUIDE ECO No UN1 013 J Page 15 OF 22 Rev A Part number Parkbench 2 10 Install the socket section and bottom cover onto central tray Install the section or bottom cover Screw Spec...
Страница 16: ...O No UN1 013 J Page 16 OF 22 Rev A Part number Parkbench 2 11 Install the fabric umbilical cord Install top bracket umbilical cord and bottom bracket together Then fix the top bracket with worktop Scr...
Страница 17: ...H RH leg cross beam main beam and sub beam Seating table installation instruction is as following 3 1 Install the cross beam with LH RH leg together One table need 2 left legs and 2 right legs And ins...
Страница 18: ...TH ASIA PACIFIC PRODUCT INSTALLATION GUIDE ECO No UN1 013 J Page 18 OF 22 Rev A Part number Parkbench 3 3 Install legs with main beams and sub beams together Install beams Screw Spec M6x25 Screw QTY 3...
Страница 19: ...HAWORTH ASIA PACIFIC PRODUCT INSTALLATION GUIDE ECO No UN1 013 J Page 19 OF 22 Rev A Part number Parkbench 3 4 Install worktop central tray socket section and umbilical cord follow step 2 8 2 11...
Страница 20: ...nd frame side frame top cushion and cushion bracket Sitbench installation instruction is as following 4 1 Install the end frame with LH RH leg together One Sitbench need 2 left legs and 2 right legs I...
Страница 21: ...A Part number Parkbench 4 3 Install top Install top Screw Spec ST 4 8X25 Screw QTY 12 pcs 4 3 Install cushion optional put the cushion outside of top and the cushion bracket on the other side of top I...
Страница 22: ...HAWORTH ASIA PACIFIC PRODUCT INSTALLATION GUIDE ECO No UN1 013 J Page 22 OF 22 Rev A Part number Parkbench 4 4 Fix cushion bracket with top Install top Screw Spec ST 4 8X25 Screw QTY 4 pcs Finish...