User’s Manual
SETTING THE MONITOR ON THE WALL
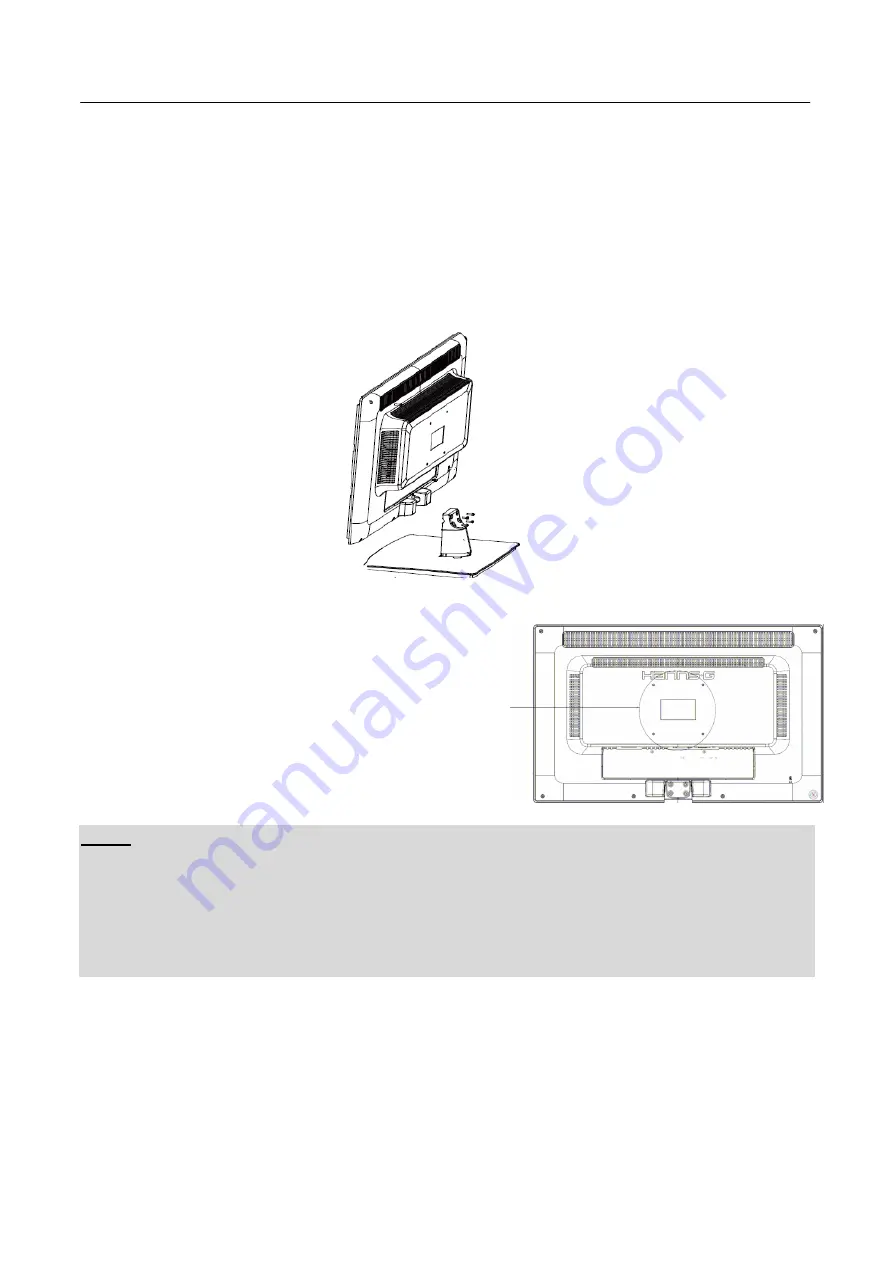
DISSEMBLING THE STAND BASE:
1. Disconnect all the cables and cords from the Monitor to prevent breakage.
2. Carefully place the Monitor face down on a soft and flat surface (blanket, foam, cloth, etc) to
prevent any damage to the Monitor.
3. Remove the four (4) screws so that the stand base can be removed
.
4. Gently remove the stand base.
(For reference only)
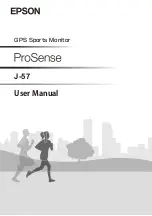
WALL MOUNTING THE MONITOR:
1. Purchase a VESA compatible wall bracket:
VESA 100×100, 4 holes, M4, 10mm, 8kg.
2. Locate your ideal Monitor position on the wall.
3. Fix the wall bracket firmly on the wall.
4. Secure the Monitor to the bracket using the 4 mount
holes on the back and center of the Monitor.
Note:
•
Please read the instructions of your specific wall bracket to properly wall mount the Monitor.
•
The pitch of the mounting holes is 100mm horizontally and 100mm vertically.
•
The screws type required is metric: M4, 10mm length.
•
The Monitor stand base can be screwed on a table or a hard surface using the hole on the back of
the stand base.
•
For use only with UL listed wall mount bracket.
*Installing the LCD Monitor requires special skill that should only be performed by qualified service
personnel. Customers should not attempt to do the work themselves. Hanns.G bears no responsibility
for improper mounting or mounting that results in accident or injury. You can ask a qualified service
personnel about using an optional bracket to mount the Monitor to the wall.
9
Содержание HK241DPB
Страница 1: ...HSG 1221 HK241...


