23
Installation
1.
Install the winch with the installation kit or on a level, stable surface according to the instructions for
the installation kit.
2.
Place the winch over the holes in the installation kit or chassis.
3.
Install the winch with the supplied screws, washers and nuts.
NOTE:
You may need to unwind the
wire from the drum to access all the holes.
IMPORTANT:
If an attachment plate is used it must be at least 6.4 mm thick. Fasteners must be made of
high-tensile steel with a yeild limit of at least 760 MPa. Inadequate attachment will invalidate the
guarantee. If you do not use the installation kit you will need to drill holes in the vehicle chassis. Check
that the chassis can withstand the nominal pulling force of the winch.
Lubrication
All the moving parts on the winch are permanently lubricated at the factory with high-temperature lithium
grease. No further lubrication is necessary in normal conditions. Oil the wire regularly with thin oil that has
a good penetration capacity. Check the wire regularly for damage and broken threads. Replace the wire if
it is damaged.
Preparations for installation of wire
Unwind the new wire and lay out on the ground so that it does not twist. Note how the old wire is fitted on
the drum flange. Release the old wire and fit the new one in the same way.
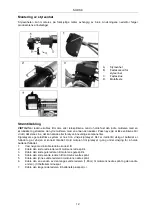
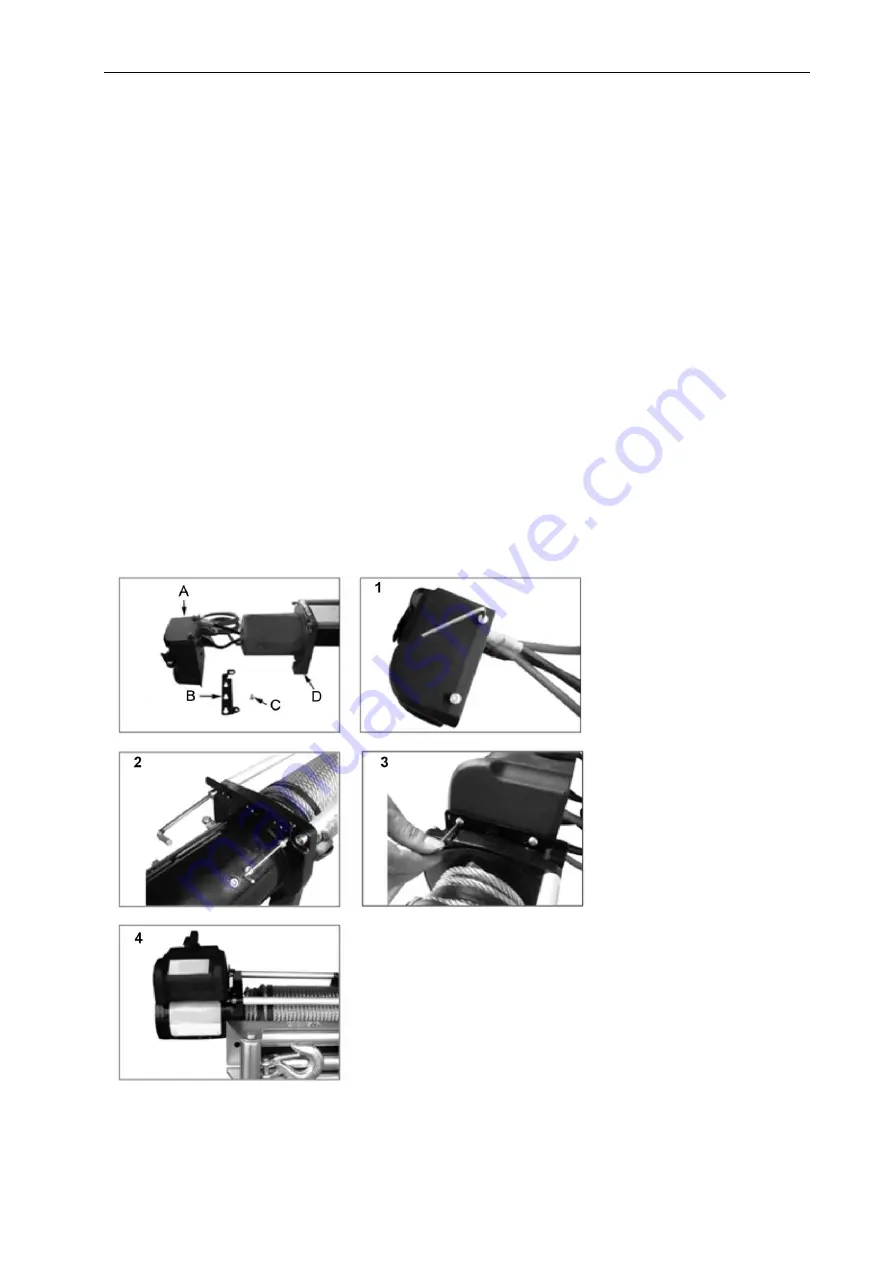
Installing the control
The control can be installed in different ways depending on how it is used. The instructions below follow
the recommendations of the manufacturer.
A.
Control
B.
Bracket for control
C.
Retaining screw
D.
Motor bracket
Содержание 604-098
Страница 26: ......

