HAMPTON BAY YG098-NM, Инструкция по использованию и уходу
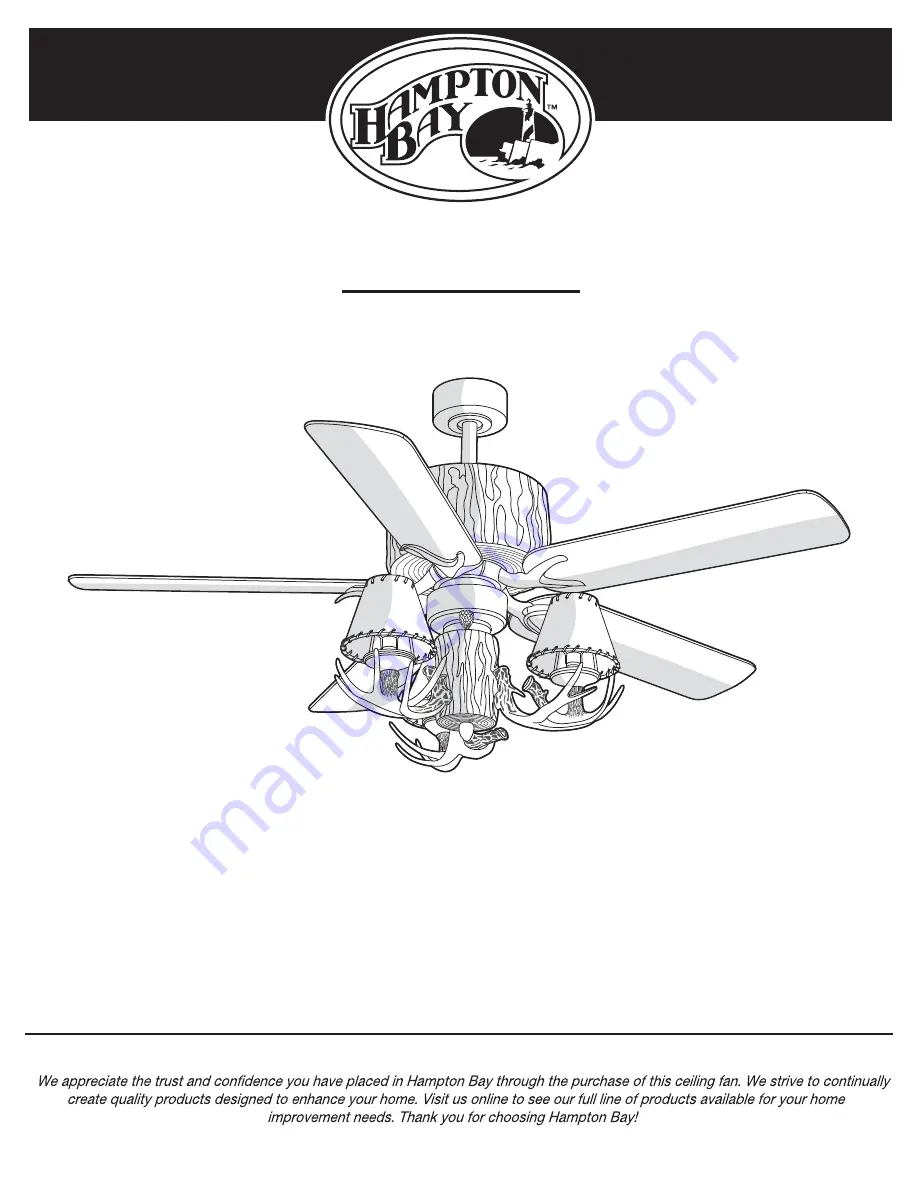
"HAMPTON BAY YG098-NM" - это потолочный вентилятор высокого качества, который обеспечивает прохладу и комфорт. Для правильного использования и ухода за устройством, скачайте бесплатное руководство по эксплуатации на manualshive.com. Не забудьте загрузить "Use And Care Manual" для наилучшего опыта использования.
Поделиться
Скачать


Отзывы:
Нет отзывов
Похожие инструкции для YG098-NM

Whisper Green-Lite FV-08VKL1
Бренд: Panasonic Страницы: 12

W3G630-GR85-01
Бренд: ebm-papst Страницы: 12

K3G250-RR05-R8
Бренд: ebm-papst Страницы: 12

ESALA AK395-CB
Бренд: HAMPTON BAY Страницы: 19

AFF107
Бренд: lauson Страницы: 14

41462-01
Бренд: Hunter Страницы: 26

EGF-1600 Series
Бренд: BALMUDA Страницы: 28

MND54BNK3
Бренд: Craftmade Страницы: 22

EJF 7981V
Бренд: EuropAce Страницы: 16

FZ10-10JRH
Бренд: Midea Страницы: 6

lombok
Бренд: Faro Barcelona Страницы: 16

BF5030
Бренд: UFESA Страницы: 36

Mega Flow 6603-7109
Бренд: HIRED-HAND Страницы: 2

W2E250-HJ28-09
Бренд: ebm-papst Страницы: 11

70 COMPACT R
Бренд: Vallox Страницы: 8

ecoair Halo
Бренд: Domestic Страницы: 10

G2E180-AA03-01
Бренд: ebm-papst Страницы: 11

Pneupac babyPAC 100
Бренд: Smiths Страницы: 31


