Page 18 of 33
V1.1
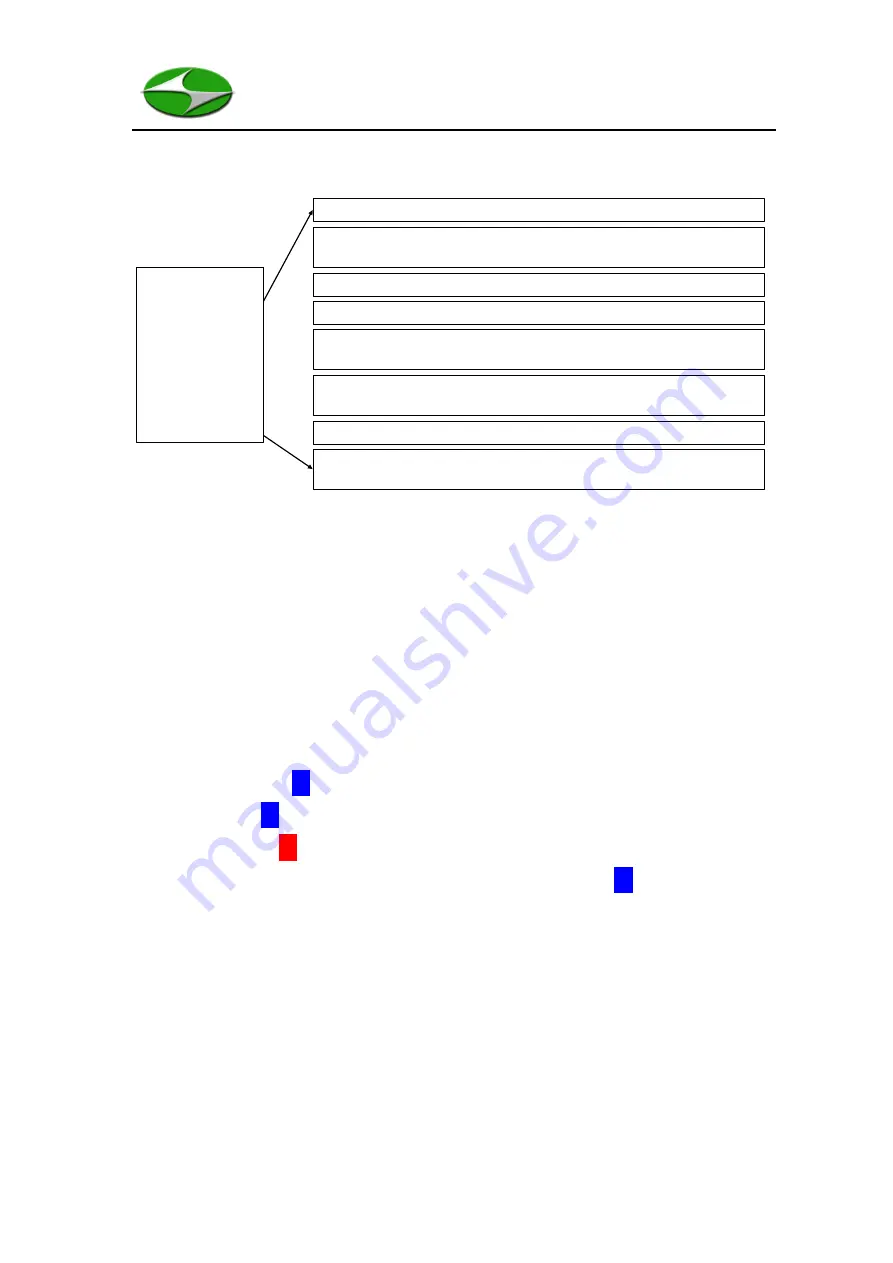
Figure 8
shows the parameters that can be set via the Setting Screen.
Figure 8: The parameters that can be set via the Settings Screen
Once the user has entered the Settings Screen by pressing Enter, scroll through the
various options using the
UP
and
DOWN
keys. Enter a sub-menu by pressing
ENTER
.
Once selected, a parameter will highlight in blue. For example, if the user wishes to edit
the sample duration setting in the Sample Parameters screen they will first press the
ENTER
key while Sample Duration is selected. The first portion of the entry will
highlight blue, like so
00
:00. Pressing the
UP
or
DOWN
key will move between minutes
and seconds (00:
00
). Pressing the
ENTER
key will highlight the selected portion in red
and enable editing (
00
:00). The
UP
and
DOWN
keys will now edit the Sample Duration
appropriately. When finished press the
BACK
key to stop editing (
00
:00).
Particle Sizes
–
Modify particle sizes on Channels 1 - 6
Sample Parameters
–
Modify Start Delay, Interval, Duration, Number of
Samples, Material Density (MC and PM only), Count Mode, and Location
Date & Time
–
Modify the units Date & Time settings
Preferences
–
Modify the units color theme and temperature unit
Alarm/Sound Levels
–
Modify the alarm (FED, ISO, or manual) and the Sound
settings. Turning off the sound does not inhibit the alarm.
Print/Save Options
–
Modify the Print (On or Off) settings and the Save (On,
Off, or Average) settings.
SETTINGS
Particle Sizes
Sample Parameters
Date & Time
Preferences
Alarm/Sound Levels
Print/Save Options
Bluetooth Settings
Factory Settings
Bluetooth Settings
–
Modify settings for the optional printer.
Factory Settings
–
Firmware update (reserved), Calibration (protected), Clear
Last Record, and Factory Reset.


