


SECTION 10 –
MISCELLANEOUS
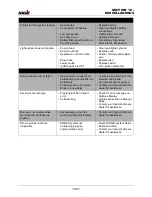
10-26
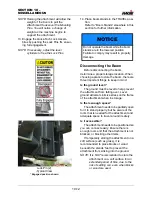
Maintenance
Refer to “Service - Lubrication” provided
in the
Maintenance Section
elsewhere in this
manual for further information.
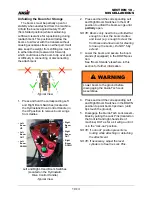
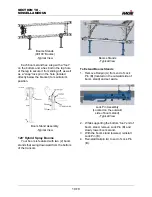
TALL CROP PACKAGE -
INSTALLATION
- If Equipped
NOTE: Ensure correct Belly Shield
configuration before installing.
NOTE: Two persons are required when
installing the Tall Crop Package.
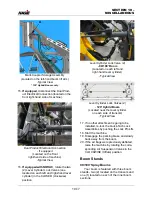
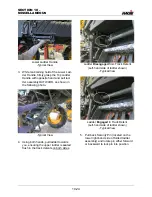
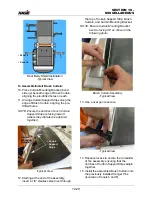
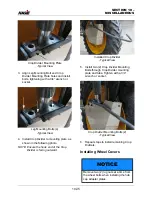
Installing Belly Shields (1-3)
1. Install Securement Pin Assembly
(Hanger Pin and Securement Pin) onto
each Retaining Bracket (located along
frame).
2. Starting with Panel 1, install Support
Hook Assemblies into the correspond-
ing Hinge Bushings (located along
frame).
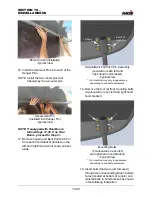
3. Install Cotter Pin onto the end of each
support hook.
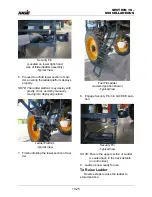
NOTE: Ensure belly shield nuts and bolts
are loose.
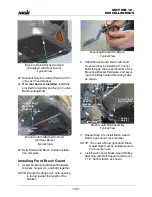
4. On opposite side of machine, remove
previously installed Securement Pins
(from Hanger Pins).
5. Lift panel and align hole openings with
Hanger Pins. Attach by reinserting the
Securement Pins.
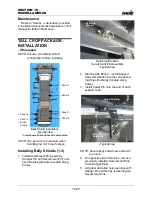
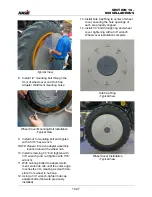
Belly Shield Installation
-Typical View
* View shown from bottom side of machine
• Panel 1
• Panel 2
• Panel 3
• Panel 4
• Panel 6
• Panel 5
• Brush
Curtain
Retaining Bracket/
Securement Pin Assembly
-Typical View
• Retaining
Bracket
• Securement Pin
• Hanger Pin
-Typical View
• Hinge Bushing
• Cotter
Pin
• Support Hook
• Belly Shield
Nuts/Bolts
Содержание STS/DPS Series
Страница 2: ...5 DASH AUTO...
Страница 5: ...Troubleshooting 10 38...
Страница 52: ...SECTION 2 SAFETY AND PRECAUTIONS 2 15 650210 Located on each NORAC sensor...
Страница 380: ...NOTES 5 DASH AUTO...
Страница 381: ...NOTES 5 DASH AUTO...
Страница 382: ...NOTES 5 DASH AUTO...


