14
Maintenance & Care
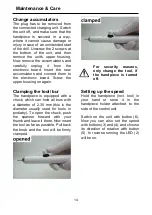
Change accumulators
The plug has to be removed from
the connected charging unit. Switch
the unit off, and make sure that the
handpiece is secured in a way,
where it cannot cause damage or
injury in case of an unintended start
of the drill. Unscrew the 2 screws at
the bottom of the unit, and then
remove the
unit’s upper housing.
Now remove the accumulators and
carefully
unplug
it
from
the
electronic board. Insert the new
accumulators and connect them to
the electronic board. Screw the
upper housing on again.
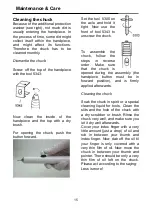
Clamping the tool/ bur
The handpiece is equipped with a
chuck, which can hold all burs with
a diameter of 2,35 mm (this is the
diameter usually used for tools in
podiatry). To open the chuck, push
the spanner forward with your
thumb and leave it there. Now insert
the tool as far as possible. Pull back
the knob and the tool will be firmly
clamped.
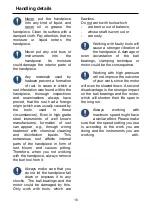
For
security
reasons,
only change the tool, if
the handpiece is turned
off.
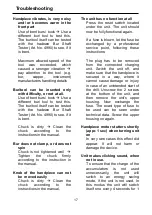
Setting up the speed
Hold the handpiece (incl. tool) in
your hand or store it in the
handpiece holder attached to the
side of the control unit.
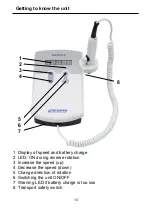
Switch on the unit with button (6).
Now you can also set the speed
with buttons (3) and (4), and choose
its direction of rotation with button
(5). In reverse running the LED (2)
will be on.


