28
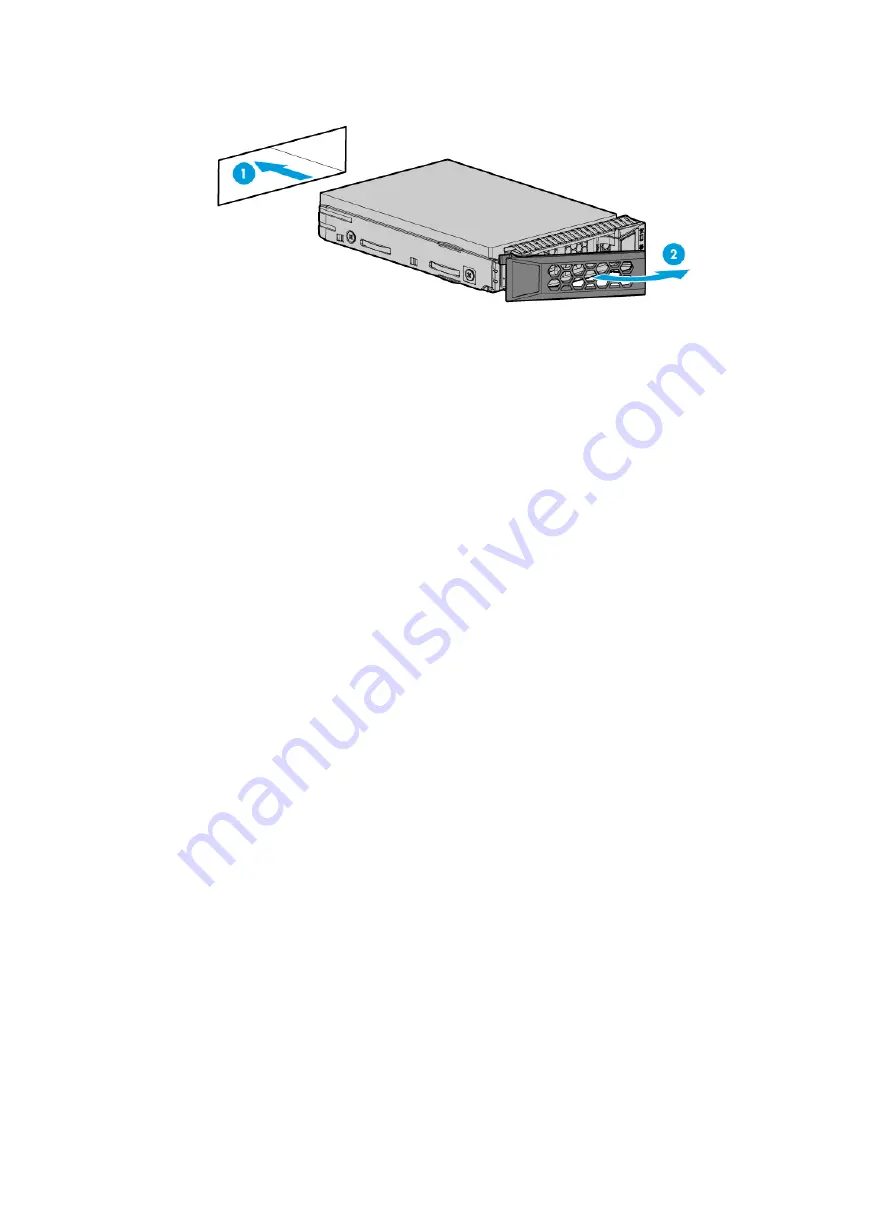
Figure 22 Installing a drive
4.
(Optional.) Install the removed security bezel. For more information, see "
Verifying the installation
Use the following methods to verify that the drive is installed correctly:
•
Verify the drive properties (including capacity) by using one of the following methods:
{
Log in to HDM. For more information, see HDM online help.
{
Access the BIOS. For more information, see the storage controller user guide for the server.
{
Access the CLI or GUI of the server.
•
Observe the drive LEDs to verify that the drive is operating correctly. For more information, see
"Drive LEDs."
Installing NVMe drives
Guidelines
NVMe drives support hot insertion and managed hot removal.
Only one drive can be hot inserted at a time. To hot insert multiple NVMe drives, wait a minimum of
60 seconds for the previously installed NVMe drive to be identified before hot inserting another
NVMe drive.
If you are using the drives to create a RAID, follow these restrictions and guidelines:
•
For efficient use of storage, use drives that have the same capacity to build a RAID. If the drives
have different capacities, the lowest capacity is used across all drives in the RAID. A drive with
extra capacity cannot be used to build other RAIDs.
•
If the installed drive contains RAID information, you must clear the information before
configuring RAIDs. For more information, see the storage controller user guide for the server.
Procedure
1.
Remove the security bezel, if any. For more information, see "
2.
Push the latch on the drive blank inward, and pull the drive blank out of the slot, as shown
in


