


USER MANUAL
18
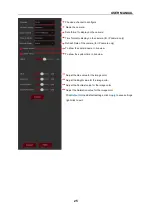
Click to zoom-in on the channel. When the
icon appears, left-click and drag over the
area you want enlarged.
Click to adjust the color of image on the channel. You can adjust the HUE, BRIGHT,
CONTRAST & SATURATION of the image.
To switch the live view video stream between HD & SD. HD is mainstream live view, SD is
substream live view.
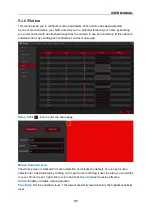
Click to set white light parameter
Click to set Siren parameter (it is disabled by default). When you select Enable “Notice”
information will be displayed; select “OK” to arm the siren.
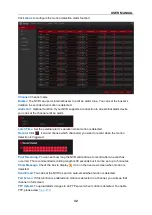
Move your mouse to any live channel and right-click to view the tool bar, then click Tag icon
Add Customized Tag.
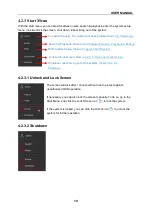
4.2.2
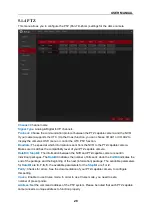
Taskbar
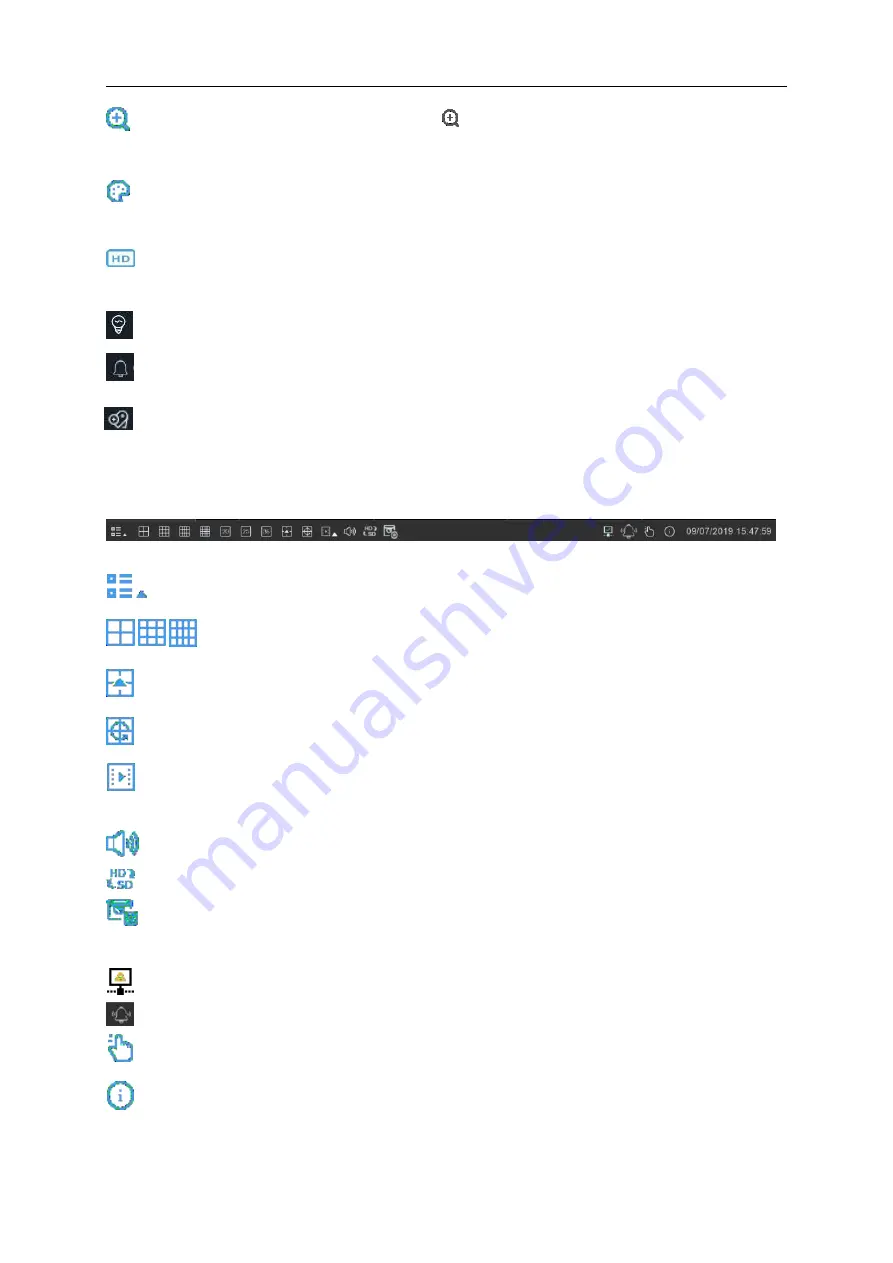
Click to open the Start Menu
Click to choose the layout for live view
Click to choose more layouts for live view
Click to start viewing channels in a sequence
Quick playback. You can choose to play the recordings for all channels from the beginning of
the day, or you can choose to playback the latest 5s, 10s, 30s, 1Min, 5Min.
Click to adjust audio volume
Click to switch all IP channels between mainstream and substream (for live view resolution)
Click to switch between real-time, balanced, or smooth view. The view effect modes affect
only the live view video quality (bitrate and frame rate) but do not affect the recording quality.
This icon will appear if the network is disconnected.
Enable or Disable Light & Siren
To start or stop Manual Record and Manual Alarm.
To view system information, channel information, Record Info and Network State.


