❏
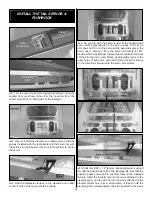
3. Thoroughly coat the root ribs of the wing panels and
the wing pockets in the fuselage with 30-minute epoxy and
slide them into place. Do not put epoxy on the interlocking
spars at this time. Being sure that the wing panels are fully
seated into the wing pockets, use clamps to hold the
interlocking spar halves together while the epoxy on the root
ribs cures to ensure that the wings are glued straight in the
fuse. Clean up any excess epoxy with a paper towel
dampened with denatured alcohol.
❏
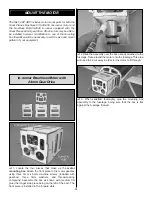
4. Coat one side of each spar doubler with epoxy as well
as the front and back of the spar halves. Position one spar
doubler against the front of the spar halves and one against
the back. Use clamps to hold the spar doublers in place
while the epoxy cures.
❏
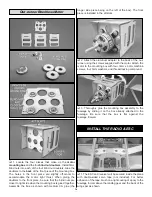
1. Fit the vertical fin into place and use a felt-tip pen to
trace around the fin where it meets the fuse. Remove the fin
from the fuse and trim the covering away 1/16" [1.6mm]
below the line that you made. Be careful not to cut through
the wood as this will weaken it. See the following
Expert Tip
for removing covering.
❏
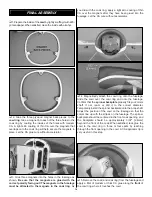
2. Wipe away the lines you drew and glue the fin into place.
Use a straightedge to guide the soldering iron at a rate
that will just melt the covering and not burn into the wood.
The hotter the soldering iron, the faster it must travel to
melt a fine cut. Peel off the covering.
HOW TO CUT COVERING FROM BALSA
Use a soldering iron to cut the covering from the fin. The
tip of the soldering iron doesn’t have to be sharp, but a fine
tip does work best. Allow the iron to heat fully.
ASSEMBLE THE TAIL SECTION
10


