Owner/Operator ManualManuel Du Propriétaire/Utilisateur
Model
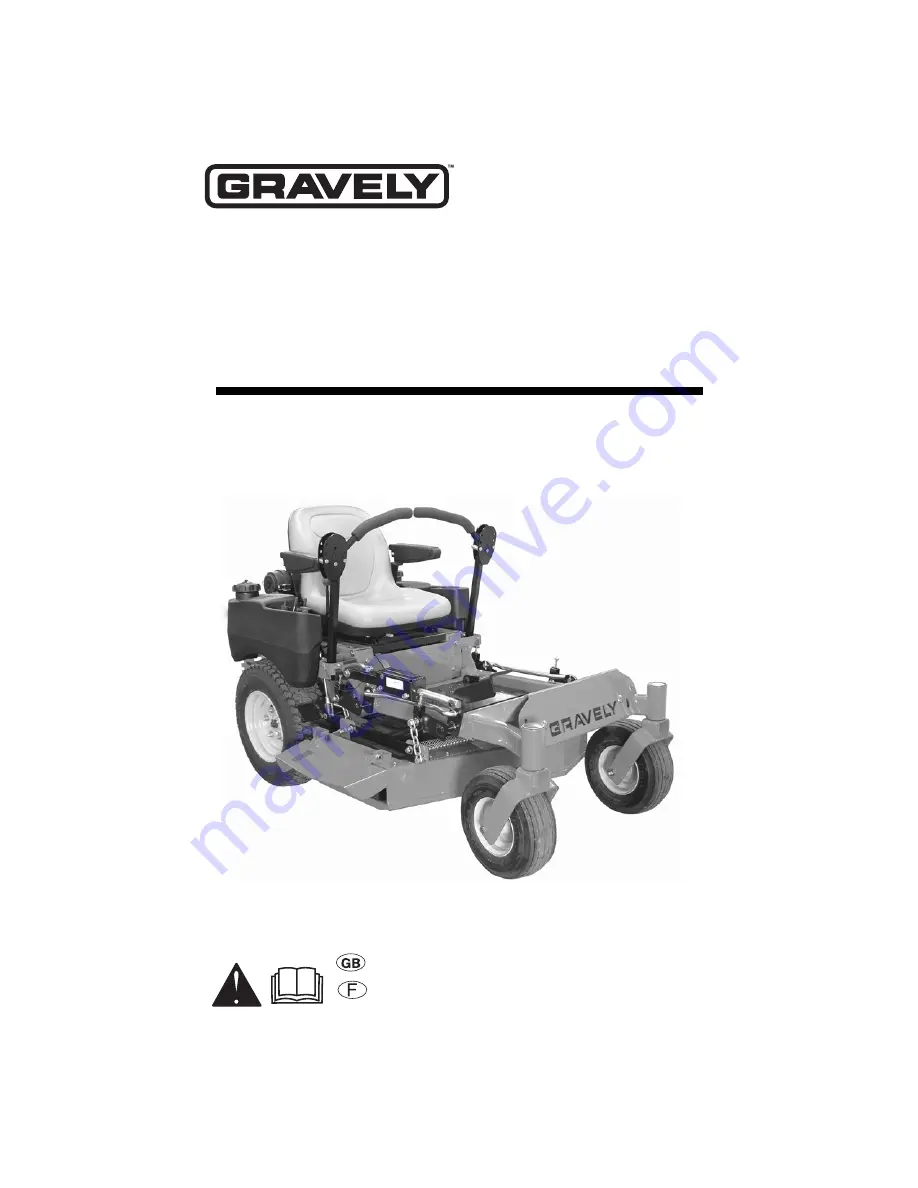
991088 Compact Pro 34
Compact Pro 34
04276200A 11/10
Printed in USA
ENGLISH
FRANÇAIS
Страница 1: ...Owner Operator Manual Manuel Du Propriétaire Utilisateur Model 991088 Compact Pro 34 Compact Pro 34 04276200A 11 10 Printed in USA ENGLISH FRANÇAIS ...
Страница 2: ... la liste des langues disponibles pour votre équipement Les manuels imprimés dans des langues différentes de l anglais sont également disponibles en téléchargement gratuit sur notre site Web http www gravely com THE MANUAL Before operation of unit carefully and completely read your manuals The contents will provide you with an understanding of safety instructions and controls during normal operati...
Страница 3: ...manual were in effect at printing Equipment described within this manual may be optional Some illustrations may not be applicable to your unit DEALER DELIVERY Dealer should 1 Test brakes after unit is assembled to be sure adjustment has not been disturbed in shipment See Parking Brake Interlock System on page 12 Wheel brakes are properly adjusted at factory 2 Check the safety interlock system to m...
Страница 4: ... someone other than original purchaser loaned rented or sold ALWAYS provide this manual and any needed safety training before operation SAFETY WARNING This cutting machine is capable of amputating hands and feet and throwing objects Failure to observe the safety instructions in the manuals and on decals could result in serious injury or death Slopes are a major factor related to loss of control an...
Страница 5: ...children out of work area and under watchful care of a responsible adult NEVER CARRY CHILDREN Go up and down slopes not across DO NOT operate on slopes over 17 If machine stops going uphill stop blade and back down slowly Avoid sudden turns Keep safety devices guards shields switches etc in place and working Check interlock system per manual before use Understand location and function of all contr...
Страница 6: ...ment and or its engine may include exhaust and evaporative emissions control system components required to meet U S Environmental Protection Agency EPA and or California Air Resources Board CARB regulations Tampering with emission controls and components by unauthorized personnel may result in severe fines or penalties Emission controls and components can only be adjusted by an Ariens Company deal...
Страница 7: ... children enter area NEVER operate unit after or during the use of medication drugs or alcohol Safe operation requires your complete and unimpaired attention at all times DO NOT wear loose clothing or jewelry and tie back hair that may get caught in rotating parts Wear adequate outer garments NEVER wear open sandals or canvas shoes during operation Wear adequate safety gear protective gloves and f...
Страница 8: ...oads Limit loads to those you can safely control and the unit can safely handle Disengage PTO when attachment is not in use ALWAYS turn off power to attachment when travelling crossing driveways etc Operation on slopes may lead to loss of steering control When operating on slopes be prepared to react to an emergency situation Return steering levers to neutral position Immediately set parking brake...
Страница 9: ...tive cable SECOND ALWAYS connect positive cable FIRST and negative cable SECOND No flames No sparks No smoking near battery Explosive Gases from battery can cause death or serious injury Poisonous battery fluid contains sulfuric acid and its contact with skin eyes or clothing can cause severe chemical burns ALWAYS wear safety glasses and protective gear near battery Use insulated tools DO NOT TIP ...
Страница 10: ...ry on page 20 7 Check Engine Crankcase Check and add oil if needed See Engine Manual for specifications 8 Fill fuel tank DO NOT OVERFILL See Filling Fuel Tank on page 14 IMPORTANT Refer to Engine Manual for fuel type 9 Hardware Check for loose hardware 10 Check Safety Interlock System Check to see that the interlock system operates correctly See Safety Interlock System on page 12 11 Lubrication Lu...
Страница 11: ...ition Switch 6 Hour Meter 7 Throttle Lever 8 Choke Control 9 Power Take Off PTO Switch 10 Battery 11 Fuel Shut Off Valve 12 Mower Lift Pedal 13 Mower Deck 14 Mower Lift Lock 15 Seat Adjustment Lever 16 Parking Brake CONTROLS AND FEATURES Figure 4 2 5 6 8 9 4 10 11 12 13 14 15 7 3 OF3741 16 ...
Страница 12: ... steering levers to neutral NOTE The steering controls are mechanically locked in neutral whenever the parking brake is engaged NOTE Aggressive turning can scuff or damage lawns ALWAYS keep both wheels rotating when making sharp turns DO NOT make turns with inside wheel completely stopped To obtain minimum turning radius slowly reverse inside wheel while moving outside wheel slowly forward Ignitio...
Страница 13: ...wly lower mower lift pedal until deck lift contacts cutting height adjustment pin Fuel Shut Off Valve Use this valve to control fuel flow from left or right fuel tank Open the valve to operate the engine Turn the valve to Off when storing or transporting the unit Parking Brake Lever 1 Pull lever up to engage parking brake 2 Push lever down to disengage parking brake Seat Adjustments To adjust seat...
Страница 14: ...ause permanent damage to evaporative emissions control system components Filling to the recommended level ensures a vapor gap required to allow for fuel expansion Pay close attention while filling the fuel tank to ensure that the recommended fuel level inside the tank is not exceeded Use a portable gasoline container with an appropriately sized dispensing spout when filling the tank Do not use a f...
Страница 15: ...Engage parking brake 4 If the engine is cold move the choke control to the On position If the engine is warm or hot do not use choke 5 Move the throttle to 3 4 Fast position See Engine Manual for detailed instructions 6 Put the ignition key in the switch and turn it to the Start position 7 As soon as the engine starts release the key 8 Move the choke control to the Off position from the Choke posi...
Страница 16: ...ne 2 Place seat in the service position See Service Position on page 18 3 Turn right and left bypass valve levers counter clockwise 1 2 turn Figure 5 4 Disengage parking brake 5 Push unit to desired location 6 Engage parking brake 7 Turn bypass valve levers clockwise 1 2 turn FOR BEST PERFORMANCE Cut grass when it is dry Keep mower blades sharp Keep mower deck properly levelled Adjust anti scalp r...
Страница 17: ...evel on page 19 Check Tires See Specifications on page 30 for correct tire pressure Follow Engine Manual Maintenance Schedule Perform scheduled engine maintenance Refer to engine manual for detailed instructions Every 25 Hours Check Mower Blades Check mower blades for wear Sharpen or replace as needed See Mower Blades on page 19 Every 50 Hours Lubricate Unit Oil all pivot points and pin connection...
Страница 18: ...vers in neutral and engage parking brake 3 Remove wing knob or hex nut 4 Tip seat forward Figure 6 5 When service is complete lower seat and secure with wing knob or hex nut SERVICE AND ADJUSTMENTS WARNING AVOID INJURY Read and understand entire Safety section before proceeding CAUTION HOT SURFACES may result in injury DO NOT touch engine or drive parts which are hot from operation Allow parts to ...
Страница 19: ...ntil it makes contact Tighten oil filter another 1 2 turn 7 Add new oil to the oil tank It will take about 1 5 quarts 1 4 L Use Mobil 1 Extended Performance 15W50 Synthetic Oil or equivalent for best component life Gravely p n 00057100 8 Check hydraulic oil level mark on cap dipstick 9 Properly dispose of waste oil MOWER BLADES Remove 1 Turn the engine off Remove the ignition key Remove the igniti...
Страница 20: ...he terminals Remove Battery 1 Shut OFF engine Engage parking brake Remove the ignition key 2 Place seat in the service position See Maintenance Schedule on page 17 3 Disconnect cables from battery negative then positive Figure 8 CAUTION DO NOT sharpen mower blades while on unit An unbalanced mower blade will cause excessive vibration and eventual damage to unit Check mower blade balance before rei...
Страница 21: ...tery 1 Remove battery from unit See Remove Battery on page 20 2 Place battery on bench or other well ventilated place 3 Connect positive lead of charger to positive terminal and negative lead to negative terminal 4 Charge battery according to charger and battery manufacturers instructions 5 Replace battery See Replace Battery on page 21 Jump Starting Gravely does not recommend jump starting your u...
Страница 22: ...ted 4 Loosen brake interlock on the same side as steering lever to be adjusted 5 Loosen tie rod jam nut and turn tie rod until steering levers are aligned 6 Tighten jam nut on tie rod tighten brake interlock and tighten damper locknut ADJUSTING THE UNIT TO TRACK STRAIGHT Check and adjust tire pressure Increase pressure on side unit tracks to DO NOT exceed maximum recommended tire pressure See Spec...
Страница 23: ...les are the same height Tighten nut ADJUSTING THE PARKING BRAKE The parking brake might need adjustment over time and after new brake paddles have been installed Check Parking Brake Adjustment NOTE Be sure to check the parking brake on both sides of the unit Figure 14 1 Disengage parking brake 2 Measure the distance between the bottom edge of the brake paddle and the tire Figure 12 1 Limiter Bolt ...
Страница 24: ...place return springs 7 Check adjustment and repeat as needed PTO BELT PTO Belt Access 1 Properly stop and park unit See Operation on page 12 2 Lower the mower 3 Place seat in most rearward position 4 Remove belt covers 5 Place foot board in open position Figure 15 CAUTION Use care when releasing spring tension Keep body parts well away from springs when performing this operation WARNING MOVING PAR...
Страница 25: ...m the springs 4 Remove old hydro pump belt from right hand hydrostat sheave first Figure 17 5 Install new hydro pump belt by positioning belt on sheaves Put belt onto right hand hydrostat sheave last 6 Replace long mower belt on mower clutch sheave See Remove PTO Belt on page 25 or Mower Blades on page 19 CAUTION Use care when releasing idler spring tension Keep body parts well away from idlers wh...
Страница 26: ...revent the deck from falling 3 Remove link chains from mower lift arms Note hole location on mower lift arms for replacement 4 Remove the mower mounting pins connecting the mower mounting arms to the deck 5 Slide mower deck out from under unit Installing the Mower Deck Figure 18 1 Slide mower deck under unit 2 Connect mower mounting arms to deck with mower mounting pins 3 Install link chains on th...
Страница 27: ...und the cutting edge of the left and right blades at the rear of the deck Rear position in Figure 19 9 The cutting edge at the front of the deck Front position in Figure 19 should be 1 8 in 3 18 mm lower than the cutting edges at the rear of the deck Rear position in Figure 19 10 If measurements are out of range raise the low side of the deck using the height adjusters on the deck lift brackets Se...
Страница 28: ...ed periods without a stabilizer will deteriorate resulting in gum deposits in the system These deposits can damage the carburetor and the fuel hoses filter and tank Prevent deposits from forming in the fuel system during storage by adding a quality fuel stabilizer to the fuel Follow the recommended mix ratio found on the fuel stabilizer container To treat the fuel system for storage 1 Add fuel sta...
Страница 29: ...adlight Kit 79205300 Discharge Cover Kit 79205500 Suspension Seat Kit 79205600 Double Blade Kit SERVICE PARTS Part No Qty Description 01554800 1 Battery 21548200 1 Air Filter 21535800 1 Engine Oil Filter Kawasaki 00669300 1 Hydraulic Oil Filter 21536100 2 Spark Plug Kawasaki 21538400 1 Fuel Filter Kawasaki 07241000 1 PTO Belt 07200010 1 Traction Hydro Pump Belt 09082400 1 Blade 08866800 1 Mulch Bl...
Страница 30: ...ype Refer to Engine Manual Fuel Tank Capacity gal L 7 26 5 Transmission Type Hydrostatic Drive Transmission Oil Mobil 1 15W 50 Synthetic or Equivalent Hydraulic Oil Filter Yes Size and Weight Length in cm 71 5 181 6 Width With Chute Up in cm 35 4 89 4 Height in cm 42 106 Weight lbs kg 786 357 Tires Front Tire Size in 13 x 5 Rear Tire Size in 21 x 7 Front Tire Pressure psi kPa 20 25 138 172 Rear Ti...
Страница 31: ...se the parts required to repair a defect in material or workmanship of the main frame not the labor will be provided free of charge for as long as the original purchaser owns the product Three Year Limited Warranty on Cast Iron Deck Spindles Cast iron mower deck spindles are warranted to the original purchaser for three years from the date of purchase Any defect in material or workmanship of the c...
Страница 32: ... brake linings brake arms brake shoes runners scraper blades shear bolts mower blades mower vanes headlights light bulbs knives cutters Mufflers belts and tires on Ariens and Gravely commercial lawn and garden products are not covered by this warranty Any misuse alteration improper assembly improper adjustment neglect or accident which requires repair is not covered by this warranty This warranty ...
Страница 33: ...e amount of time not to exceed 30 days If you have a question regarding your warranty coverage you should contact Ariens Company Technical Service Center at 1 920 756 2141 DEFECTS WARRANTY REQUIREMENTS a The warranty period begins on the date the small off road equipment is delivered to an ultimate purchaser b General Evaporative Emissions Warranty Coverage Ariens Company warrants to the ultimate ...
Страница 34: ...his article The manufacturer issuing the warranty will not be liable under this Article to warrant failures of warranted parts caused by the use of an add on or modified part Evaporative Emission Warranty Parts List The following parts are considered emission related components for evaporative emissions Fuel Tank Fuel Cap and Tether Fuel Line Fuel Line Fittings Clamps Pressure Relief Valves Contro...
Страница 35: ......
Страница 36: ...GRAVELY 655 West Ryan Street Brillion WI 54110 1072 920 756 2141 Fax 920 756 2407 www gravely com ...