1 5
2 . S e t t i n g To o l C o n d i t i o n s [ C O N D I T I O N ]
1
Position (Use
Keyboard)
Click this key and then use the keyboard to move the tool to the position
at which the you want to cut the test pattern.
Up/down/left/right
Press one of the [
←↑↓→
] keys on the keyboard.
High-speed
movement
Press the [Ctrl] key and one of the [
←↑↓→
] keys
on the keyboard at the same time.
Skew
Press the up/down arrow key and the left/right
arrow key at the same time. For example, [
←
] and
[
↑
] or [
↓
] and [
→
].
2
Test for force
Runs three cutting tests by changing the cutting force by 1. The tests are
performed with the value that you set and the values that are increased
or decreased by 1 from the original value.
3
Test for cutter
offset
Runs three cutting tests by changing the offset value by 1. The tests are
performed with the value that you set and the values that are increased
or decreased by 1 from the original value.
4
Cut Test
Runs one cutting test under the tool condition that you set.
¨
Test Cutting Patterns (page 15)
¨
How to Check Offset (page 15)
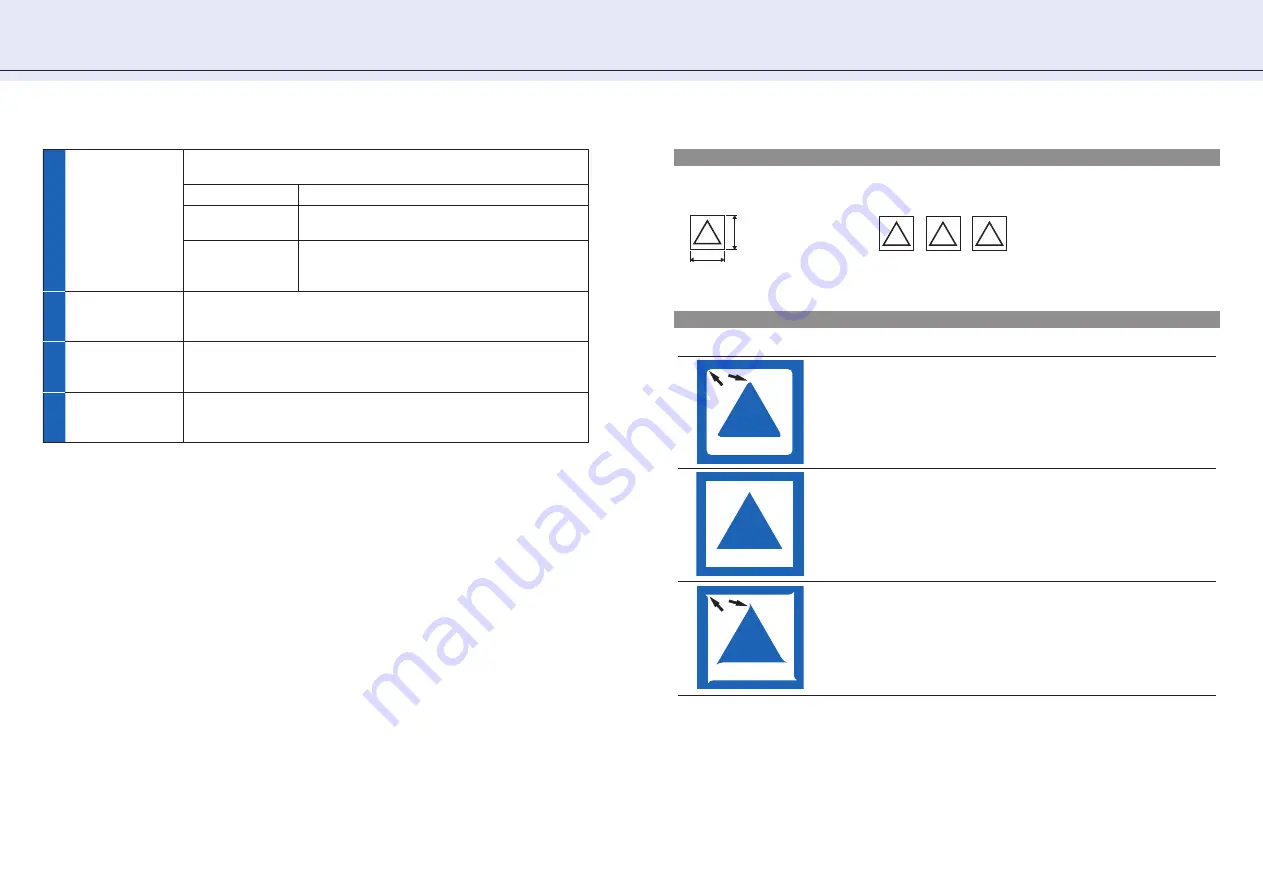
Test Cutting Patterns
1cm
1cm
Cut Test (once with the original
value)
Test for force/Test for cutter offset (three times with the original
value and ±1)
-1
Original
value
+1
How to Check Offset
Check if the offset value is set correctly by using the following information as a reference:
Not enough adjustment. Increase the offset value.
Optimal offset value.
Too much adjustment. Decrease the offset value.


