Preparing to Cut: Control Panel
35
Menu Keys
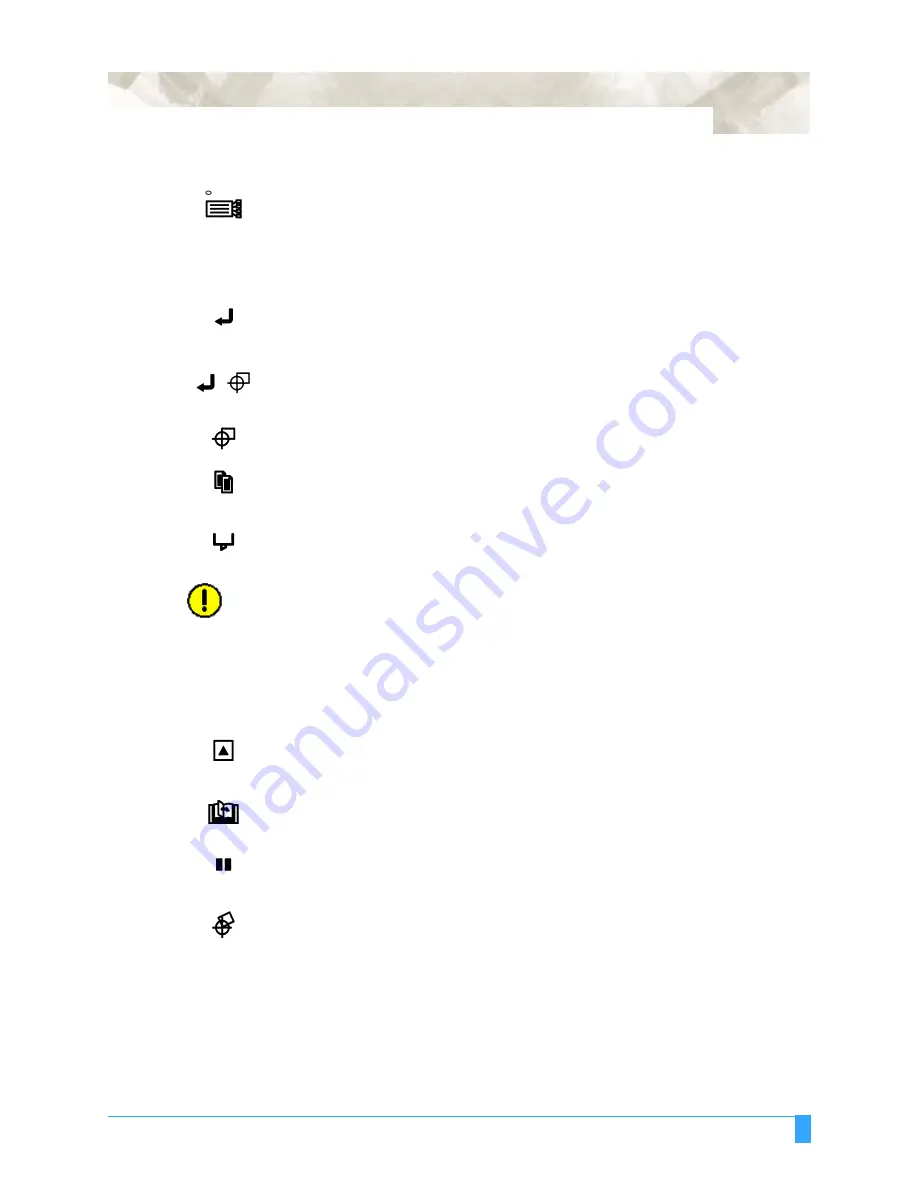
Press MENU CONTROL to access the MENU mode to set functions on the con-
trol panels (green lamp lights). Press MENU CONTROL again to cancel MENU
mode.
The plotter continues to store data from the computer in the plotter’s receive
buffer although the cutting or plotting operation is temporarily suspended.
Press ENTER after setting a function on the control panel to register your set-
ting. The cutting area can also be displayed by pressing the ENTER key in ready
status.
To reset the plotter, press ENTER and ORIGIN together while in the MENU
mode.
Press ORIGIN to move the origin point.
See the section ORIGIN in Advanced
Functions and Settings for details.
Press COPY to repeat the cutting operation defined by the data in the plotter’s
receive buffer.
See the section COPY in Advanced Functions and Settings for
details.
Press CONDITION to set the four groups of cutting conditions retained in the
plotter’s internal memory.
See the section Setting Conditions in this chapter
for details.
CAUTION:
Excessive speed and quality parameters in the CONDITION mode may trigger
the position alarm to reset the system or cause system overload. An over-
loaded system triggers the product’s circuit protection.
Should the system overload, causing the power to shut down, turn off the
power switch and unplug the power cord. Wait 5 to 10 minutes, then reconnect
the power and turn on the system. For more information, see
Test Modes and
Troubleshooting
.
Press TEST to run a cutting test to check whether the currently selected cutting
conditions are compatible with the media loaded.
See Running Cutter Tests in
this chapter for details.
Press NEXT to scroll through the functions of the control panel or to return to
the previous menu with no registration of the setting.
Press HOLD to temporarily suspend cutting or plotting. While the cutter is sus-
pended, the media set lever can be lowered to reset the media, if necessary. The
plotter is
not
initialized, but is ready to continue or quit the suspended job.
Press AXIS ALIGN to access the axis alignment adjustment mode and the auto
registration mark mode.
See the sections Axis Alignment and Auto Reg. Mark
in Advanced Functions and Settings for details.
Содержание FC5100A-100
Страница 1: ...A 75 100 130 150 user manual MANUAL NO FC5100 UM 154...
Страница 3: ......
Страница 10: ...FC5100A Loupe PHP 61 Loupe 197 Attaching the Loupe 197 Using the Loupe 198 Chapter 11 Appendix 200...
Страница 11: ......
Страница 27: ...Out of the Box Connecting the Plotter 27...
Страница 33: ...Cutters and Holders Blade Length 33...
Страница 133: ...Advanced Functions and Settings RS 232C Serial Interface 133...
Страница 149: ...Background Settings Background Settings for HP GL 149...
Страница 199: ...Options FC5100A Loupe PHP 61 Loupe 199...


