3-14
Chapter 3 PREPARATIONS FOR CUTTING/PLOTTING
Setting the Quality [QUALITY]
Ths settng determnes the qualty of the cut or plotted results. Please see Secton 3.10, "Meda and Cuttng
Condtons" for further detals on the settng values.
(1) Wth the plotter n Ready status, press a key from
[F1]
to
[F4]
to select the COND No. that you wsh to change.
(2) Press the
[CONDITIONS] key
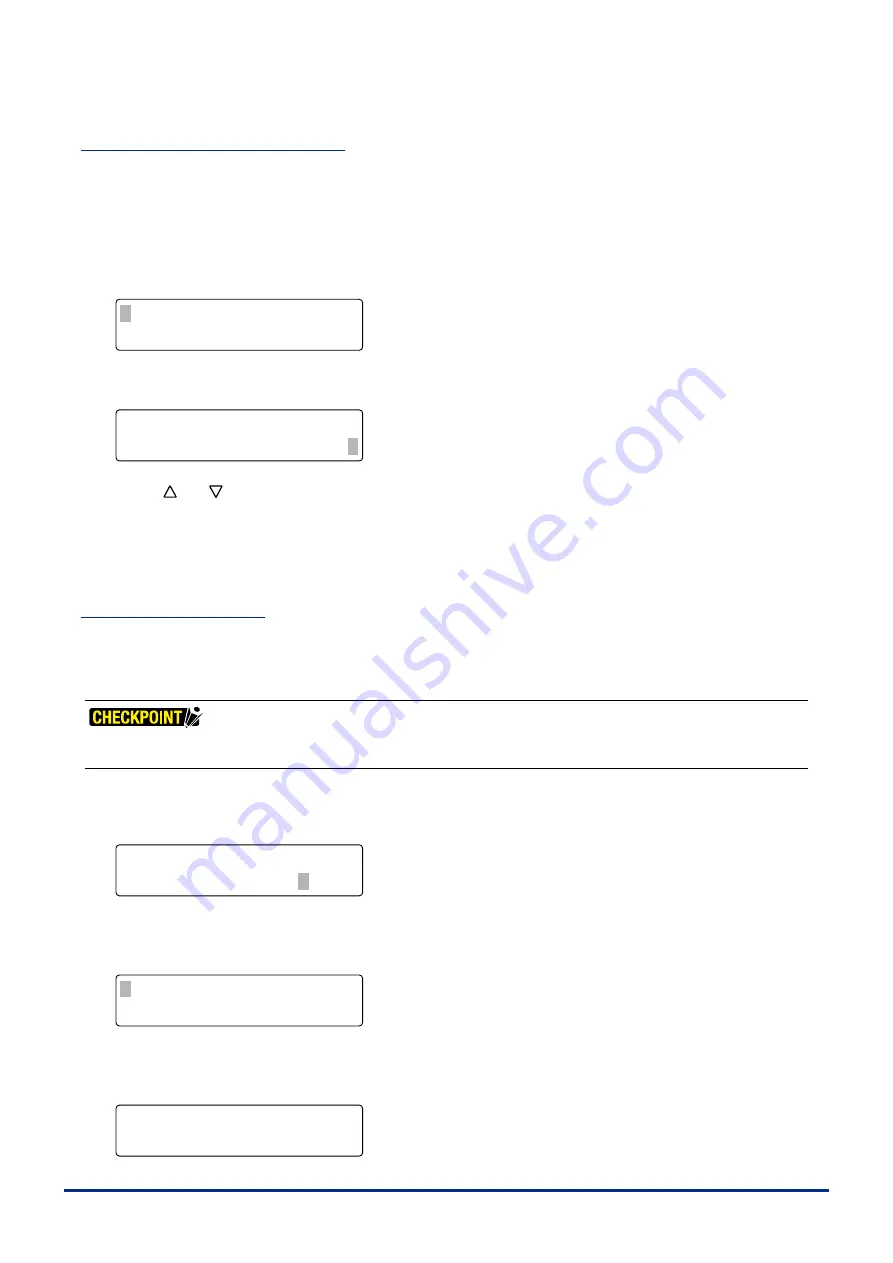
to dsplay the followng screen. (The dsplay wll dffer accordng to the settng
condtons that have been made.)
FORCE
OFFSET
SPEED
QUALITY
X20 COND1 09U 0
30 CHANGE TOOL1 4
(3) Press the
[F4] key
to move the blnkng cursor to the QUALITY parameter.
FORCE
OFFSET
SPEED
QUALITY
X20 COND1 09U 0
30 CHANGE TOOL1 4
(4) Use the
[ ]
or
[ ] key
to change the value.
Setting range: 1-6
The smaller the number, the hgher the qualty
(5) When the dsplayed settngs are correct, press the
[ENTER] key
. To cancel your settngs, press the
[NEXT] key
.
Thick Mode Settings
The Thck Mode s used for cuttng thck meda such as rubber for sandblastng masks and thck paper for
garment patterns as well as hard media such as acrylic film. This setting is only enabled for the COND Nos.
to whch THICK mode has been assgned.
•
Thick Mode is not enabled when "PEN" or "CP001" has been selected as the cutter blade type.
•
Please see Section 5.7, "Assigning Thick Mode" for further details.
(1) When Thick Mode has been specified, the blinking cursor is displayed located over the Tool No. when the plotter is
n Ready status.
FORCE
OFFSET
SPEED
QUALITY
20,20 COND1 09U 0
30 READY+ TOOL1 4
(2) Press the
[CONDITIONS] key
to dsplay the followng screen. (The dsplay wll dffer accordng to the settng
condtons that have been made.)
FORCE
OFFSET
SPEED
QUALITY
X20 COND1 09U 0
30 CHANGE TOOL1 4
(3) Press the
[ENTER] key
to dsplay the Thck Mode mode selecton screen (only when thck mode assgnment has
been performed).
FORCE
OFFSET
SPEED
QUALITY
•MODE THICK MODE2
STR.=0.0mm END=0.0mm
Содержание FC2250 Series
Страница 1: ...USER S MANUAL MANUAL NO FC2250 UM 151 FC2250 SERIES CUTTING PRO...
Страница 105: ...5 29 Chapter 5 FUNCTION SETTINGS AND OPERATIONS Cutting Plotting Conditions List...
Страница 111: ...CHAPTER 6 TROUBLESHOOTING PRODUCT SUMMARY 6 1 Troubleshooting 6 2 Error Messages...
Страница 117: ...CHAPTER 7 VACUUM SUCTION PRODUCT SUMMARY 7 1 Selecting the Vacuum Pump 7 2 Installation Location 7 3 Vacuum Pump Wiring...
Страница 121: ...CHAPTER 8 SPECIFICATIONS PRODUCT SUMMARY 8 1 Main Specifications 8 2 External Dimensions...
Страница 130: ......


