


4-4
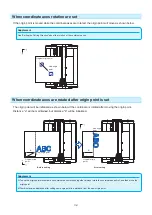
Setting cutting width (EXPAND)
Set the cutting width. It is possible to set that it will cut to the area outside of the push rollers, or not to cut at the
ends of the media.
Default setting is to the internal edge of the push rollers. It can be set up to 10 mm outside (positive value) or 10
mm inside (negative value) from the default position. The width will enlarge if the value is set to positive, and the
width will decrease if the value is set to negative. Setting will affect both ends, resulting the total width change
will be double the set value.
CAUTION
Do not set the "INITIAL BLADE CONTROL POSITION" of the tool setting to "OUTSIDE" when the setting value is set to more than 8
mm. The blade might be damaged by moving the carriage outside the media under this condition.
Supplement
•
If the value is set to positive, it is able to cut over where the push rollers are, but the push rollers passes where it is cut, creating a
chance of bad feeding depending on the media
•
Set the width of cutting area, and then send the cutting data to the plotter. Cutting data in the buffer memory will be cleared when
cutting area width is changed.
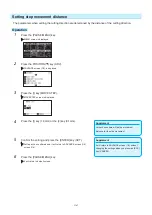
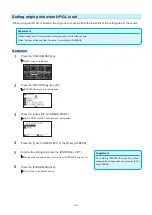
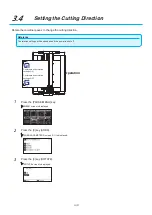
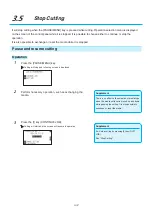
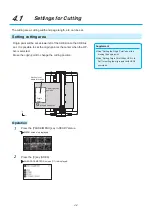
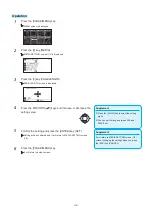
Operation
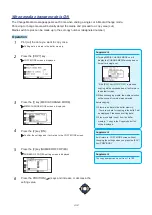
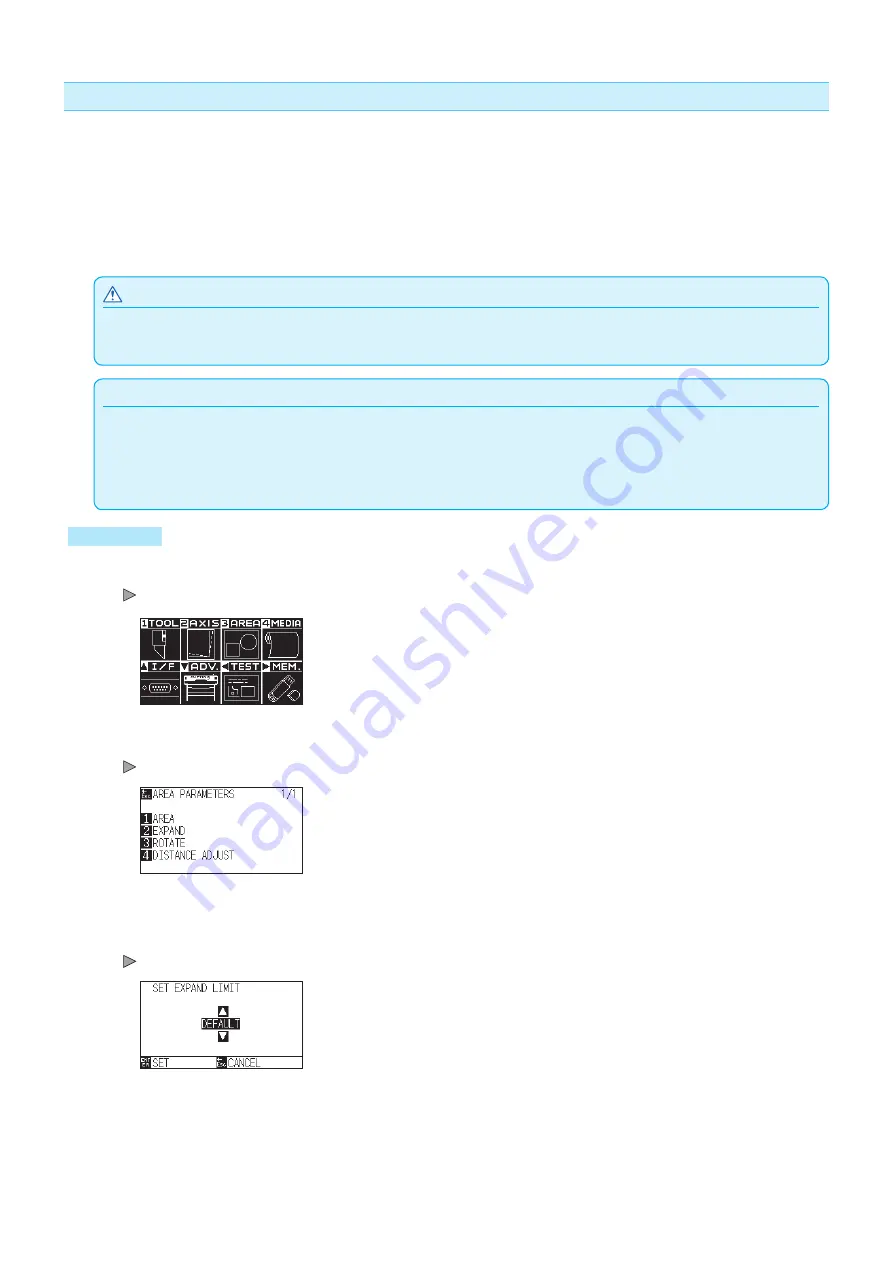
1
Press the [PAUSE/MENU] key in READY status.
MENU screen is displayed.
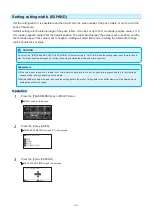
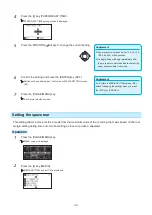
2
Press the [3] key (AREA).
AREA PARAMETERS screen (1/1) is displayed.
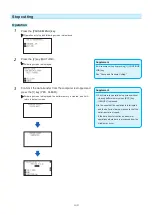
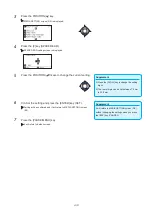
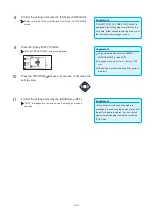
3
Press the [2] key (EXPAND).
SET EXPAND LIMIT screen is displayed.
Содержание CE7000-130AP
Страница 1: ...USER S MANUAL MANUAL NO CE70AP UM 151 CE7000 130AP CUTTING PLOTTER...
Страница 2: ......
Страница 19: ...1 3 Dedicated accessories A stand with a basket is supplied...
Страница 84: ......
Страница 104: ......
Страница 110: ......
Страница 128: ......
Страница 184: ......
Страница 245: ...A 7 PAUSE MENU 2 Continued MENU screen AXIS SETTING 1 1 Default screen Continued 1 2...
Страница 246: ...A 8 3 PAUSE MENU Continued MENU screen AREA PARAMETERS 1 1 Default screen Continued 1 2 3 4...
Страница 250: ...A 12 PAUSE MENU Continued MENU screen TEST 1 2 TEST 2 2 Default screen Continued 2 3 1 1 4...
Страница 251: ...A 13 PAUSE MENU MENU screen MEM SETTING 1 1 1 Default screen Continued Default screen Finish...
Страница 254: ......
Страница 258: ......
Страница 260: ......


