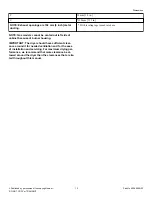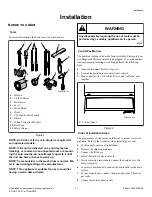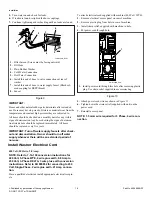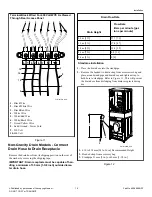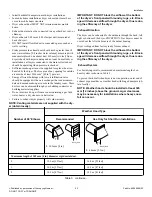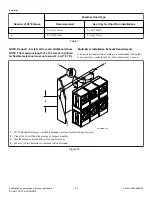
Dryer and Exhaust Duct Clearances
Area
Description
Minimum
Clearance
* Rear clearance is minimum. 152 mm [6 inches] are
recommended when venting through rear of unit.
NOTE: Use of the dispenser drawer or unit doors as
a handle in the transportation of the unit may cause
damage to the dispenser or doors.
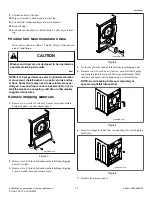
2.
Place unit in position on a solid, sturdy and level floor. Instal-
ling the unit on any type of carpeting, soft tile or other weakly
supported structures is not recommended.
3.
The unit must not be installed behind a lockable door, a slid-
ing door, or a door with a hinge on the opposite side of the
unit.
4.
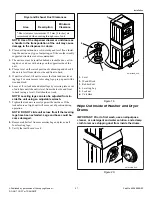
Place a level on the raised portion of cabinet top and check if
the unit is level from side to side and front to back.
5.
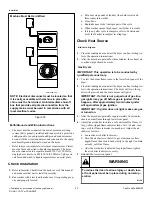
If unit is not level, tilt unit to access the front and rear level-
ing legs. For easier access to leveling legs, prop up unit with a
wooden block.
6.
Loosen 7/8 in. locknut and adjust legs by screwing into or out
of unit base until the unit is level from side to side and front
to back (using a level). Unit should not rock.
NOTE: Leveling legs can also be adjusted from in-
side the unit using an adjustable wrench.
7.
Tighten the locknuts securely against the unit base. If the
locknuts are not tight, unit will move out of position during
operation.
NOTE: DO NOT slide unit across floor if the leveling
legs have been extended. Legs and base could be-
come damaged.
8.
Remove rubber feet from accessories bag and place on all
four leveling legs.
9.
Verify that unit doesn’t rock.
SWD1029N_SVG
4
5
3
2
6
1
1.
Level
2.
Wood Block
3.
Rubber Foot
4.
Leveling Leg
5.
Locknut
6.
Unit Base
Figure 19
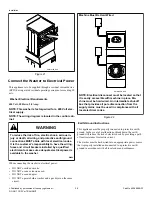
Wipe Out Inside of Washer and Dryer
Drums
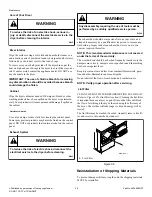
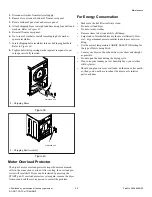
IMPORTANT: Prior to first wash, use an all-purpose
cleaner, or a detergent and water solution, and a damp
cloth to remove shipping dust from inside the drums.
SWD1012N_SVG
Figure 20
Installation
©
Published by permission of the copyright owner -
DO NOT COPY or TRANSMIT
27
Part No. 805898ENR1

