Rebuild
24
313566J
Assembly
Before proceeding, remove any old o-rings or seals from
the valve and discard. Clean the valve parts with an
appropriate solvent and replace the o-rings and seals
with new parts from the seal kit (130). Use Krytox
203GPL (part number 84/0200-K3/11) for lubricating the
valve parts, including the seals and o-rings.
Assembly of 1093 Valve Section
NOTE:
Check the metering rod (102), rod sleeve (106),
spool/sleeve assembly (116) and main body (107) for
wear. If any of these parts are worn, secure
replacements before proceeding.
NOTE:
Use caution when installing a new u-cup and
Posipak seals so they are not pinched or torn. To do
this, make sure the seals are lubricated and the lips of
the seal are tucked inward before uniformly pushing
them into position.
1. Install four lubricated o-rings (118) onto the
spool/sleeve assembly (116). Lubricate the spool
rod and the outside of the spool rod sleeve along
with the inside of the main body (107).
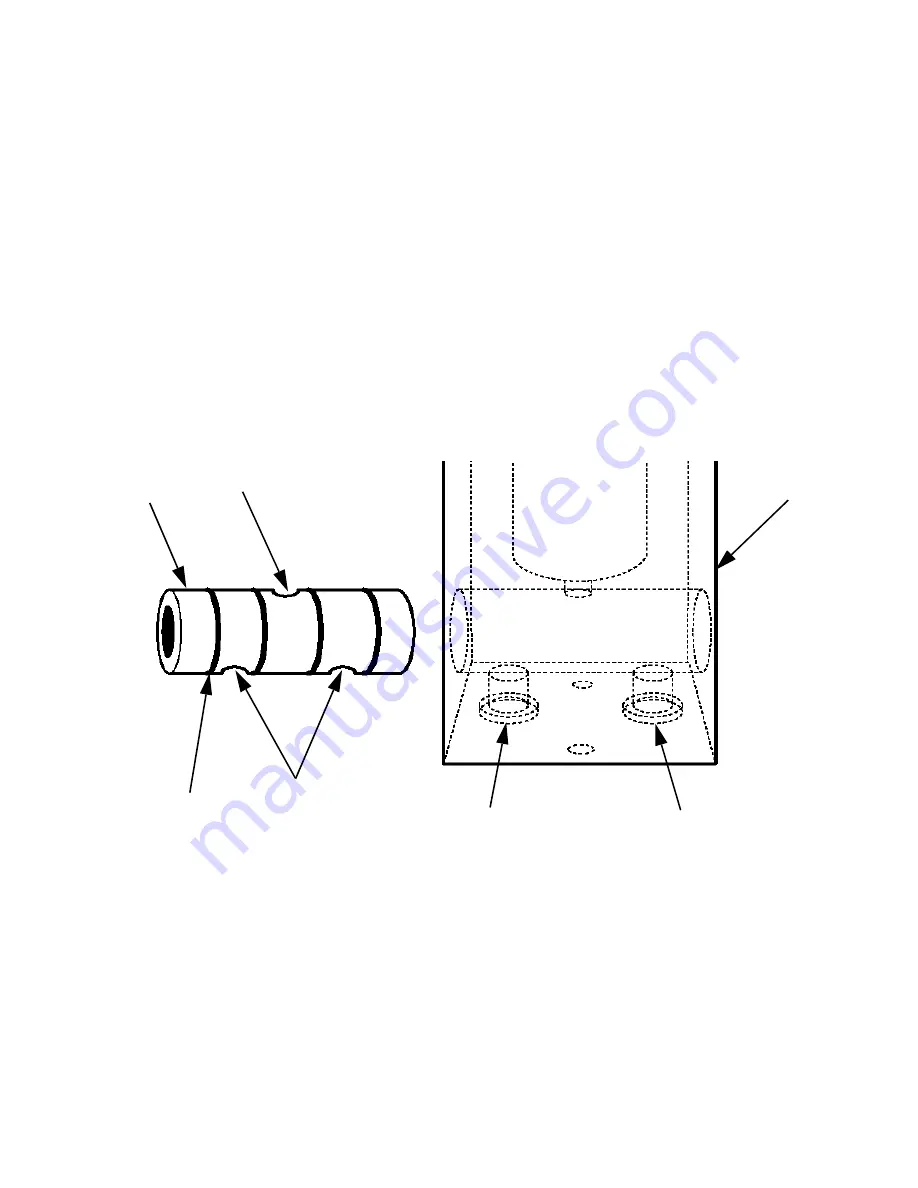
2. Carefully insert the spool/sleeve assembly (116)
into the valve body (107), rocking it to ease it into
place. Be sure to align the bottom holes of the
sleeve piece of the spool/sleeve (116) with the
outlet and inlet holes of the valve body (107).
Outlet
Inlet
Bottom Holes
Top Hole
116
118 (x4)
107


