


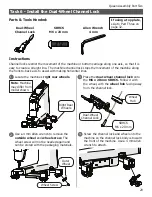


35
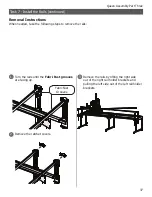
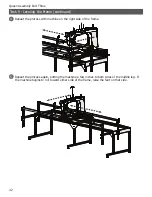
Repeat steps 1-4 for the other rail.
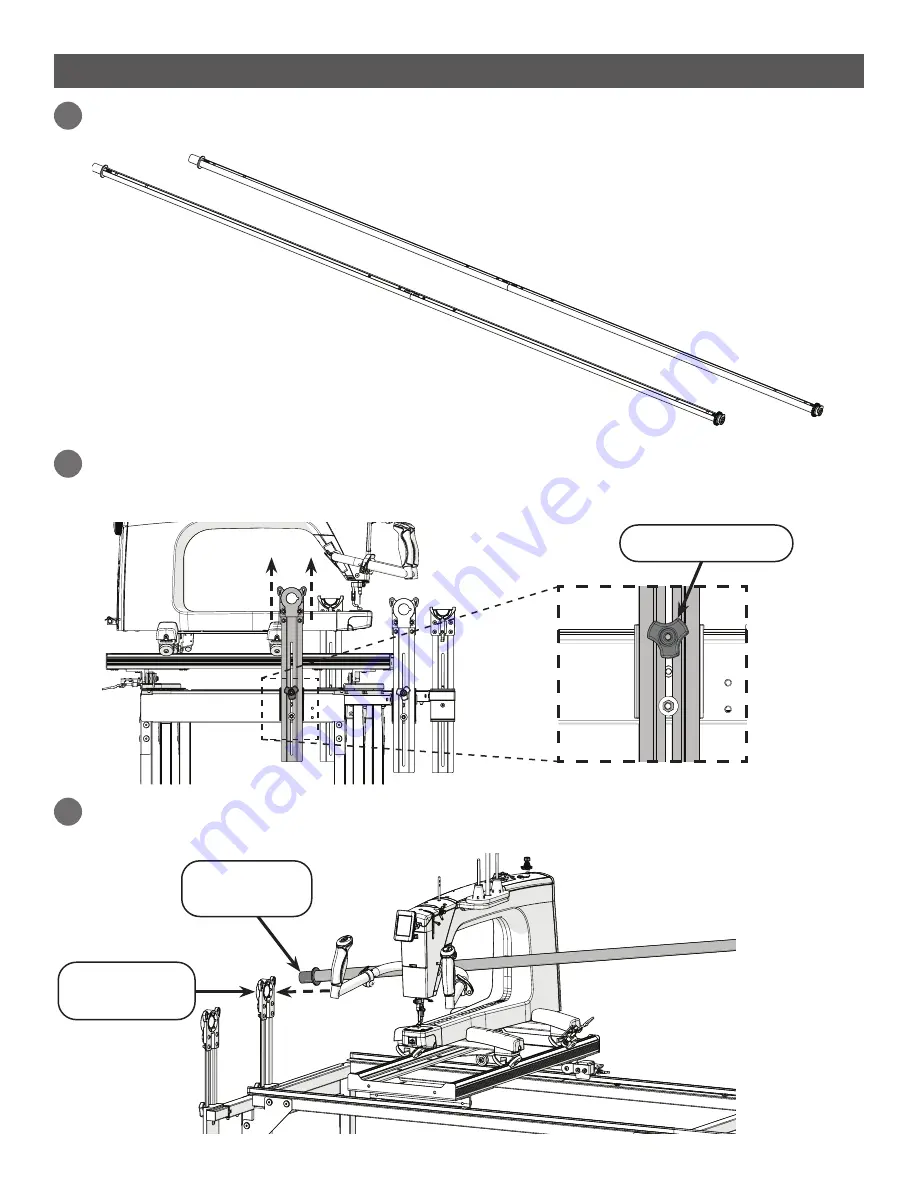
5
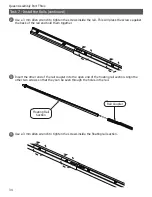
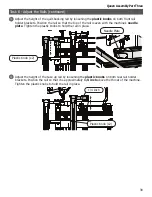
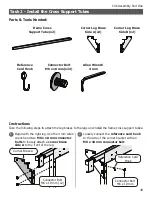
With the machine towards the left of the frame, slide one of the rails through the machine’s
throat and insert the end of the
floating rail section
into the rear
left
rail holder bracket
.
6
7
Floating Rail
Section
Left Rail
Holder Bracket
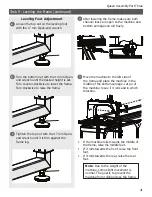
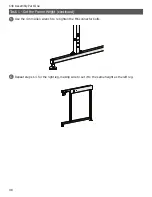
Raise the rear rail holder brackets by loosening the
plastic knob
on both of the rear bracket
holders and sliding the bracket up high enough that the rail can pass through the throat of the
machine. Make sure both rear brackets are raised to the same height.
Plastic Knob (x2)
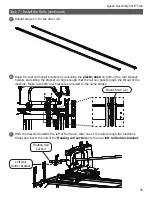
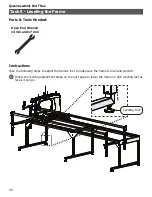
Task 7 - Install the Rails (continued)
Queen Assembly Part Three
Содержание Q-Zone Queen
Страница 1: ...Assembly Instructions Copyright December 3 2021 V2 0 Grace Company ...
Страница 2: ......
Страница 13: ...13 Queen Assembly ...
Страница 44: ...44 Crib Assembly ...
Страница 72: ...72 Repeat the process with machine on the right side of the frame 4 Crib Assembly Part Three ...
Страница 84: ...The Grace Company Phone 1 800 264 0644 www graceframe com ...