


30
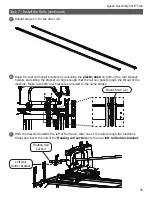
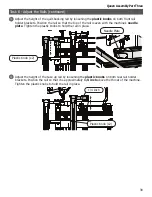
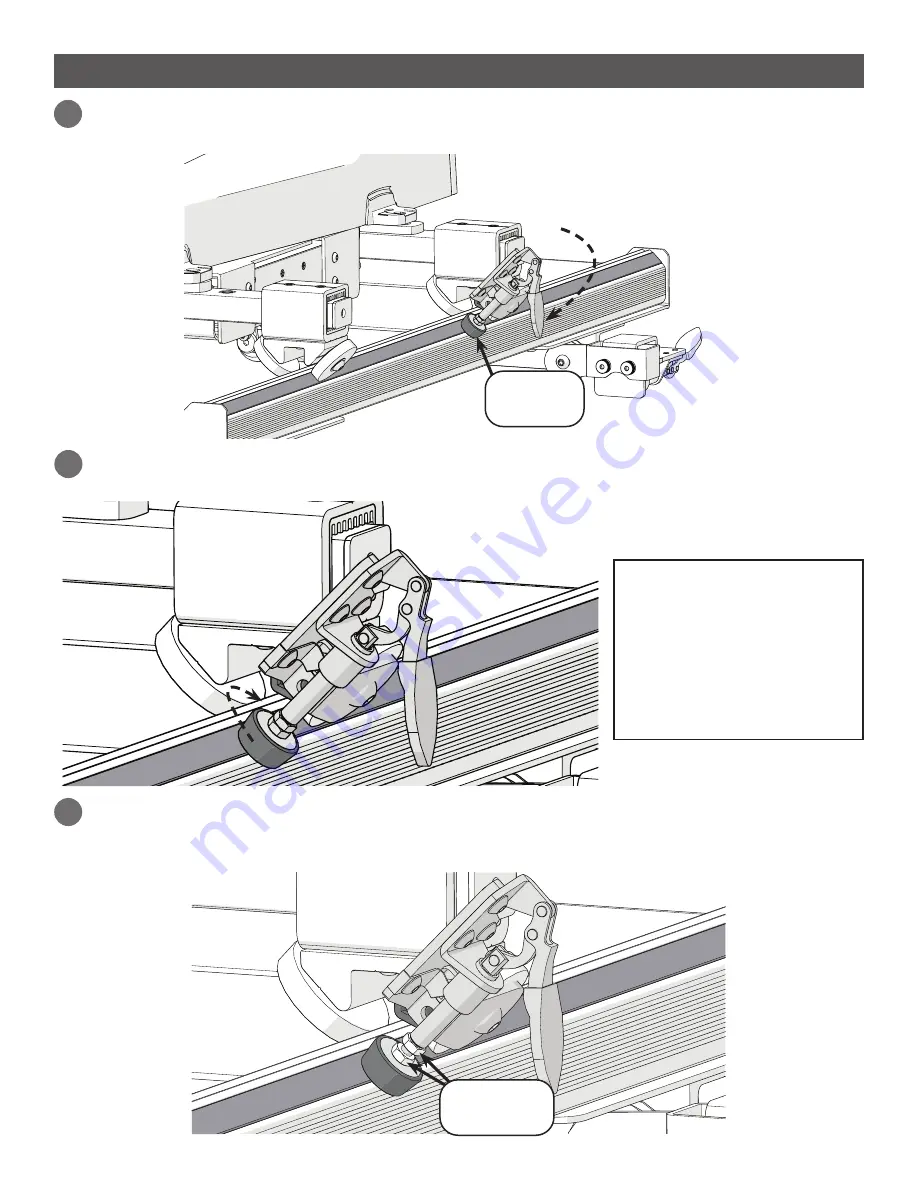
1. Close the channel lock handle and test it out. The
rubber foot
should press firmly against the
bottom carriage tracks and prevent the machine from moving front-to-back on the carriage.
5
If the channel lock doesn’t fully reach track, or its grip on the track seems loose, twist the rubber
foot clockwise to extend it.
6
Rubber
Foot
Note:
If twisted too far, the
handle will start to open, and
eventually the foot will fall
out. Reverse the direction
you’re twisting until the
handle is pointing down,
but the foot still reaches the
track.
Optional step:
Prevent the channel lock by loosening over time by using needle nose pliers or
a wrench to tighten the bottom 4 mm hex nut against the rubber foot. Tighten the other hex nut
against the channel lock barrel.
7
Hex Nuts
4 mm
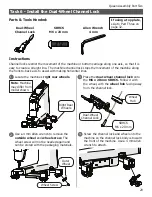
Task 6 - Install the Dual-Wheel Channel Lock (continued)
Содержание Q-Zone Queen
Страница 1: ...Assembly Instructions Copyright December 3 2021 V2 0 Grace Company ...
Страница 2: ......
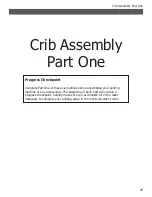
Страница 13: ...13 Queen Assembly ...
Страница 44: ...44 Crib Assembly ...
Страница 72: ...72 Repeat the process with machine on the right side of the frame 4 Crib Assembly Part Three ...
Страница 84: ...The Grace Company Phone 1 800 264 0644 www graceframe com ...