2 0 P R O G R A M M I N G M A N U A L
C M 4 0 & C M 5 0
Setting up a New CM40 or CM50 Radio
Following the basic programming process: Read > Enter Customer Requirements > Write: the
following options are available to program a CM40 or CM50 series radio:
•
Open a previously saved configuration file and write it to the new CM40 or CM50
radio,
•
Read a new or existing CM40 or CM50 radio, update customer requirements in the
profile and writing the new profile to a CM40 or CM50 radio.
•
Opening a new file, without necessarily having a radio connected (using File menu >
New and selecting a radio model and type). Creating and saving a new configuration
which can be written to a CM40 or CM50 series radio.
•
Use channels and zones from a .csv file – start the process as described above and
then import your zones and channels from a .csv file as described under Zones /
Channels on page 18 and Exporting and Importing Channels on page 20.
1.
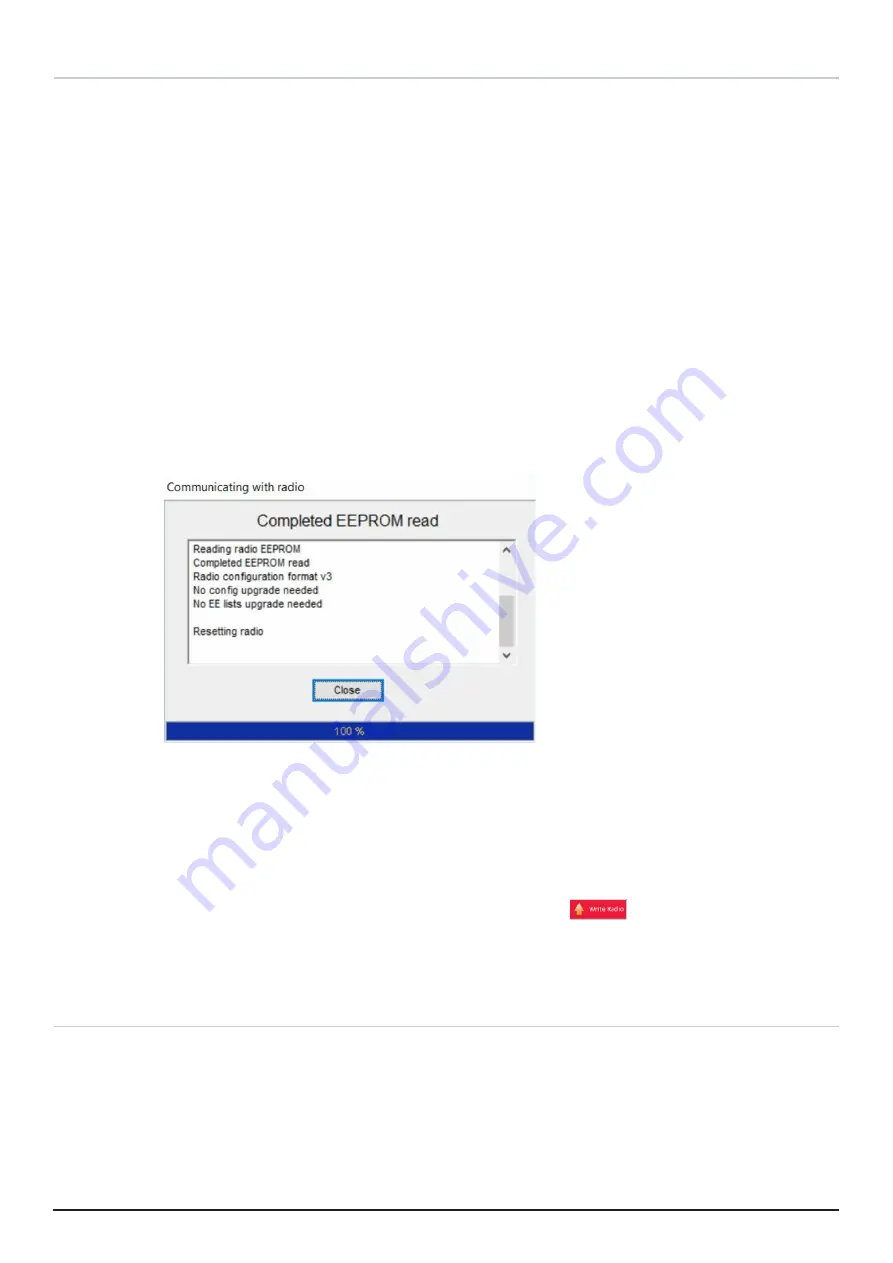
Click the Read Radio button in the main window. The program will read the current
radio firmware version, followed by a complete EEPROM Read. At the end a
Completed EEPROM read message is displayed.
Figure 18 – Reading the Configuration from the Radio
NOTE:
As with reading a configuration from the radio, the EEPROM read includes
details of the radio’s model and type.
2.
Click Close when reading from the radio is completed.
3.
Configure the radio with customer requirements.
4.
Write the new configuration to the radio by clicking
The configuration details are now in the programmer; it is recommended to save the configuration
for future use as described under Writing a Radio’s Configuration Details to a File on page 13.
Disconnecting CM40 or CM50 Radios
To disconnect a radio:
1.
Ensure the CM40 & CM50 Programmers is no longer in the process of reading or
writing to the CM40 or CM50 radio.
2.
Disconnect the programming cable from the radio port.
3.
To close the CM40 & CM50 Programmer, from the File menu choose Exit, or press
ALT-F4, or click × at the top right of the programmer screen.


