


0020313973_01 Compact Installation and maintenance instructions
29
9.3
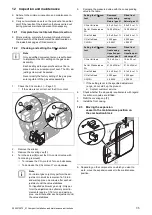
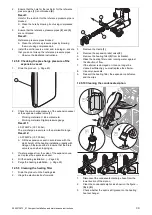
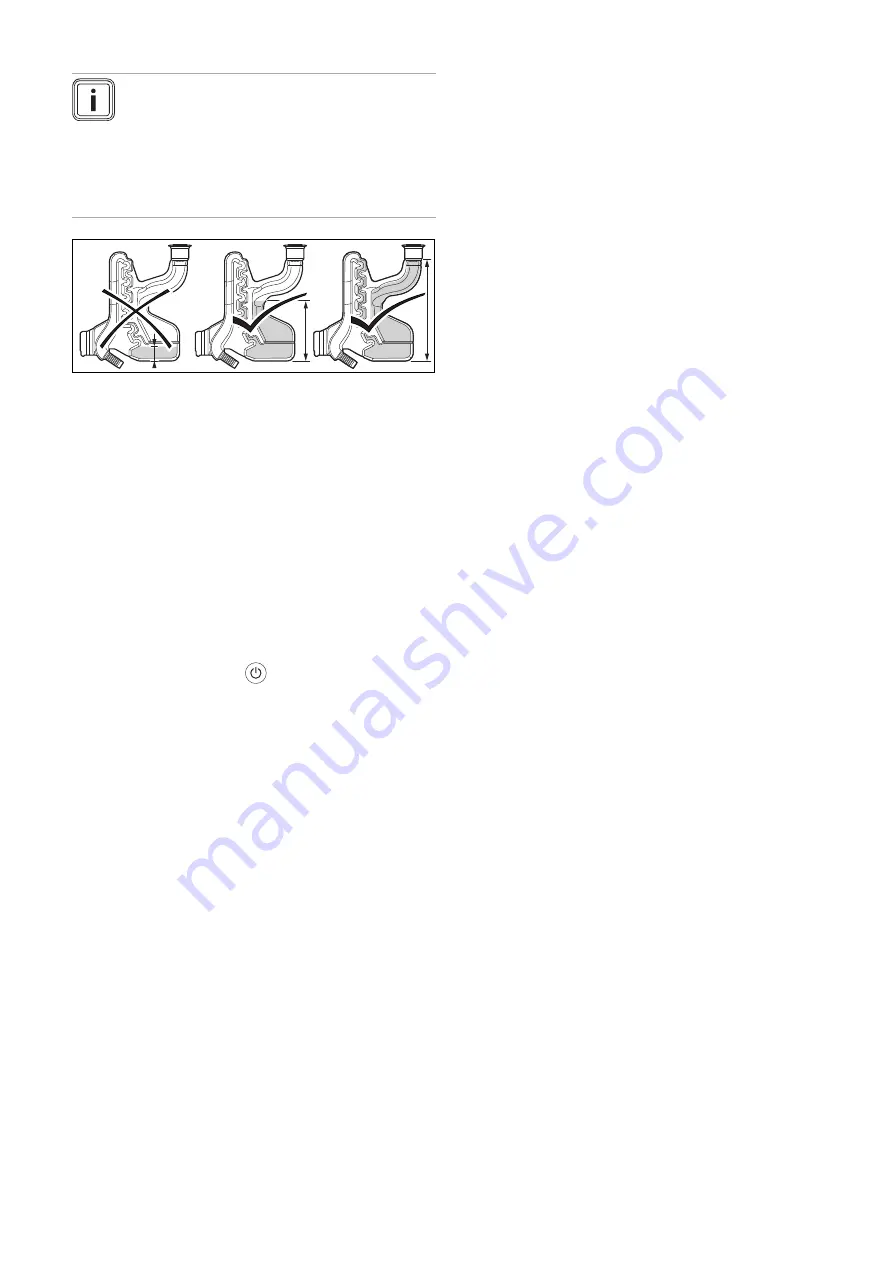
Filling the heating installation
Note
After each start-up, the product works at reduced
output when starting in order to facilitate the heat
transfer effect. This does not apply for check pro-
grammes and does not result in any loss of com-
fort for the end user. Status code
S.58
corres-
ponds to this phase. The display shows a tem-
perature of approx. 50 °C in this phase.
1.
Ensure that the condensate siphon has been filled cor-
rectly.
2.
Before filling the heating installation, ensure that it has
been flushed out sufficiently.
3.
Connect the filling/draining cock in the heating install-
ation to a heating water supply in accordance with the
relevant standards.
4.
Open all of the thermostatic radiator valves and, if re-
quired, the service valves.
5.
Open the heating water supply and the filling tap so
that the heating water flows into the heating installa-
tion.
◁
The heating circuit is automatically purged via the
hose that is connected to the pump.
Starting up the product
6.
Press the on/off button
.
◁
The display shows the basic display.
7.
Start check programme
P.08
. (
Check programmes (
◁
The product's heating circuit is automatically
purged via the hose that is connected to the pump.
8.
Purge the highest radiator until water flows out of the
purging valve without bubbles.
9.
Purge all other radiators until the entire heating installa-
tion has been completely filled with heating water.
10.
Close all purging valves.
11.
Fill with heating water until the required filling pressure
is reached.
–
0.10 to 0.14 MPa (1.00 to 1.40 bar)
▽
If the heating installation extends over several
storeys, higher filling pressures may be required to
avoid air entering the heating installation.
12.
Close the filling tap and the heating water supply.
13.
Check all of the connections and the entire circuit for
leaks.
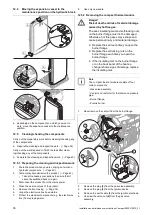
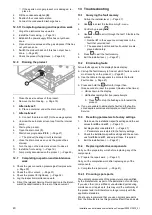
9.4
Purging the heating installation
1.
Start the check programme
P.00
. (
Check programmes (
◁
on
is shown in the display.
2.
Make sure that the filling pressure of the heating install-
ation does not fall below the minimum filling pressure.
– ≥
0.05 MPa (
≥
0.50 bar)
3.
Check whether the filling pressure of the heating in-
stallation is at least 0.02 MPa (0.2 bar) above the dia-
phragm expansion vessel's counter-pressure (P
system
≥
P
diaphragm expansion vessel
+ 0.02 MPa (0.2 bar)).
Result:
Filling pressure of the heating installation is too low
▶
Refill the heating installation.
4.
If there is still too much air in the heating installation
at the end of the check programme
P.00
, restart the
check programme.
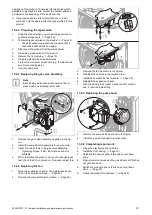
9.5
Filling and purging the domestic hot water
system
1.
Open the cold-water isolation valve on the product.
2.
To fill the domestic hot water circuit, open all of the
domestic hot water tap fittings until water escapes.
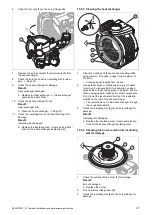
9.6
Check and gas setting
9.6.1
Checking the factory-set gas setting
▶
Check the information about the gas type indicated on
the data plate and compare this with the gas type avail-
able at the installation site.
Result 1:
The product design is not compatible with the local gas
group.
▶
Do not start up the product.
▶
Contact customer service.
Result 2:
The product design is compatible with the local gas
group.
▶
Check the gas connection pressure/gas flow pres-
sure. (
▶
Check the CO
₂
content. (
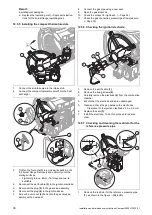
9.6.2
Checking the air/flue pipe/flue gas
recirculation
1.
Check the flue gas installation is intact in accordance
with the latest gas safe technical bulletin and informa-
tion supplied in the installation instructions.
2.
For extended flue gas installations check for flue gas
recirculation using the air analysis point.
3.
Use a flue gas analyser.
4.
If you discover unusual levels of CO or CO
2
in the
supply air, search for the leak in the flue system or for
signs of flue gas recirculation.
5.
Eliminate the damage properly.
6.
Check again whether the supply air contains any un-
usual levels of CO or CO
2
.
7.
If you cannot eliminate the damage, do not start up the
product.