12
APPENDIX E. LOGGERNET QUICK START GUIDE
E.1 Overview
Campbell Scientific’s LoggerNet Software is used to communicate with the Datalogger, program
user specific settings and collect Data stored in the Datalogger memory. LoggerNet is designed
to be used with Geokon Micro-6000 Dataloggers reading Vibrating Wire and MEMS tilt sensors;
other configurations and sensor outputs are available upon request. Upon request Geokon
provides the user with a generic Start Program to simplify acquiring Data without the need to be
proficient in Campbell Scientific CRBasic programming code. The Start Program(s) will be
preconfigured with a default Scan Interval and will store Raw Units by default. Each Start
Program will have two associated files on the factory supplied USB flash drive. The first is the
Main CRBasic program (.CR6) and includes all programming code required to read and store
Data according to the Datalogger configuration. The Main CRBasic program does not require
modification by the user in most cases. The second file is the Include (.DLD) text file and is used
by the Main program to import user specific parameters. The Include file allows program
parameters such as the Scan Interval, Zero Readings, Linear Gauge Factors, Data File Header
Labels and Temperature Correction factors to be modified by the user.
E.2 Getting Started
E.2.1 Program Files
After installing LoggerNet (must be
Version 4.3 +
), the CRBasic program files are
located on the Geokon USB Thumb Drive. The file types are “.DLD” and “.CR6”, these
files should first be copied to the end users computer in C:\Campbellsci\CRBasicEditor.
E.2.2 Connection Setup
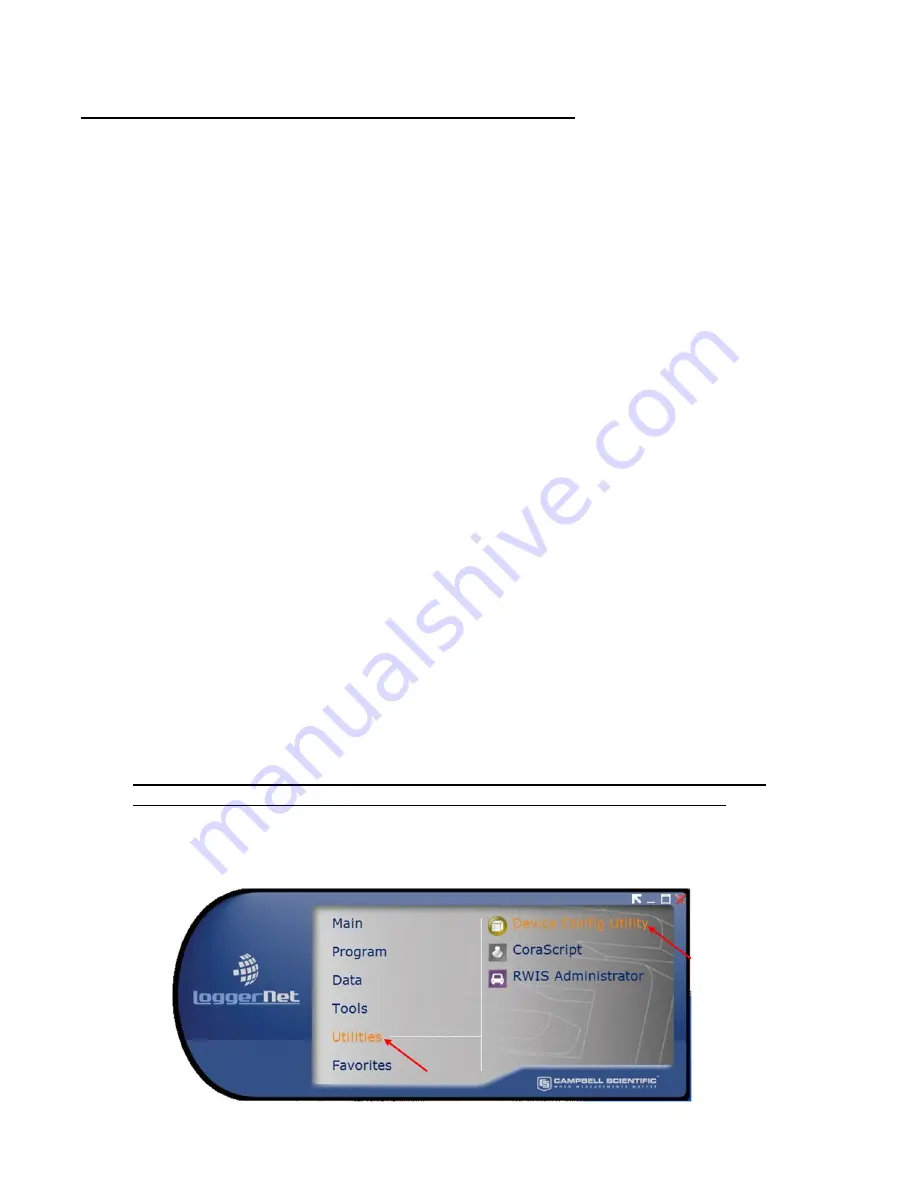
The Launch Menu provides a list of all the categories on the LoggerNet toolbar. Hovering
over a category will display a list of applications related to that category.
Prior to the first time any computer connects to a Micro-6000/CR6 Datalogger via
USB the USB drivers must be installed. Device Config must be Version 2.10 +
With the Launch Menu open, hover over “Utilities” and press “Device Config Utility”
from the resulting list of applications.
Figure 4 - Launch Menu, Device Config Utility


