


Hardware Installation
1.
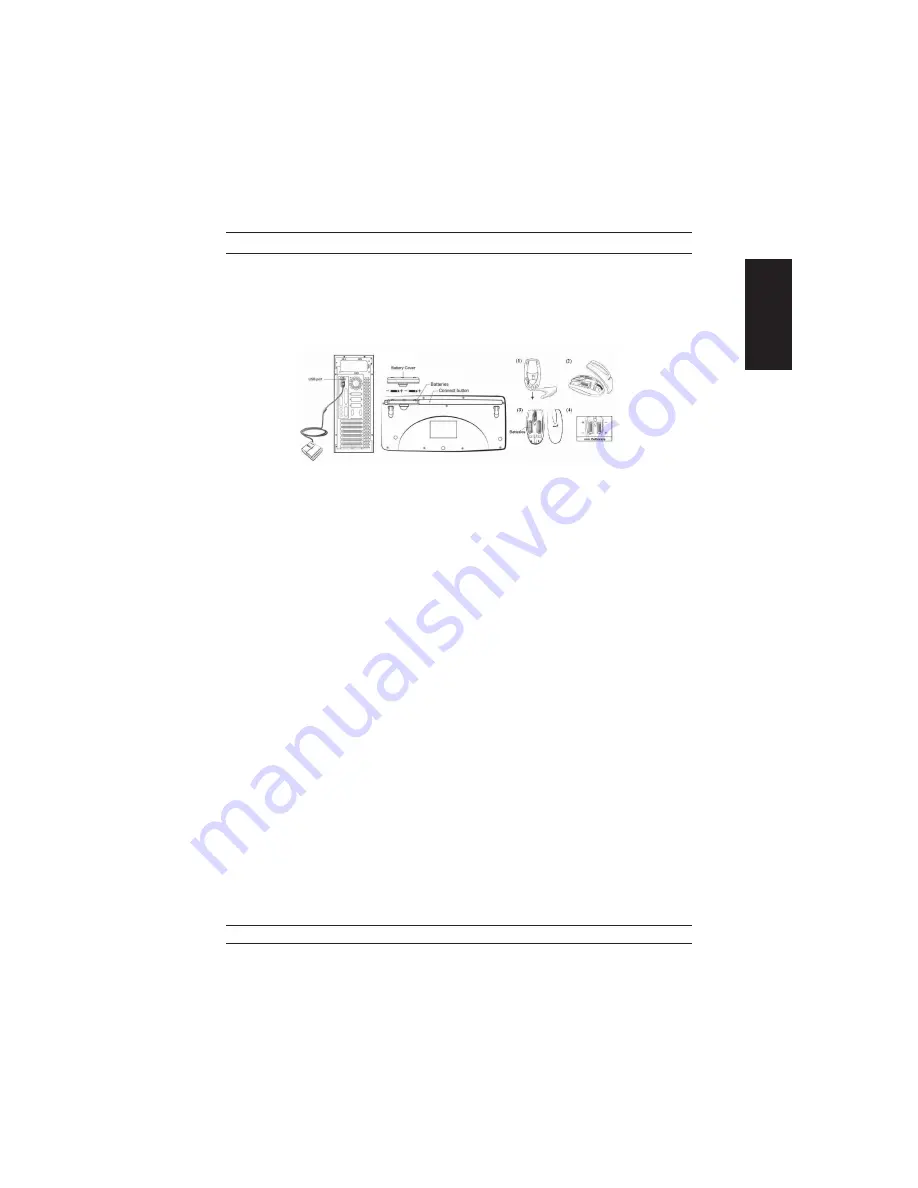
Install two AAA rechargeable batteries in the mouse and two AAA rechargeable
batteries in the keyboard.
2.
You can connect the receiver to a USB port of a PC
.
3.
Turn on your computer.
Software Installation
1.
Make sure the mouse and keyboard is connected to the computer.
2.
Put the Setup disk (or CD) into the disk drive.
3.
Follow the instructions on the screen to finish the software installation.
Replace Batteries
If you feel the mouse does not move smooth as usual or the keyboard does not work
when typing, then the batteries have lost their charge, so please replace them.
Furthermore, do not mix or use different types of batteries at the same time.
You
should set up the channel every time you replace the batterires.
ID channel setting
The channel buttons are factory preset. The green LED, the data transmission indica-
tor, on the receiver will be lit when the keyboard or mouse is in normal operation. If
your keyboard/mouse does not work, then you have to set the ID channel setting.
Please press the button on the receiver first (RB) and press the button under the
mouse (MB) and the keyboard (KB) within twenty seconds. So you press RB, MB
and KB to set the channel setting.
Charging
If you need to buy new batteries to recharge, please choose two Ni-MH
(Nickel-Metal-Hydride) AA rechargeable batteries, 1.2V, 1300 to 1600 mAH or AAA
rechargeable batteries, 1.2V, 600 to 800 mAH. Please do not mix or use other types
of batteries in the battery charger such as Li-ion, Ni-Cd, Alkaline, etc. The red LED
on the receiver shows the battery-recharging status (from LED completely “on” to
“off” for battery full).
1
ENGLISH


