Notice
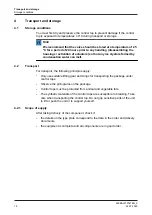
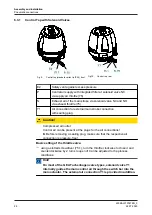
The vent plug E2 is a safety element.
If the element is not installed correctly or if the vent is covered, the safety
function is no longer guaranteed.
► The installation position of the vent plug E2 must never be pointing
vertically upwards.
► The vent plug E2 must never be covered.
6.6.1
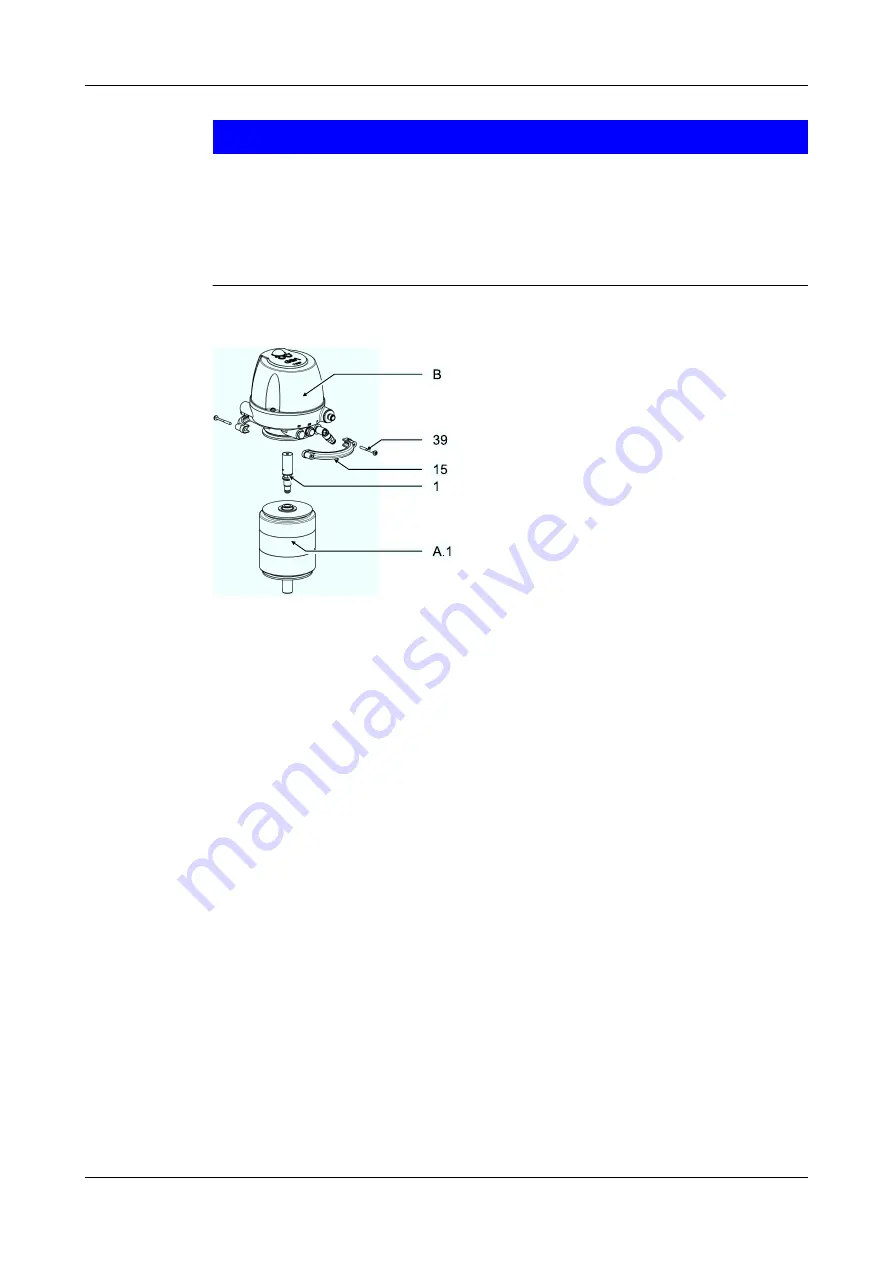
Mounting to VARIVENT Shut-Off and Divert Valves
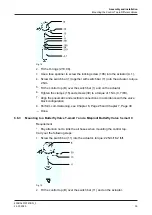
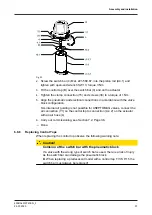
Fig.17
Requirement:
•
Pay attention not to kink the air hoses when mounting the control top.
Carry out the following steps:
1.
Check that the switch bar (1) is firmly in place. If necessary, tighten using an
a/f 13 open end spanner; torque 2 Nm (1.4 lbft).
2.
Fit the control top (B) over the switch bar (1) and on the actuator (A.1).
3.
Tighten the clamps (15) and screws (39) to a torque of 1 Nm (0.7 lbft).
4.
Align the pneumatic and electrical connections in accordance with the valve
block configuration.
5.
Close the air connection Y1 with a sealing plug since the control top T.VIS
P-15 has an inner air duct.
6.
Perform commissioning, see Chapter 6, Page 25 and Chapter 7, Page 38.
®
Done.
6.6.2
Mounting to a Butterfly Valve T-smart 8000
Requirement:
•
Pay attention not to kink the air hoses when mounting the control top.
Carry out the following steps:
1.
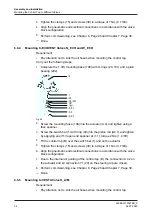
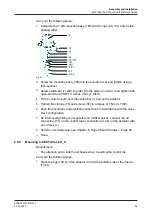
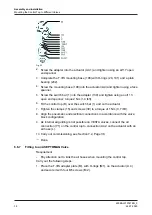
Fit the bearing (201) into the locking screw (198).
Assembly and installation
Mounting the Control Top to Different Valves
430BAL010747EN_3
32
24.07.2020
Содержание T.VIS P-15
Страница 65: ...Appendix 430BAL010747EN_3 24 07 2020 65 ...
Страница 66: ......

