Chapter 14 View Images
1 Overview
You view images through a series of viewports and access images using the File Manager. You
can also view and work with images and set image-viewing preferences on the Reconstruction
and Image Processing window. This window is available during the scan session and when
accessing raw scan data via Scan Data Manager.
1.1 Viewports Overview
Images display on a series of viewing areas called
viewports
, located on both the scan monitor
(left) and the image monitor (right).
Viewports on the scan display are used during the scanning process. Viewports on the image
monitor are used during image processing and when accessing images through the File
Manager.
A viewport becomes active or receives primary focus by clicking on it. At that point, the border
around the image turns blue. You can window level, magnify and perform other image
manipulation functions without affecting other images currently displayed on the screen.
Any viewport can be expanded to double size by clicking the [Expand] icon
on the hover
menu for the viewport. To return the viewport to its normal size, click the same icon.
To expand a viewport in File Manager, click the Expand button above the viewport
. Click
the Minimize button to return to return the viewport to its normal size.
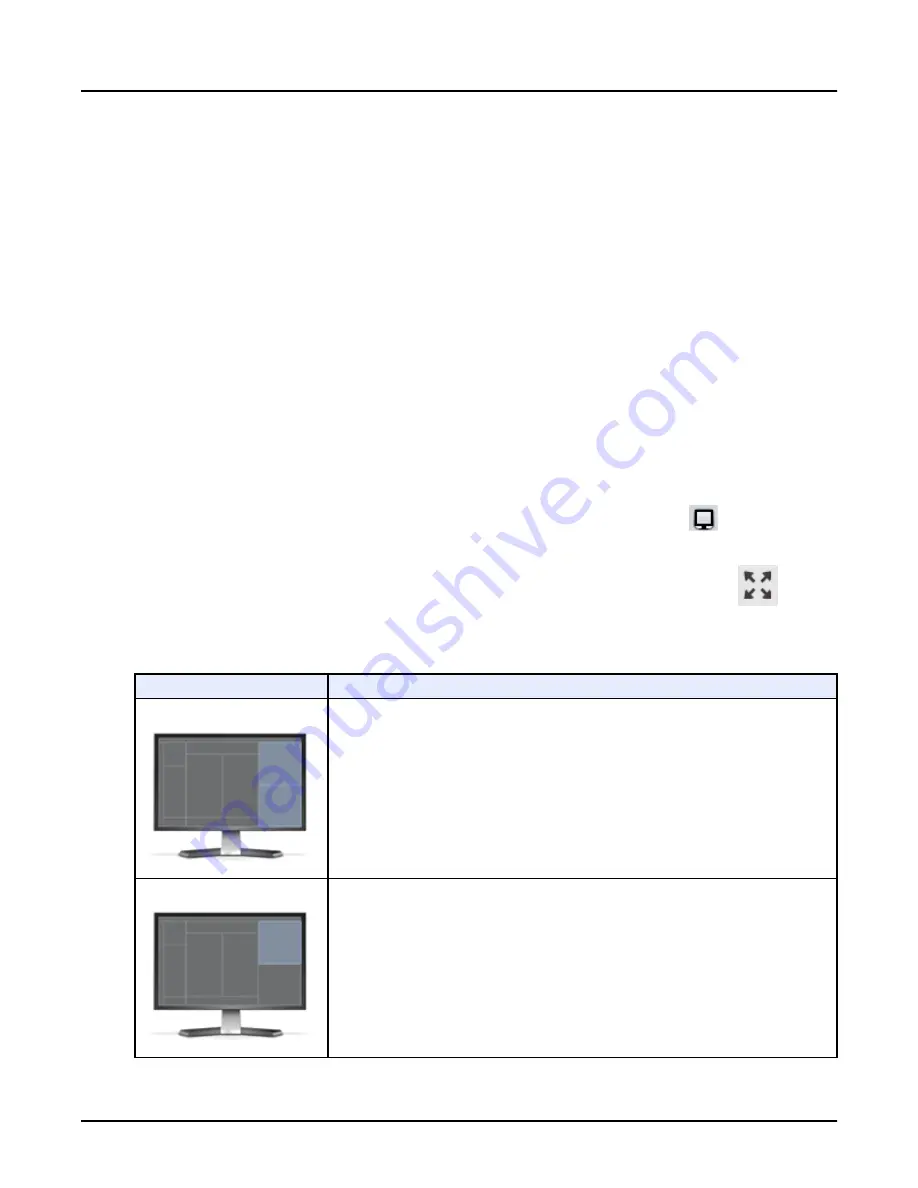
Table 1: Scan Monitor Viewports (left monitor)
These viewports:
Are used for:
Scout Acquisition viewports
These viewports display scout images as they are acquired. The acquired scout images alter‐
nate between these viewports.
By default, the most recent scout image appears in the bottom viewport.
On the bottom viewport, you can select next or previous series to see different scout series in
the exam.
Auto-View viewport
The Auto-View viewport displays the quality control image being acquired in real-time as each
volume is being reconstructed.
You can page through these images.
Quality control images are displayed in this viewport as the volume is created. This allows you
to ensure the images being acquired are adequate, without having to wait for a full reconstruc‐
tion to complete. QC images are marked “QC/Quality Check”.
Revolution CT User Manual
Direction 5480385-1EN, Revision 1
Chapter 14 View Images
371
Содержание Revolution CT
Страница 1: ...Revolution CT User Manual OPERATING DOCUMENTATION 5480385 1EN Revision 1 ...
Страница 2: ...This page left intentionally blank Revolution CT User Manual Direction 5480385 1EN Revision 1 2 ...
Страница 216: ...Revolution CT User Manual Direction 5480385 1EN Revision 1 This page left intentionally blank 216 2 Patient Schedule ...
Страница 370: ...Revolution CT User Manual Direction 5480385 1EN Revision 1 This page left intentionally blank 370 7 SnapShot Freeze ...
Страница 440: ...Revolution CT User Manual Direction 5480385 1EN Revision 1 This page left intentionally blank 440 4 Exam Split ...
Страница 471: ...Illustration 18 VR Settings screen Revolution CT User Manual Direction 5480385 1EN Revision 1 Chapter 16 Reformat 471 ...
Страница 502: ...Revolution CT User Manual Direction 5480385 1EN Revision 1 This page left intentionally blank 502 7 Batch Film ...
Страница 674: ...Revolution CT User Manual Direction 5480385 1EN Revision 1 This page left intentionally blank 674 1 Operator Messages ...
Страница 680: ...Revolution CT User Manual Direction 5480385 1EN Revision 1 This page left intentionally blank 680 1 Units of Measure ...
Страница 688: ...Revolution CT User Manual Direction 5480385 1EN Revision 1 This page left intentionally blank 688 1 Lexicon ...
Страница 692: ...Illustration 2 GE XXL Revolution CT User Manual Direction 5480385 1EN Revision 1 692 1 Auto Gating Profiles ...
Страница 694: ...Illustration 4 GE Gen CardioVasc Revolution CT User Manual Direction 5480385 1EN Revision 1 694 1 Auto Gating Profiles ...
Страница 696: ...Illustration 6 GE CACS Revolution CT User Manual Direction 5480385 1EN Revision 1 696 1 Auto Gating Profiles ...
Страница 701: ...Revolution CT User Manual Direction 5480385 1EN Revision 1 This page left intentionally blank 701 ...


