GE
D
IRECTION
5573152-100, R
EV
. 2
LOGIQ E9 S
ERVICE
M
ANUAL
Chapter 8 Replacement procedures
8 - 93
8-6-2-4
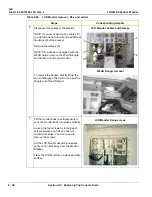
LCD Monitor V2 installation - R4.x
Table 8-62 LCD Monitor V2 installation - R4.x
Steps
Corresponding Graphic
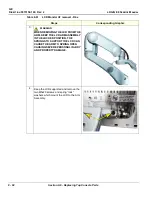
1.
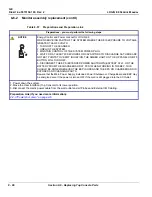
WARNING
WARNING
WHEN INSTALLING THE LCD TO THE
ARM, KEEP THE LCD ARM ASSEMBLY
IN THE LOCKED POSITION. THE
SPRINGS TO SUPPORT THE LCD CAN
CAUSE THE ARM TO SPRING OPEN
CAUSING SEVERE PERSONAL INJURY
AND PROPERTY DAMAGE.
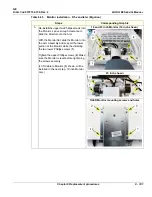
Keep the LCD supported and mate the flat
surfaces of the LCD Arm to the flat surfaces
of the LCD mounts.
Install the LCD Arm Assembly to the LCD
with the two M5x20 screws and spring
“lock” washers removed. Torque: 9.8 Nm
(7.2 lbf-ft {86.7 lbf-in}).
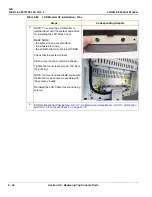
2.
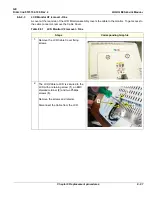
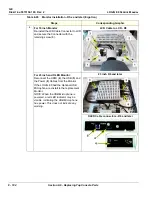
The LCD Cable to LCD is secured to the
LCD with a retaining screw (
1
), an EMC
shielded retainer (
2
) and two Phillips
screws (
3
).
Remove the screws and retainer, if present
or re-install the Cable into LCD and tighten
the screw (
1
).
Install the retainer and secure with the two
M4X12 screws (
3
).
Содержание LOGIQ E9
Страница 1: ...12 13 18 GEHC_FRNT_CVR FM LOGIQ E9 SERVICE MANUAL VERSION R6 Part Number 5573152 100 Revision Rev 2 ...
Страница 2: ......
Страница 11: ...GE DIRECTION 5573152 100 REV 2 LOGIQ E9 SERVICE MANUAL xi ZH CN KO ...
Страница 140: ...DIRECTION 5573152 100 REV 2 LOGIQ E9 SERVICE MANUAL 4 50 Section 4 8 Site Log This page was intentionally left blank ...
Страница 753: ......
Страница 754: ......


