❒
3 InSTAll The MICrOWAVe OVen
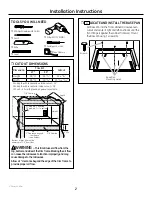
Plug the power cord into the wall receptacle. Slide the
microwave oven assembly gently into the cabinet, using
care not to pinch the power cord. Be sure to keep the
assembly centered as it slides back to where the tongue of
the rails goes through the slots on Base Plan. The top edges
of the Base Plan should now be centered right to left in the
opening. The Base should be tight against the cabinet.
❒
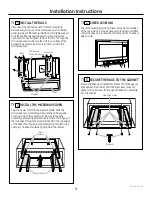
2 InSTAll The rAIlS
Disconnect the microwave oven from the receptacle.
Remove everything out of the microwave oven, including
packing, Owner’s Manuals, turntable and turntable support.
A protective film has been applied to some microwave
oven and trim kits. If applied, remove the film. Turn over the
microwave oven and secure the rails to oven Base Plate
by inserting 4 screws (A). Be careful not to scratch the
microwave oven.
3
Installation Instructions
❒
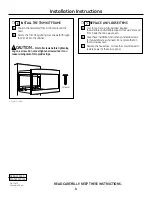
5 SeCure The rAIlS TO The CABIneT
Ensure the Base Pan and Bottom Bracket front flanges are
tight against the cabinet, and that the screws holes are
aligned. Drive 4 screws (A) through the Base Pan and Rails
into the cabinet
Screw A
❒
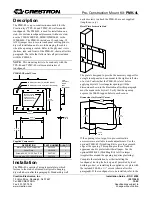
4 CheCK leVelIng
Check the leveling by placing a level at the front and sides
of the microwave. It may be necessary to add wood shims
under the base pan to level the microwave front-to-back or
side-to-side.
Microwave
Oven Bottom
Rail
Screw (A)
Flanges
Door
Rail
Guides
Rails
Mounting Holes
1” 2.5 cm; 1’ = 0.3 m


