background image

Impor

tant Safety Instructions

IMPORTANT SAFETY INSTRUCTIONS

Read all instructions before using this appliance.

When using electrical appliances, basic safety
precautions should be followed, including the
following:

• Use this appliance only for its intended use 

as described in this guide.

• Have the installer show you the location 

of the circuit breaker or fuse. Mark it for 
easy reference.

• Be sure your appliance is properly installed and

grounded by a qualified technician in accordance
with the provided installation instructions.

• Do not attempt to repair or replace any 

part of your range unless it is specifically
recommended in this guide. 
All other servicing
should be referred to a qualified technician.

• Before performing any service, DISCONNECT

THE RANGE POWER SUPPLY AT THE
HOUSEHOLD DISTRIBUTION PANEL 
BY
REMOVING THE FUSE OR SWITCHING OFF
THE CIRCUIT BREAKER.

• Do not store flammable materials in an oven or

near the surface units.

• Do not leave children alone—children should

not be left alone or unattended in an area where an
appliance is in use. They should never be allowed
to sit or stand on any part of the appliance.

• Teach children not to play with the controls 

or any other part of the range.

• Never leave the oven door open when you are

not watching the range.

• Always keep combustible wall coverings, curtains

or drapes a safe distance from your range.

• Do not allow anyone to climb, stand or hang 

on the door or range top. They could damage
the range and even tip it over, causing severe
personal injury.

• CAUTION: ITEMS OF INTEREST TO

CHILDREN SHOULD NOT BE STORED IN
CABINETS ABOVE A RANGE OR ON THE
BACKSPLASH OF A RANGE—
CHILDREN
CLIMBING ON THE RANGE TO REACH
ITEMS COULD BE SERIOUSLY INJURED.

• Be sure the range is securely installed in a

counter that is firmly attached to the house
structure. 
Weight on the oven door could cause
the oven to tip and result in injury. Never allow
anyone to climb, sit, or hang on the oven door.

• Never wear loose-fitting or hanging garments

while using the appliance. Be careful when
reaching for items stored over the range.
Flammable material could be ignited if brought 
in contact with hot surface units or heating
elements and may cause severe burns.

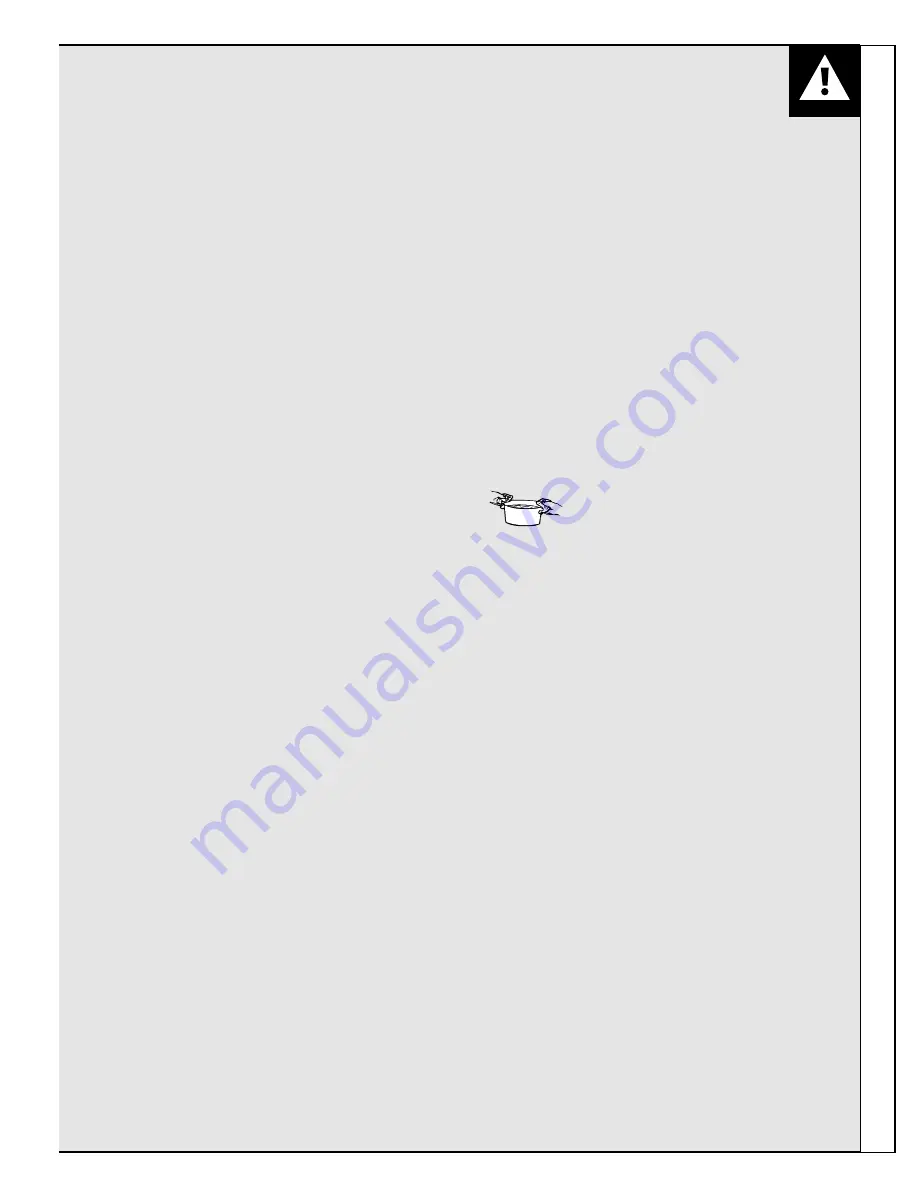
• Use only dry pot holders—moist or

damp pot holders on hot surfaces may
result in burns from steam. Do not let

pot holders touch hot surface units or heating
elements. Do not use a towel or other bulky cloth.
Such cloths can catch fire on a hot surface unit or
heating element.

• Always keep dish towels, dish cloths, pot

holders and other linens a safe distance from
your range.

• Always keep wooden and plastic utensils 

and canned food a safe distance away from
your range.

• For your safety, never use your appliance for

warming or heating the room.

• DO NOT STORE OR USE COMBUSTIBLE

MATERIALS, GASOLINE OR OTHER
FLAMMABLE VAPORS AND LIQUIDS IN
THE VICINITY OF THIS OR ANY OTHER
APPLIANCE.

• Keep the hood and grease filters clean to

maintain good venting and to avoid grease fires.

• Do not let cooking grease or other flammable

materials accumulate in or near the range.

(continued next page)

3

Содержание JDS26

Страница 1: ...ace Cooking 8 11 Control Settings 9 Cooktop Comparison 8 Cookware Tips 10 Home Canning Tips 11 Problem Solver 31 32 Thermostat Adjustment Do It Yourself 22 More questions call GE Answer Center 800 626 2000 Care and Cleaning 27 30 Broiler Pan and Grid 28 Brushed Chrome Cooktop 28 Control Panel and Knobs 27 Lift Up Cooktop 29 Lift Off Oven Door 30 Oven Light Bulb 28 Shelves 28 Surface Units and Drip...

Страница 2: ...ion Card that came with your range Before sending in this card please write these numbers here Model Number Serial Number Use these numbers in any correspondence or service calls concerning your range If you received a damaged range Immediately contact the dealer or builder that sold you the range Save time and money Before you request service Check the Problem Solver in the back of this guide It ...

Страница 3: ...y could damage the range and even tip it over causing severe personal injury CAUTION ITEMS OF INTEREST TO CHILDREN SHOULD NOT BE STORED IN CABINETS ABOVE A RANGE OR ON THE BACKSPLASH OF A RANGE CHILDREN CLIMBING ON THE RANGE TO REACH ITEMS COULD BE SERIOUSLY INJURED Be sure the range is securely installed in a counter that is firmly attached to the house structure Weight on the oven door could cau...

Страница 4: ...sures that in the remote possibility that trichina may be present in the meat it will be killed and the meat will be safe to eat Oven Stand away from the range when opening the oven door The hot air or steam which escapes can cause burns to hands face and or eyes Do not heat unopened food containers Pressure could build up and the container could burst causing an injury Keep the oven vent duct uno...

Страница 5: ...e the handle of a container should be turned toward the center of the range without extending over nearby surface units To avoid the possibility of a burn or electric shock always be certain that the controls for all surface units are at the off position and all surface units are cool before attempting to lift or remove the unit Never clean the cooktop surface when it is hot Some cleaners produce ...

Страница 6: ...6 FEATURES OF YOUR RANGE ...

Страница 7: ... 5 29 8 Surface Unit ON Indicator Light 9 9 Surface Unit Controls 5 8 27 10 Oven Vent located under right rear surface unit 4 28 11 Oven Control Clock and Timer 12 16 12 Oven Light Switch Lets you turn interior oven light on and off 13 Oven Shelves with Stop Locks 4 17 18 23 25 26 28 14 Oven Shelf Supports 4 17 18 Shelf positions for cooking are suggested in the 23 25 26 Baking Roasting and Broili...

Страница 8: ... and changes heat settings right away like a gas cooktop After turning the control surface off the glass cooktop is hot from the heat of the pan but cooking stops right away Solid Disk Solid cast iron Heats by direct contact with the pan so pans must be flat on the bottom for good disk sealed to the cooking results Heats up and cools down more slowly than electric coils The cooktop surface disk st...

Страница 9: ... any position other than OFF it may be turned without pushing it in Be sure you turn the control knob to OFF when you finish cooking The surface unit ON indicator light will glow when ANY heat on any surface unit is on O F F L O H I Cooking Guide for Using Heat Settings HI Quick start for cooking brings water to boil Medium High Setting halfway between HI and MED Fast fry pan broil maintains a fas...

Страница 10: ... Do not try to use such woks without the ring You could be seriously burned if the wok tipped over Cookware Use medium or heavy weight cookware Aluminum cookware conducts heat faster than other metals Cast iron and coated cast iron cookware are slow to absorb heat but generally cook evenly at low to medium heat settings Steel pans may cook unevenly if not combined with other metals For best cookin...

Страница 11: ...e canner to be centered on the surface unit use smaller diameter pots for good canning results 2 Flat bottomed canners must be used Do not use canners with flanged or rippled bottoms often found in enamelware because they don t make enough contact with the surface unit and take too long to boil water RIGHT WRONG Flat bottomed canners are recommended 3 When canning use recipes and procedures from r...

Страница 12: ... DECREASE Short taps to this pad decrease the time or temperature by small amounts Press and hold the pad to decrease the time or temperature by larger amounts 10 INCREASE Short taps to this pad increase the time or temperature by small amounts Press and hold the pad to increase the time or temperature by larger amounts 11 CLEAR OFF Press to cancel any timed oven operation except the clock and tim...

Страница 13: ... the timer reaches 00 the control will beep 3 times followed by one beep every 6 seconds until KITCHEN TIMER ON OFF is pressed The 6 second tone can be canceled by following the steps in the Special Features of Your Oven Control section under Tones at the End of a Timed Cycle How to Set the Timer 1 Press KITCHEN TIMER ON OFF 2 Press the INCREASE or DECREASE pad to set the amount of time on the tim...

Страница 14: ...e quickly identified by watching the display messages Tones at the End of a Timed Cycle At the end of a timed cycle 3 short beeps will sound followed by one beep every 6 seconds until CLEAR OFF is pressed This continuous 6 second beep may be canceled To cancel the 6 second beep 1 Press BAKE and BROIL HI LO at the same time for 2 seconds until the display shows SF 2 Press KITCHEN TIMER ON OFF The d...

Страница 15: ...his feature should you forget and leave the oven on the control will automatically turn off the oven after 12 hours during baking functions or after 3 hours during a broil function If you wish to turn off this feature follow the steps below 1 ...

Страница 16: ...HI LO BROIL HI LO BROIL HI LO BAKE Changing the Speed of the or Pads As you use the or pads when setting a time or temperature you may notice the display changes slowly This special feature allows you to change the speed To set the speed you prefer follow these steps 1 Press BAKE and BROIL HI LO at the same time for 2 seconds until the display shows SF 2 Press the pad The display will show you a s...

Страница 17: ...ks of using your new range NOTE You may notice a burning or oily smell the first few times you turn your oven on This is normal in a new oven and will disappear in a short time A cooling fan may automatically turn on and off to cool internal parts This is normal and the fan may continue to run even after the oven is turned off Special Features of Your Oven Control Using Your Oven Shelf Positions T...

Страница 18: ...ay starts changing once the temperature reaches 100 F 4 Press CLEAR OFF when baking is finished NOTE A cooling fan may automatically turn on and off to cool internal parts This is normal and the fan may continue to run even after the oven is turned off To change the oven temperature during the Bake cycle press BAKE and set the new temperature Oven Shelves Arrange the oven shelf or shelves in the d...

Страница 19: ... rather than being placed to the front or to the back of the oven Pans should not touch each other or the walls of the oven Allow 1 to 11 2 inch space between pans as well as from the back of the oven the door and the sides If you need to use two shelves stagger the pans so one is not directly above the other Cookies Aluminum Foil When baking cookies flat cookie sheets without sides produce better...

Страница 20: ...y 1 Press BAKE 2 Press the INCREASE or DECREASE pad to set the oven temperature 3 Press COOKING TIME NOTE If your recipe requires preheating you may need to add additional time to the length of the cooking time 4 Press the INCREASE or DECREASE pad to set the baking time The oven temperature and the cooking time that you entered will be displayed 5 Press START The display shows the oven temperature...

Страница 21: ......

Страница 22: ... in grocery stores to check the temperature setting of your new oven These thermometers may vary 20 40 degrees To Adjust the Thermostat 1 Press BAKE and BROIL HI LO at the same time for 2 seconds until the display shows SF 2 Press BAKE A two digit number shows in the display 3 The oven temperature can be adjusted up to 35 F hotter or 35 F cooler Press the INCREASE pad to increase the temperature i...

Страница 23: ...in temperature you may want to remove the roast sooner at 5 to 10 F less than the temperature in the Roasting Guide Remember that food will continue to cook in the hot oven and therefore should be removed when the desired internal temperature has been reached Adjust the Oven Thermostat Roasting How to Set Your Oven for Roasting 1 Place the shelf in A or B position No preheating is necessary 2 Chec...

Страница 24: ... pound for roasts under 5 pounds more time for larger roasts Make sure poultry is thawed before roasting Unthawed poultry often does not cook evenly Some commercial frozen poultry can be cooked successfully without thawing Follow the directions given on the package label Oven Approximate Roasting Time Internal Type Temperature Doneness in Minutes per Pound Temperature F Meat 3 to 5 lbs 6 to 8 lbs ...

Страница 25: ...se the grid so the fat drips into the broiler pan otherwise the juices may become hot enough to catch on fire Position a shelf on recommended shelf position as suggested in the Broiling Guide Most broiling is done on C position but if your range is connected to 208 volts you may wish to use a higher position Leave the door open to the broil stop position The door stays open by itself yet the prope...

Страница 26: ......

Страница 27: ...he top of the oven door while cleaning Control Panel and Knobs It s a good idea to wipe the control panel after each use Clean with mild soap and water or vinegar and water rinse with clean water and polish dry with a soft cloth Do not use abrasive cleansers strong liquid cleansers plastic scouring pads or oven cleaners on the control panel they will damage the finish A 50 50 solution of vinegar a...

Страница 28: ...ear surface unit Never cover the opening with aluminum foil or any other material This would prevent the oven vent from working properly Oven vent Oven Shelves Clean the shelves with a mild abrasive cleanser or steel wool After cleaning rinse the shelves with clean water and dry with a clean cloth ...

Страница 29: ...rip pan and into the receptacle Guide the surface unit into place so it rests evenly Drip Pans Remove the surface units Then lift out the drip pans For best results clean the drip pans by hand Place them in a covered container or a plastic bag with 1 4 cup ammonia to loosen the soil Then scrub with a soap filled scouring pad if necessary Rinse with clean water and polish with a clean soft cloth Th...

Страница 30: ...e hinges Then lower the door slowly and evenly over both hinges at the same time If hinges snap back against the oven frame pull them back out TO CLEAN THE DOOR Inside of door Soap and water will normally do the job Heavy spattering or spillovers may require cleaning with a mild abrasive cleaner Soapy wet metal pads may also be used Do not allow food spills with a high sugar or acid content such a...

Страница 31: ...ressed BAKE CLOCK AND TIMER Make sure the electrical plug is plugged into a live properly grounded DO NOT WORK power outlet Check for power outage See the Oven Control Clock and Timer section SURFACE UNITS NOT Surface units are not plugged in solidly FUNCTIONING PROPERLY Surface unit controls are not properly set OVEN WILL NOT WORK The plug on the range is not completely inserted in the electrical...

Страница 32: ...let Switch operating oven light is broken Call for service OVEN TEMPERATURE TOO Oven thermostat needs adjustment See the Adjust the Oven Thermostat HOT OR TOO COLD Do It Yourself section BURNING OR OILY This is normal in a new oven and will disappear in time ODOR EMITTING FROM OVEN WHEN TURNED ON STRONG ODOR An odor from the insulation around the inside of the oven is normal for the first few time...

Страница 33: ...33 NOTES Problem Solver ...

Страница 34: ...NOTES 34 ...

Страница 35: ...till in effect and you ll receive a substantial discount With a multiple year contract you re assured of future service at today s prices Parts and Accessories 800 626 2002 Individuals qualified to service their own appliances can have parts or accessories sent directly to their home The GE parts system provides access to over 47 000 parts and all GE Genuine Renewal Parts are fully warranted VISA ...

Страница 36: ...information service Improper installation If you have an installation problem contact your dealer or installer You are responsible for providing adequate electrical gas exhausting and other connecting facilities as described in the Installation Instructions provided with the product Replacement of house fuses or resetting of circuit breakers Failure of the product if it is used for other than its ...

Отзывы: