Aisys
3-8
04/08 M1046983
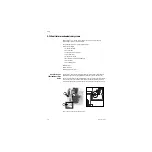
3.6 Pipeline and cylinder tests
1. Connect the pipeline supplies one at a time and ensure that the
corresponding display indicates pipeline pressure.
2. Disconnect all pipeline supplies.
a. Open each cylinder valve.
b. Make sure that each cylinder has sufficient pressure. If not, close the
applicable cylinder valve and install a full cylinder.
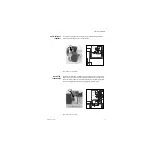
3. Test the cylinder supplies for a high pressure leak. Make sure that each
cylinder has sufficient pressure:
a. If equipped, turn the auxiliary O
2
flow control fully clockwise (no flow).
b. If equipped, turn off venturi derived suction.
c. Open each cylinder.
d. Record the cylinder pressure.
e. Close each cylinder valve.
f. Record the cylinder pressure after one minute. If the pressure
decreases more than indicated below, there is a leak.
690 kPa (100 psig)
for all gases.
If a cylinder supply fails this test, install a new cylinder gasket and do
this step again.
4. Close all cylinder valves.
w
w
w
w
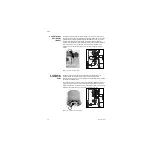
WARNING
Do not leave gas cylinder valves open if the pipeline supply is in use.
Cylinder supplies could be depleted, leaving an insufficient reserve
supply in case of pipeline failure
.
3.6.1 O
2
supply alarm test
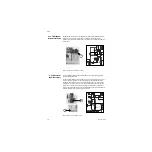
1. Establish O
2
, Air, and (if equipped) N
2
0 gas supplies.
2. Set O
2
to 25% and (if equipped) N
2
0 as balance gas. For machines without
N
2
O, set Air as balance gas.
3. Set total flow to 3 L/min.
4. Stop the O
2
supply. (Disconnect the pipeline supply or close the cylinder
valve.)
5. Make sure that:
a. The low “O
2
supply pressure low” alarm occurs.
b. The N
2
O (if equipped) and O
2
flows stop.
c. Air (if selected) flow continues or an Air selection prompt appears.
6. Reconnect the O
2
supply.
Содержание Datex-Ohmeda Aisys Carestation
Страница 1: ...Aisys Anesthesia Machine Technical Reference Manual ...
Страница 16: ...Notes xiv 04 08 M1046983 ...
Страница 32: ...Notes 1 16 04 08 M1046983 ...
Страница 35: ...2 Theory of Operation M1046983 04 08 2 3 A M AB 75 098 L H D AB 75 046 J G I F K P O E D B C H N ...
Страница 158: ...Notes 5 20 04 08 M1046983 ...
Страница 288: ...Notes 7 106 04 08 M1046983 ...
Страница 325: ...9 Repair Procedures M1046983 04 08 9 29 The rear inverter A B C ...
Страница 356: ...Notes 9 60 04 08 M1046983 ...
Страница 397: ...10 Illustrated Parts M1046983 04 08 10 41 1 3 4 2 17 15 16 5 6 13 non DES cassette DES cassette 7 8 11 12 10 5 14 18 9 ...
Страница 399: ...10 Illustrated Parts M1046983 04 08 10 43 14 1 2 3 6 5 4 5 8 7 15 16 15 12 17 10 9 11 13 or 18 ...
Страница 401: ...10 Illustrated Parts M1046983 04 08 10 45 14 1 2 3 6 5 4 5 8 7 15 16 18 17 10 9 11 12 13 or ...
Страница 403: ...10 Illustrated Parts M1046983 04 08 10 47 14 15 18 1 2 3 6 5 4 5 8 7 17 10 9 11 15 16 12 13 or 17a 17c 17d 17b 17e ...
Страница 452: ...Notes 10 96 04 08 M1046983 ...
Страница 466: ...11 14 04 08 M1046983 Notes ...
Страница 470: ...Aisys 12 4 04 08 M1046983 12 3 System Schematics 12 3 1 Power Schematic ...
Страница 478: ...Aisys 12 12 04 08 M1046983 12 6 3 Tools Transfer Logs ...
Страница 495: ...12 Service Application M1046983 04 08 12 29 12 10 2 Vaporizer Subsystem Perform Vaporizer Test ...
Страница 497: ......

