HDDVR186 Instruction Manual
Thank you for purchasing our Gator DVR. In order to help you
operate it correctly, please read this instruction carefully before
using.
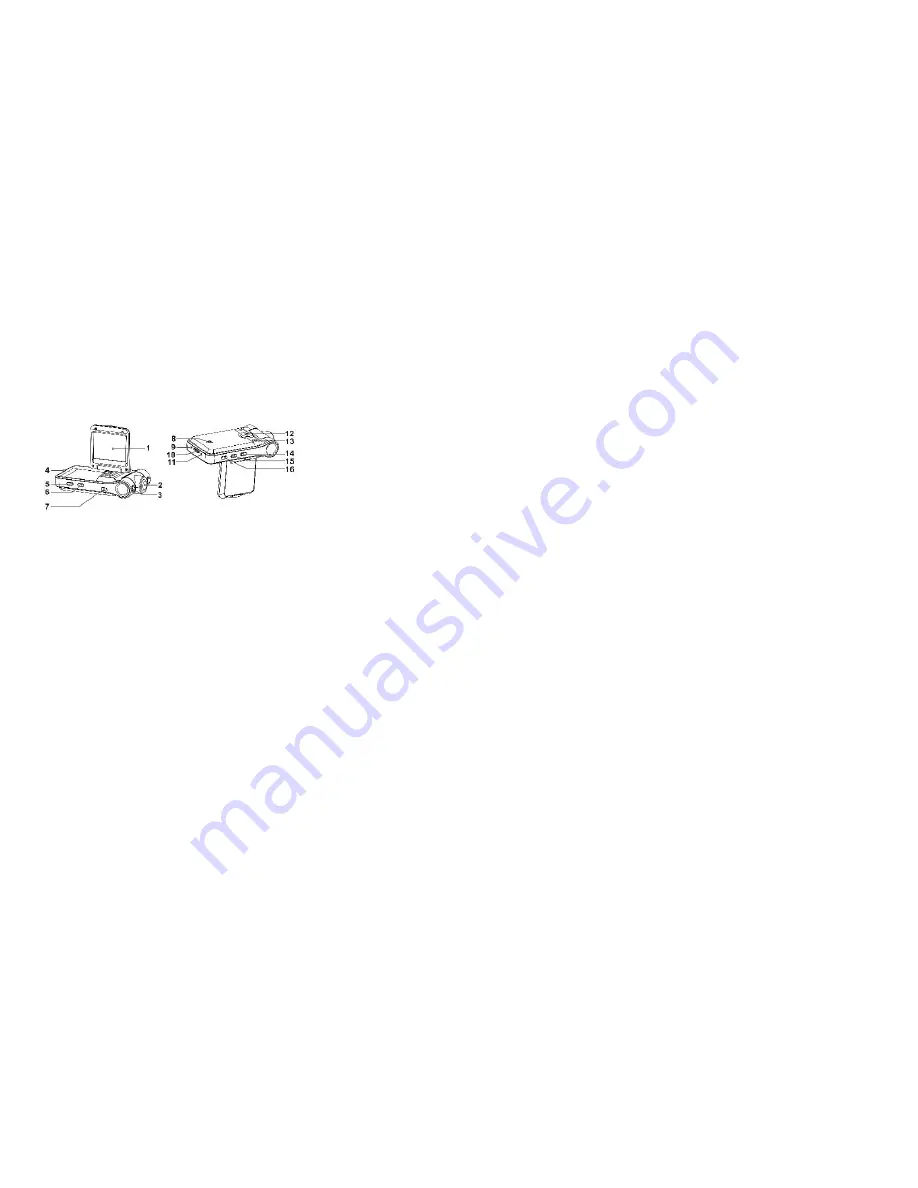
1
.
1.8 inch LCD display
2
.
Lens
3
.
Night vision lamp
4
.
Working indicator(Blue)/ Charging indicator (Red)
5
.
Video/Camera button
6
.
Power/Mode button
7
.
USB output
8
.
Battery cover
9
.
Reset
10. TF card slot
11
.
Microphone
12
.
Bracket hole
13
.
Speaker
14
.
Menu
15. Up/ Night vision lamp on/off
16. Down/ LCD on/off
Accessories
Manual
Mount
USB cable
Car charger(input: 12V/24V output:5V)
OPERATION
A
.
Built-in battery
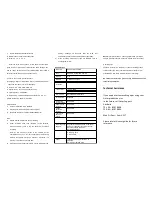
Connect car charger: Whilst charging the red indicator lamp is
bright. When charge is complete, the display window will show
the battery icon as full.
B. Connected with Car Charger
After the car starts, the DVR will automatically enter video
recording mode, charging at the same time. When the car has
been shut down, the product will continue working for 15 seconds
before automatically shutting down and saving the previous
recorded files.
Note: This machine can be used only with the car charger with
output 5V!
Features:
DVR with record / camera / preview function
Recording mode
Press the power key for 3secs to enter recording mode (Note:
please insert MicroSD before using). then the figure 00:00 : 00 on
the right bottom of the screen will turn to red from white.
Recorded files are stored in the card and press the record button
to stop recording. Then red digital time will display in white.
B) Camera mode
Power on and press Mode button and enter the camera mode,
press the camera button to take pictures.
C) Preview mode
Power on and press mode key twice to enter the preview mode
Press up/down key to select the folder preview, press the record
button into the directory, and then press recording button to
"Play / Pause"
PC CAMERA mode:
Press the Menu key to enter the USB function, press Button OK
to confirm. A "webcam" "disk drive" will appear. Use Up/Down to
select "Network Camera", press OK to enter button PC CAMERA
mode. Connect USB cable with the computer, it will appear PC
camera icon on the display interface.
USB Mode
Connect the product with computer by USB cable, [My computer]
will occur removable disk, the file is stored at Removable
Disk/DCIM/100 DSCIM. At the moment, the file of the product can
be downloaded to the computer.
Menu Function Settings
Power on and enter recording mode. Press button menu and
enter into setting interface. Use up / down buttons to select the
listed settings and press OK button for confirmation and menu
button for exit.
1)
Resolution
:
VGA
2)
Time stamp: On/Off
3)
Motion detect: On/off
4)
Cycle shooting: off 1 min 3 min 5 min 10 min
5)
Voice recording: On/Off
Power on and press mode button to enter camera mode. Use up /
down buttons to select the listed settings and press OK button for
confirmation and menu button for exit.
1)
Resolution
:
VGA
Power on and press mode button twice to enter preview mode.
Use up / down buttons to select the listed files and press OK
button for confirmation and menu button for exit.


