CHAPTER 8: Upgrading Your Notebook
100
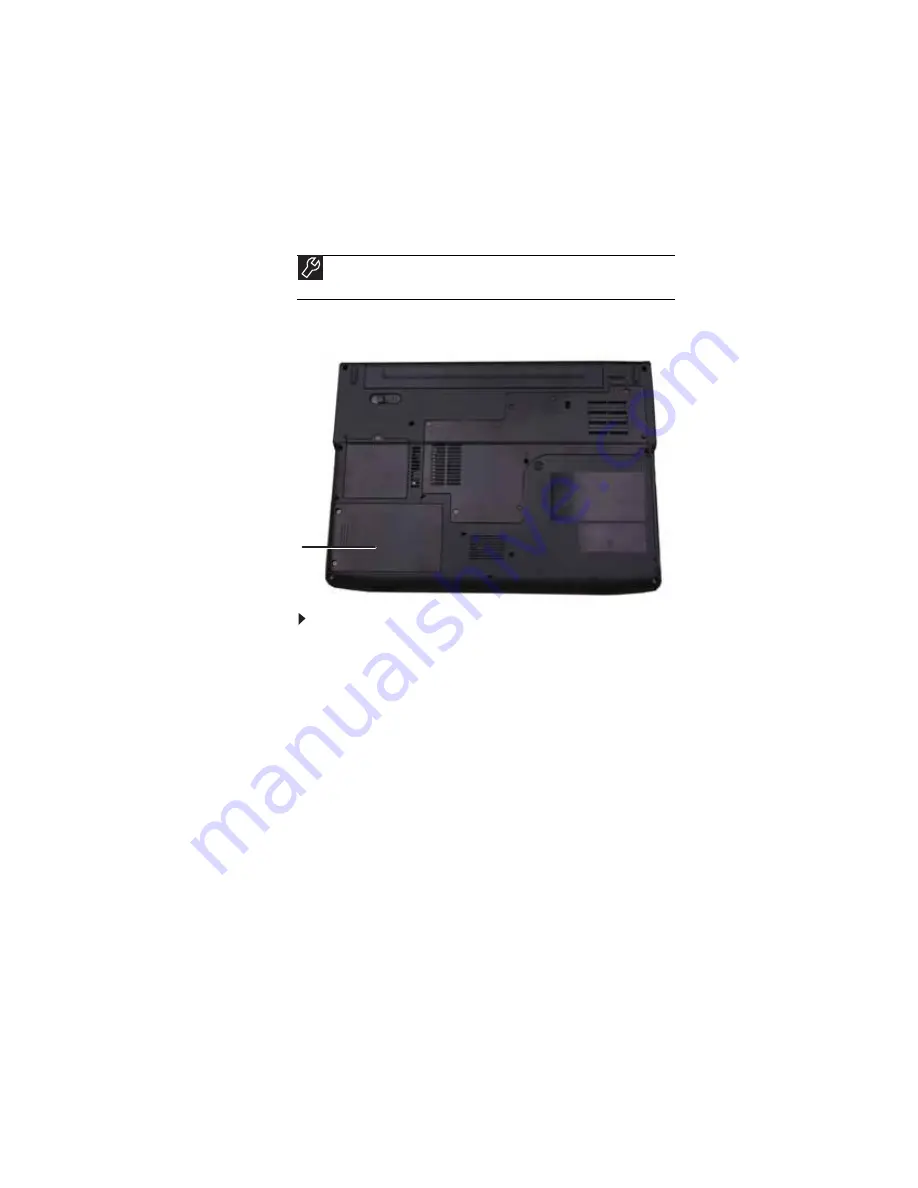
Replacing the hard drive kit
If you would like more hard drive capacity, you can replace
your original drive with a higher-capacity drive.
To replace the hard drive kit:
1
Create a Drivers and Applications Recovery disc using the
Gateway Recovery Center. For more information, see
“Recovering pre-installed software and drivers” on
page 80
.
2
Back up any data you want to transfer to the new hard
drive. For more information, see “Backing up files” in
your online User Guide.
3
Follow the guidelines under
“Preventing static electricity
.
4
Turn off your notebook.
5
Disconnect the AC adapter, modem cable, and network
cable.
6
Disconnect all peripheral devices connected to the
notebook and remove any PC Cards or Express Cards.
7
Turn your notebook over so the bottom is facing up, then
remove the battery. For more information, see
“Changing the battery” on page 61
.
Tools
You need a small Phillips screwdriver and the Windows Vista DVD to
replace the hard drive kit.
Hard drive kit
Содержание 4535GZ
Страница 1: ...NOTEBOOK REFERENCEGUIDE...
Страница 2: ......
Страница 10: ...CHAPTER 1 About This Reference 4...
Страница 11: ...CHAPTER2 5 Checking Out Your Notebook Front Left Right Back Bottom Keyboard area LCD panel...
Страница 46: ...CHAPTER 3 Setting Up and Getting Started 40...
Страница 64: ...CHAPTER 4 Using Drives and Accessories 58...
Страница 98: ...CHAPTER 7 Maintaining Your Notebook 92...
Страница 109: ...CHAPTER9 103 Troubleshooting Safety guidelines First steps Troubleshooting Telephone support...
Страница 136: ...CHAPTER 9 Troubleshooting 130...
Страница 157: ......
Страница 158: ...MAN OASIS REF GDE V R2 7 07...


