RADIO CONTROLLED CLOCK WITH COLOURFUL BACKLIGHT AND
MULTI-CHANNEL WIRELESS THERMO-HYGROMETER SENSOR
Model:
GARNI 185
Arcus
USER MANUAL
Thank you for your purchase of this delicate RADIO CONTROLLED CLOCK WITH COLOURFUL
BACKLIGHT AND MULTI-CHANNEL WIRELESS THERMO-HYGROMETER SENSOR. The utmost
care has gone into the design and manufacture of the clock. Please read the instructions carefully
according to DCF version you purchased and keep the manual well for future reference.
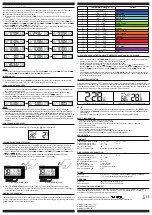
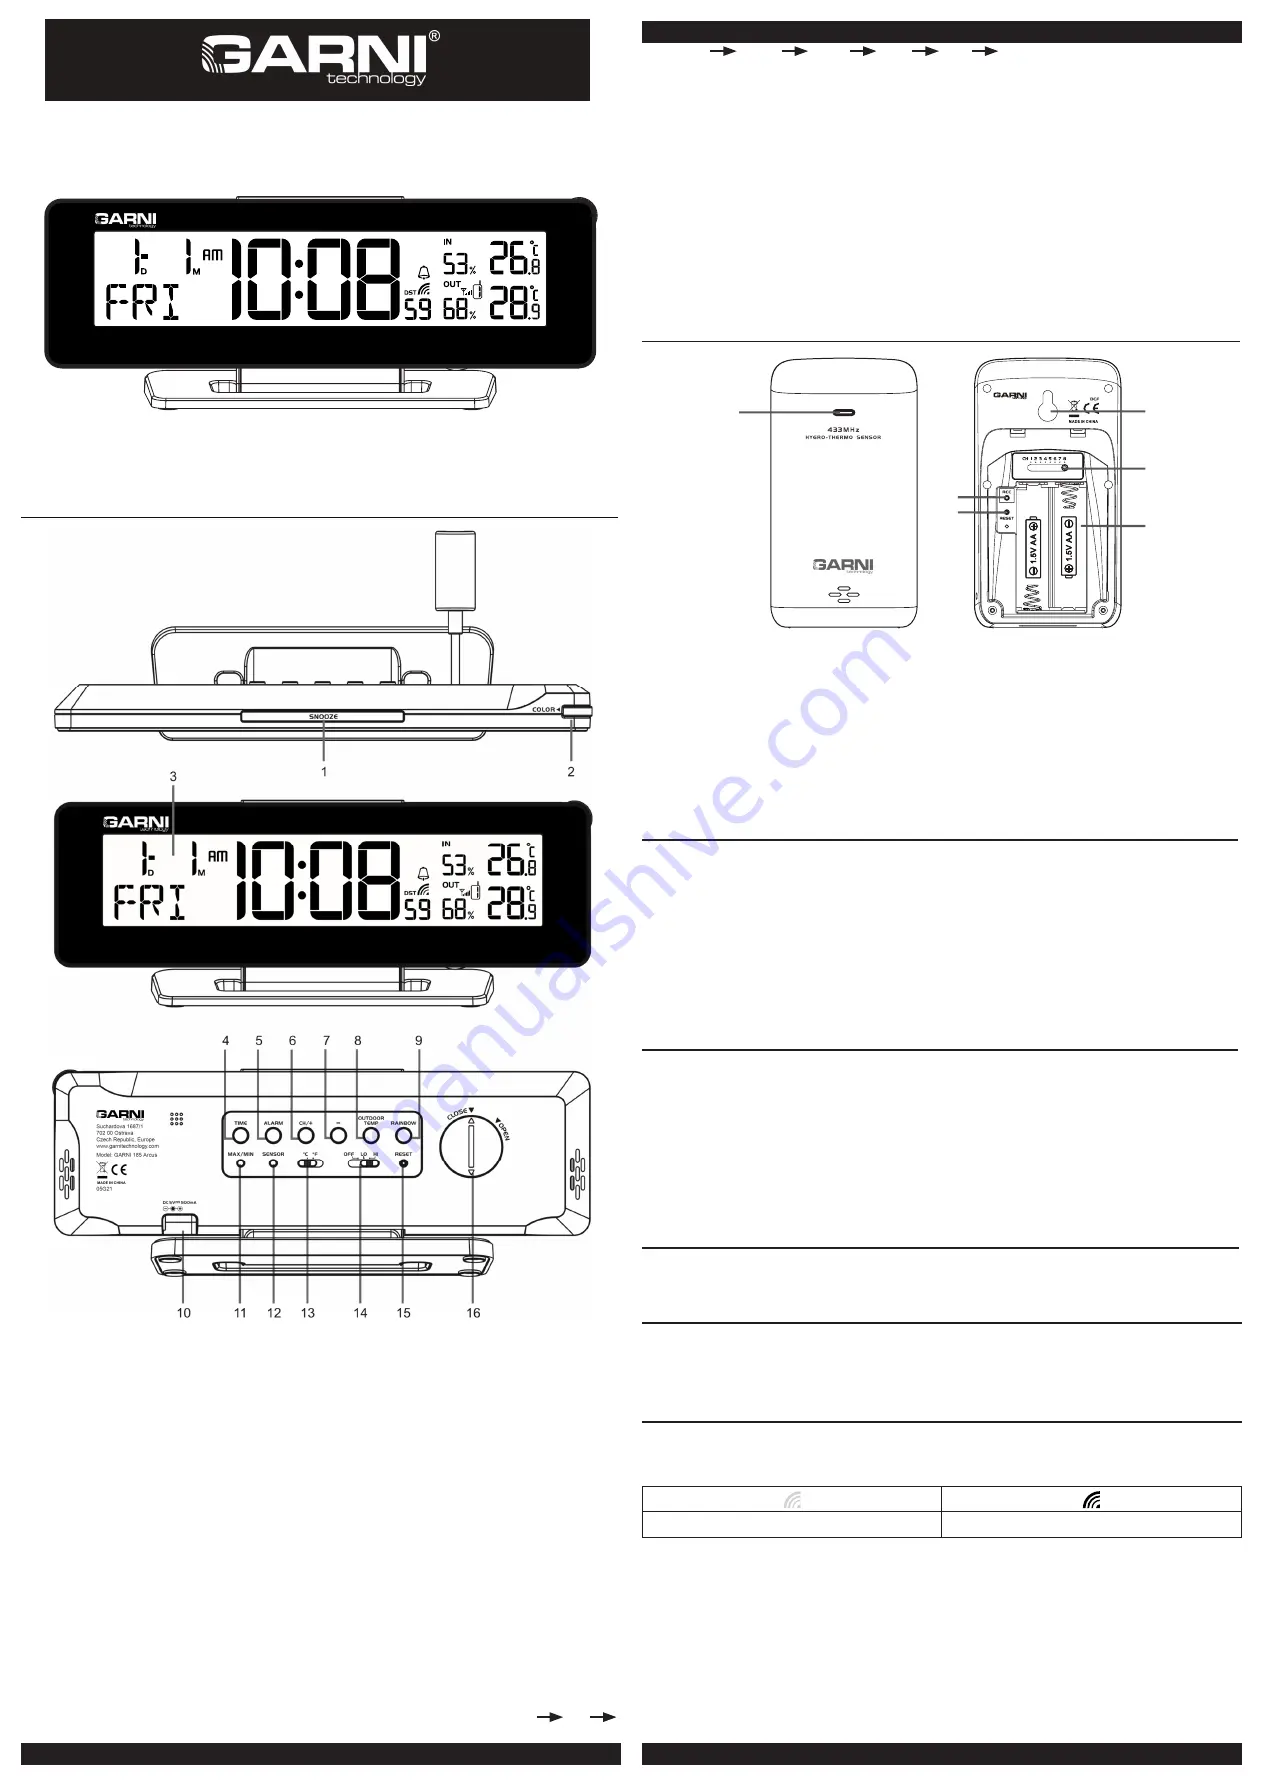
OVERVIEW OF THE CLOCK
1.
[ SNOOZE ]
key
- When the alarm is sounding, press to stop the current alarm and enter snooze mode.
- When the alarm is sounding, press and hold 2 seconds to stop the current alarm when sounding
for 24 hours.
2.
[ COLOR ]
Backlight colour control knob
- Rotate the knob clockwise or anticlockwise to tune
the b
acklight with 256 colour.
- Press
[ COLOR ]
knob to turn on or turn off the backlight colour change
3.
LCD
display
4.
[ TIME ]
key
- In normal time mode, press and hold 2 seconds to enter time setting mode.
- In time setting mode, press to step next setting mode.
5.
[ ALARM
]
key
- For alarm setting and operation.
6.
[ CH / + ]
key
- In setting mode, press to increase the setting values (Hold it without releasing to speed up
the setting).
- In normal time mode, press [ CH / + ] to switch channel 1 to 8.
7.
[ - ]
key
- In setting mode, press to decrease the setting values (Hold it without releasing to speed up
the setting).
8.
[
OUTDOOR TEMP ]
key
- Press to enter Colour by temperature mode and change colour according to the temperature.
value that received from the wireless sensors. It has 17 backlight colors to display different
temperature ranges.
9.
[
RAINBOW ]
key
- When the backlight is on, press to change backlight colour in this sequence:
white
red
orange
yellow
green
cyan
blue
purple.
10
.
Power
jack
- DC 5V 1A.
11.
[
MAX/MIN ]
key
- Press it check the minimum and maximum temperature and humidity records.
12.
[
SENSOR ]
key
- Press it receive the data from the transmitter.
13.
[
°C/°F ]
slide switch
- Slide to switch between Celsius and Fahrenheit.
14.
[
OFF / LO / HI ]
slide switch
- Slide to
[
OFF ]
position to turn off the backlight
- Slide to
[
LO ]
position for the dimmer backlight.
- Slide to
[
HI ]
position for the brighter backlight.
15.
[
RESET ]
key
- Press to reset all values to default values.
- In case of malfunction, press it to reset all values.
16. Battery door
- Accommodates a button cell CR2032 for backup time and setting.
WIRELESS HYGRO-THERMO SENSOR WITH RCC RECEIVE FUNCTION
1
4
5
6
3
2
1.
LED
indicator
- Flashes when the remote unit is transmitting.
2.
[
RCC ]
key
- Press to search RC signal.
3.
[ RESET ]
key
- Press to restart the sensor.
4. Wall mounting holder
5.
[ CHANNEL ]
slide switch
- Assign the transmitter to Channel from 1 to 8.
6. Battery compartment
- Accommodates 2 x AA size batteries.
BEFORE USING THE TRANSMITTER
1. Remove the battery door.
2. Insert 2 x AA size batteries into the battery compartment. Make sure you insert them the right
way according to the polarity information marked on the battery compartment.
3. Replace the battery door.
NOTE:
1. RCC function of the main unit is base on wireless signal from this wireless sensor, please keep
this sensor always link up with the main unit.
2. Once the channel is assigned to one transmitter, you can only change it by removing the
batteries or resetting the unit.
3. Avoid placing the transmitter in direct sunlight, rain or snow.
MAIN UNIT
1. Plug the adaptor plug into the power jack.
2. Press
[
RESET ]
key to re-start the clock and it will synchronize the channels of transmitter
automatically.
NOTE:
1. To avoid the wireless sensor and main unit pairing failure, please power up the sensor/s first, an
then press [ RESET ] key on the main unit (no need on sensors).
2. The building material and the position of the receiver and transmitter affect the effective rang
So try various locations to obtain the best result.
3. Place the units away from metal objects and electrical appliances to minimize the interference.
Position the receiver and transmitter within the effective tran mission range: 30m in usual circumstances.
DAYLIGHT SAVING TIME (DST)
The clock has been programmed to automatically switch when the daylight saving time is in effect.
User can disable the DST function in time and calendar setting mode.
RECEPTION OF RADIO CONTROLLED SIGNAL
The time and date are radio-controlled. The current time and date are automatically synchronized
with the time signal transmitted from RC station.
User can disable the RCC function in time and calendar setting mode to stop receive the signal from
wireless sensor.
RCC SIGNAL STRENGTH INDICATOR
The signal indicator show signal receive status. Wave segment flashing means RCC signals are
being received. The signal receive status could be classified into 2 types
No RCC signal received
Received RCC signal
1. This unit will automatically search RCC signal at 2:00am , 8:00am, 2:00pm and 8:00pm per day.
2. Always place the unit away from interfering sources such as TV set, computer, etc.
3. Avoid placing the unit on or next to metal plate.
4. Closed area such as airport, basement, tower block or factory is not recommended.
5. Do not start reception on a moving article such as vehicle or train.
Suchardova 1687/1
702 00 Ostrava
Czech Republic, Europe
www.garnitechnology.com
Model: GARNI 110H
05G21


