


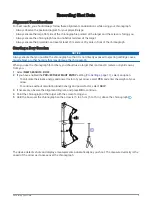
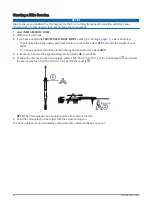
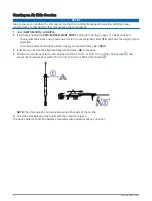

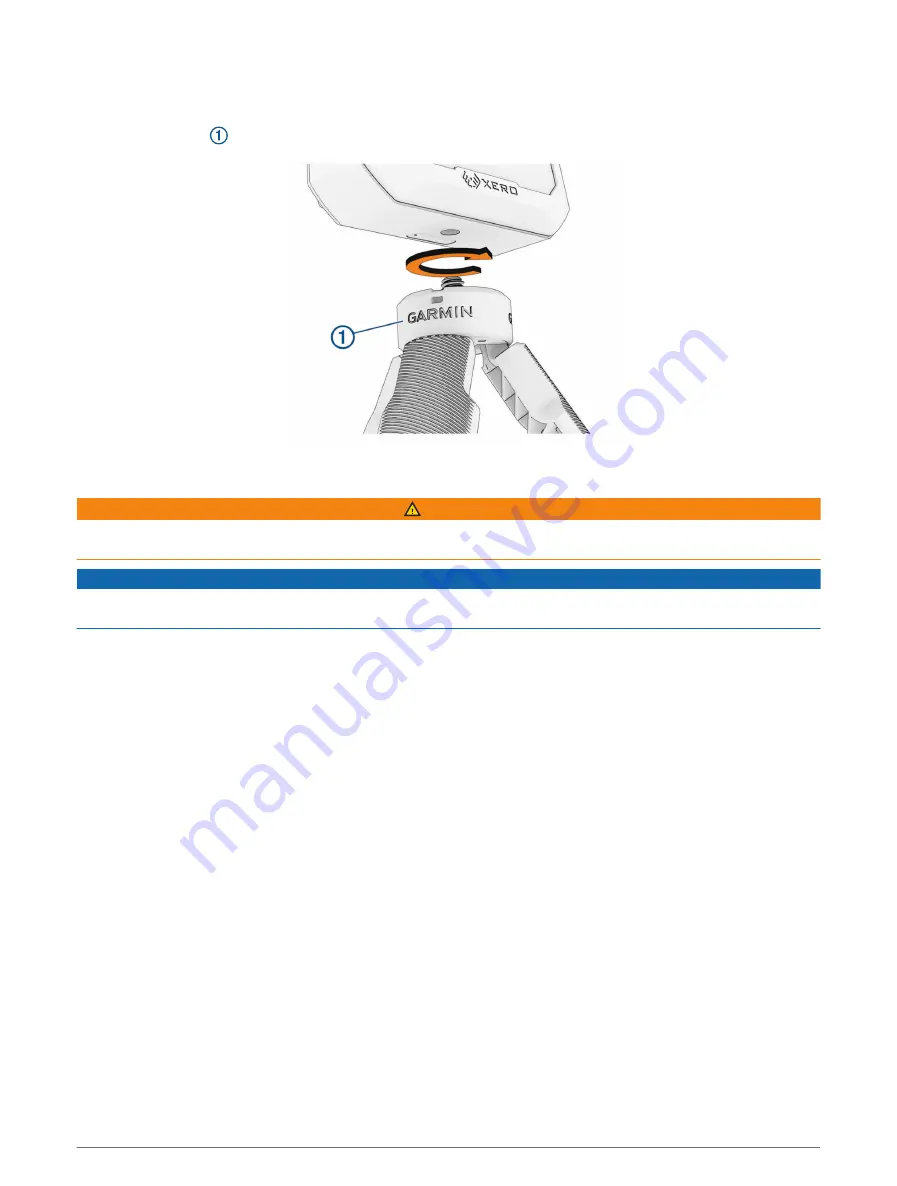
Installing the Tripod
The Xero C1 chronograph tripod mount uses
1
/
4
in.-20 thread size and is compatible with most tripods.
Screw the tripod
into the bottom of the Xero C1 chronograph.
Charging the Device
WARNING
This product contains a lithium-ion battery. To prevent the possibility of personal injury, product damage, or
other property damage caused by battery exposure to extreme heat, store the device out of direct sunlight.
NOTICE
To prevent corrosion, thoroughly dry the USB port, the weather cap, and the surrounding area before charging or
connecting to a computer.
The device is powered by a built-in lithium-ion battery that you can charge using a standard AC adapter or a USB
port on your computer.
NOTE: The device will not charge when outside the approved temperature range (
).
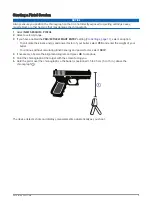
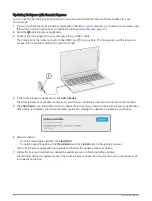
1 Pull up the weather cap from the USB-C port.
2 Plug the small end of the USB cable into the USB-C port on the device.
3 Plug the large end of the USB cable into an external power source, such as an AC adapter or a USB port on
your computer.
4 Charge the device completely.
It can take up to 4 hours to fully charge the battery.
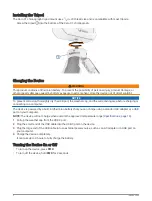
Turning the Device On or Off
• To turn on the device, press PWR.
• To turn off the device, hold PWR for 2 seconds.
2
Introduction
Содержание XERO C1
Страница 1: ...XERO C1 Owner sManual...
Страница 4: ......
Страница 20: ...support garmin com GUID 76BF3BAE 91A9 4BF6 9196 26F824CA8CAD v1 October 2023...


