background image

GDR E530/E560

1

Getting Started

WARNING

See the 

Important Safety and Product Information 

guide in the product box for product warnings and 
other important information.

Installing the Memory Card

The camera requires a microSD™ or microSDHC 
memory card from 4GB to 64GB with a speed of 
class 10 or higher. Please visit 

Garmin.com.sg/sd-

support#GDRTab

 for compatible memory card list. 

You can use the included memory card, or you can 
purchase a compatible replacement memory card from 
an electronics supplier.

1

  Insert the memory card 

1

 into the slot 

2

.

Press it in until it clicks.

Removing the Memory Card

NOTICE

Removing the memory card while the device is turned 
on can result in a loss of data or damage to the device.

Turn off the device.

Press the card in until it clicks.

Release the card.


The card ejects from the slot.

Device Overview

1

Press to turn the device on.
Hold for 3 seconds to turn the device 
off. Select to return to the previous 
page.

2

Select to scroll through menus or pages.

3

Select to scroll through menus or pages.

4

From the viewfinder, select to save a 
photo. Hold to save a video clip.
Select to choose an option in a menu.

Installing the Mount onto Your Windshield

NOTICE

The adhesive mount is extremely difficult to remove 
after it is installed. You should carefully consider the 
mounting location before you install the mount.
Before you can install the adhesive mount onto your 
windshield, the ambient temperature must be from 21° 
to 38°C (from 70° to 100°F).

TIP: 

You can connect the device to power and hold the 

device in the preferred mounting location to check the 
camera’s field of view at that location.

Clean the windshield using water or alcohol, and a 
lint-free cloth.


The windshield must be free of dust, wax, oils, or 
coatings.

Remove the protective film from the mount 
adhesive.

Position the mount over the mounting location.

 TIP: 

The adhesive is extremely sticky. Do not touch 

the adhesive to the windshield until the mount is 
properly positioned and aligned.

Press the mount firmly onto the windshield, and 
maintain pressure for 30 seconds.

Pull the camera and mount away from the 
windshield.

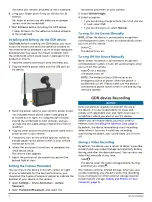
Содержание GDR E530

Страница 1: ...GDR E530 E560 Owner s Manual...

Страница 2: ...uch changes or improvements Go to www garmin com for current updates and supplemental information concerning the use of this product Garmin the Garmin logo and VIRB are trademarks of Garmin Ltd or its...

Страница 3: ...lapse 4 Voice Control 4 Controlling the Camera Using Voice Commands 4 Turning Voice Control On or Off 4 Voice Control Tips 4 Speed Camera 4 Forward Collision Warning System 4 Forward Collision Warning...

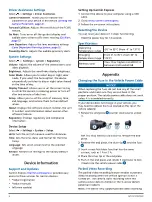
Страница 4: ...to scroll through menus or pages 3 Select to scroll through menus or pages 4 From the viewfinder select to save a photo Hold to save a video clip Select to choose an option in a menu Installing the Mo...

Страница 5: ...nce Camera Placement 2 Select Horizontal Placement and select the horizontal placement of your camera 3 Select Vehicle Height 4 Select an option If you are driving a large vehicle like a full size van...

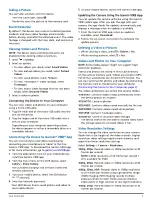
Страница 6: ...the Garmin VIRB App You can update the camera software using the Garmin VIRB mobile app After you pair the app with your camera the app checks for updates automatically and displays a message when an...

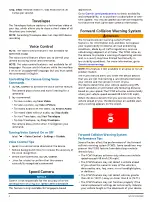
Страница 7: ...lity or to purchase a subscription or one time update You should update your device frequently to receive the most up to date camera information Forward Collision Warning System WARNING The forward co...

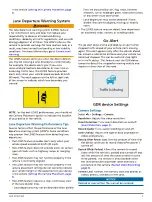
Страница 8: ...t correctly indicate your vehicle height or the placement of your device in the vehicle Setting the Camera Placement page 2 The LDWS feature requires a clear continuous view of the lane divider lines...

Страница 9: ...ory default values Device Information Support and Updates Garmin Express Garmin com express provides easy access to these services for Garmin devices Product registration Product manuals Software upda...

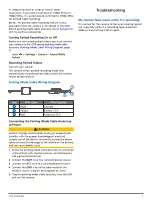
Страница 10: ...Diagram Item Wire Color Wire Function 1 Black Ground 2 Yellow Battery 12 V 3 Red Accessory 12 V Connecting the Parking Mode Cable Accessory to Power CAUTION Garmin strongly recommends having an experi...

Страница 11: ...L lane departure warning system LDWS 5 M memory card 1 installing 1 microSD card 1 mounting windshield 1 P parked videos 7 parking mode cable 7 photos viewing 3 power cables changing the fuse 6 power...

Страница 12: ...nal Inc 1200 East 151st Street Olathe Kansas 66062 USA Garmin Europe Ltd Liberty House Hounsdown Business Park Southampton Hampshire SO40 9LR UK Garmin Corporation No 68 Zhangshu 2nd Road Xizhi Dist N...

Отзывы: