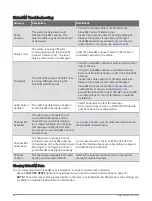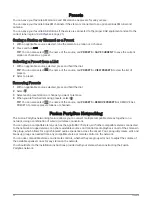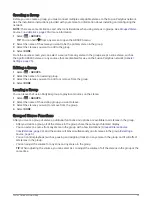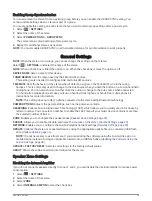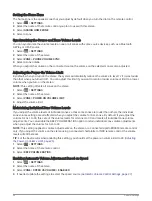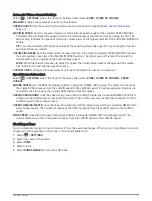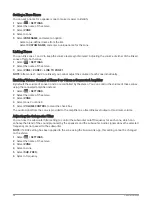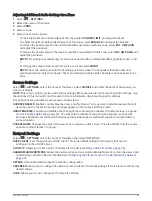
Creating a Group
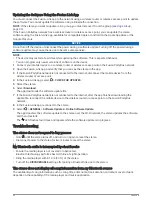
Before you can create a group, you must connect multiple compatible stereos to the Fusion PartyBus network.
See the installation instructions provided with your stereo for information about installing and configuring the
network.
NOTE: There are some limitations and other considerations when using stereos in groups. See
Source Considerations, page 24
1 Select
> GROUPS.
TIP: You can hold
from any screen to open the GROUPS menu.
2 Select the name of the stereo you want to be the primary stereo in the group.
3 Select the stereos you want to add to the group.
4 Select DONE.
From the source screen, you can select a source from any stereo in the group except a zone stereo, such as
the Apollo SRX400 stereo or any sources that are disabled for use on the Fusion PartyBus network (
).
Editing a Group
1 Select
> GROUPS.
2 Select the name of an existing group.
3 Select the stereos you want to add to or remove from the group.
4 Select DONE.
Leaving a Group
You can leave the Fusion PartyBus group to play local sources on the stereo.
1 Select
> GROUPS.
2 Select the name of the existing group you want to leave.
3 Select the stereos you want to remove from the group.
4 Select DONE.
Grouped Stereo Functions
After you create a group of stereos, additional functions and options are available to all stereos in the group.
• After you create a group, all of the stereos in the group share the same synchronized display.
• You can select a source from any stereo in the group, with a few limitations (
), and the source will play simultaneously on all stereos in the group (
).
• You can control playback (such as pausing and skipping tracks) on any stereo in the group, and it will affect
all stereos in the group.
• You can adjust the volume for any zone on any stereo in the group.
TIP: When adjusting the volume, you can select ALL to adjust the volume of all the stereos in the group at the
same time.
Fusion PartyBus Networking
23
Содержание FUSION APOLLO MS-WB675
Страница 1: ...APOLLO MS WB675 MarineEntertainmentSystem...
Страница 6: ......
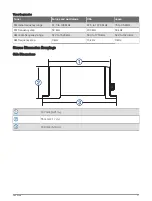
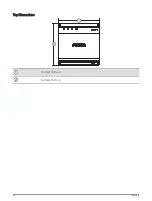
Страница 44: ...Top Dimensions 130 mm 5 10 in 130 mm 5 10 in 38 Appendix...
Страница 45: ......
Страница 46: ...support garmin com GUID 38C8EEA6 CA0D 46DE B7DA A3AC6EDE85DE v1 February 2023...

