Selecting the Transducer Type
This chartplotter is compatible with a range of accessory transducers, including the Garmin ClearVü
™
transducers, which are available at
If you are connecting a transducer that was not included with the chartplotter, you may need to set the
transducer type to make the sonar function properly.
NOTE: Not all chartplotters and sonar modules support this feature.
1 Complete an action:
• From a sonar view, select MENU > Sonar Setup > Installation > Transducer Type.
• Select Settings > My Vessel > Transducer Type.
2 Select an option:
• To enable the chartplotter to detect the transducer automatically, select the transducer to change, and
select Auto Detect.
• To select the transducer manually, learn the range for the installed transducer, select the transducer to
change, select the option that matches the installed transducer, such as Dual Beam (200/77 kHz) or Dual
Freq (200/50 kHz), and select Change Model.
NOTICE
Manually selecting a transducer could result in damage to the transducer or reduced transducer performance.
NOTE: If you select the transducer manually, disconnect that transducer, and then connect a different
transducer, you should reset this option to Auto Detect.
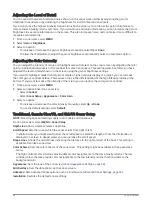
Calibrating the Compass
Before you can calibrate the compass, the transducer must be installed far enough away from the trolling motor
to avoid magnetic interference, and deployed in the water. Calibration must be of sufficient quality to enable the
internal compass.
NOTE: The compass may not work if you mount the transducer on the motor.
NOTE: For best results, you should use a heading sensor such as the SteadyCast
™
heading sensor. The heading
sensor shows the direction the transducer is pointing relative to the boat.
NOTE: Compass calibration is available only for transducers with an internal compass, such as the PS21-TR
transducer.
You can begin turning your boat before calibrating, but you must fully rotate your boat 1.5 times during
calibration.
1 From an applicable sonar view, select MENU > Sonar Setup > Installation.
2 If necessary, select Use AHRS to turn on the AHRS sensor.
3 Select Calibrate Compass.
4 Follow the on-screen instructions.
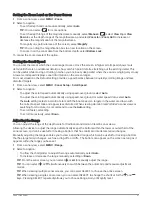
Selecting a Sonar Source
This feature may not be available with all models.
When you are using more than one sonar data source for a particular sonar view, you can select the source to
use for that sonar view. For example, if you have two sources for Garmin ClearVü, you can select the source to
use from the Garmin ClearVü sonar view.
1 Open the sonar view for which you will change the source.
2 Select MENU > Sonar Setup > Source.
3 Select the source for this sonar view.
64
Sonar Fishfinder

