Getting Started the First Time
This section explains how to get started using your
Apollo
SL50/60.
Information
in
this
section
explains how to startup the unit, check signals from
the GPS satellites, enter a seed position, and GOTO
a destination waypoint.
It is necessary to enter a seed position and the
current time the first time you turn the unit on.
Power on
Enter a seed position (your dealer may have already
completed this step for you), if necessary
Enter the current time
Check satellite signal strength
Enter a “GOTO” waypoint
Begin navigating
Power Up
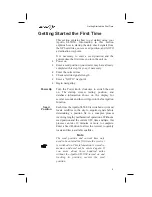
Turn the Power knob clockwise to switch the unit
on. The startup screen, testing, position, and
database information shows on the display for
several seconds and then will go into the Navigation
function.
Seed
Position
Each time the Apollo SL50/60 is switched on, it must
locate satellites in the sky to acquire signals before
determining a position fix in a complex process
involving lengthy mathematical operations. Without a
seed position and the current UTC time and date, this
process can take 10 minutes or more to complete.
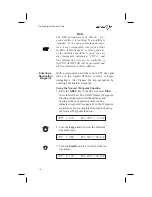
Enter a Seed Position to allow the receiver to quickly
locate and track available satellites.
Note
The seed position and current time only
need to be entered the first time the receiver
is switched on. This information is stored in
memory and need not be entered again. If
you move about three hundred miles
without the Apollo SL50/60 turned on and
tracking its position, reenter the seed
position.
9
Getting Started the First Time
Содержание Apollo SL50
Страница 1: ......
Страница 18: ...Notes 8 Apollo SL50 60 Features...
Страница 92: ...Notes 82 System Functions...
Страница 118: ...Notes 108 Flight Simulator...
Страница 133: ......


